

Introduction: DIY ARDUINO RAIN DETECTOR


NOT AGAIN!!!!!!!!!!!!!!!
The clothes which were put out to dry again got wet due to a sneaky drizzle!
Wait! I have found a solution...............
The ARDUINO RAIN DETECTOR!!!!!!!!!!!!!!!!
Step 1: Parts Required.
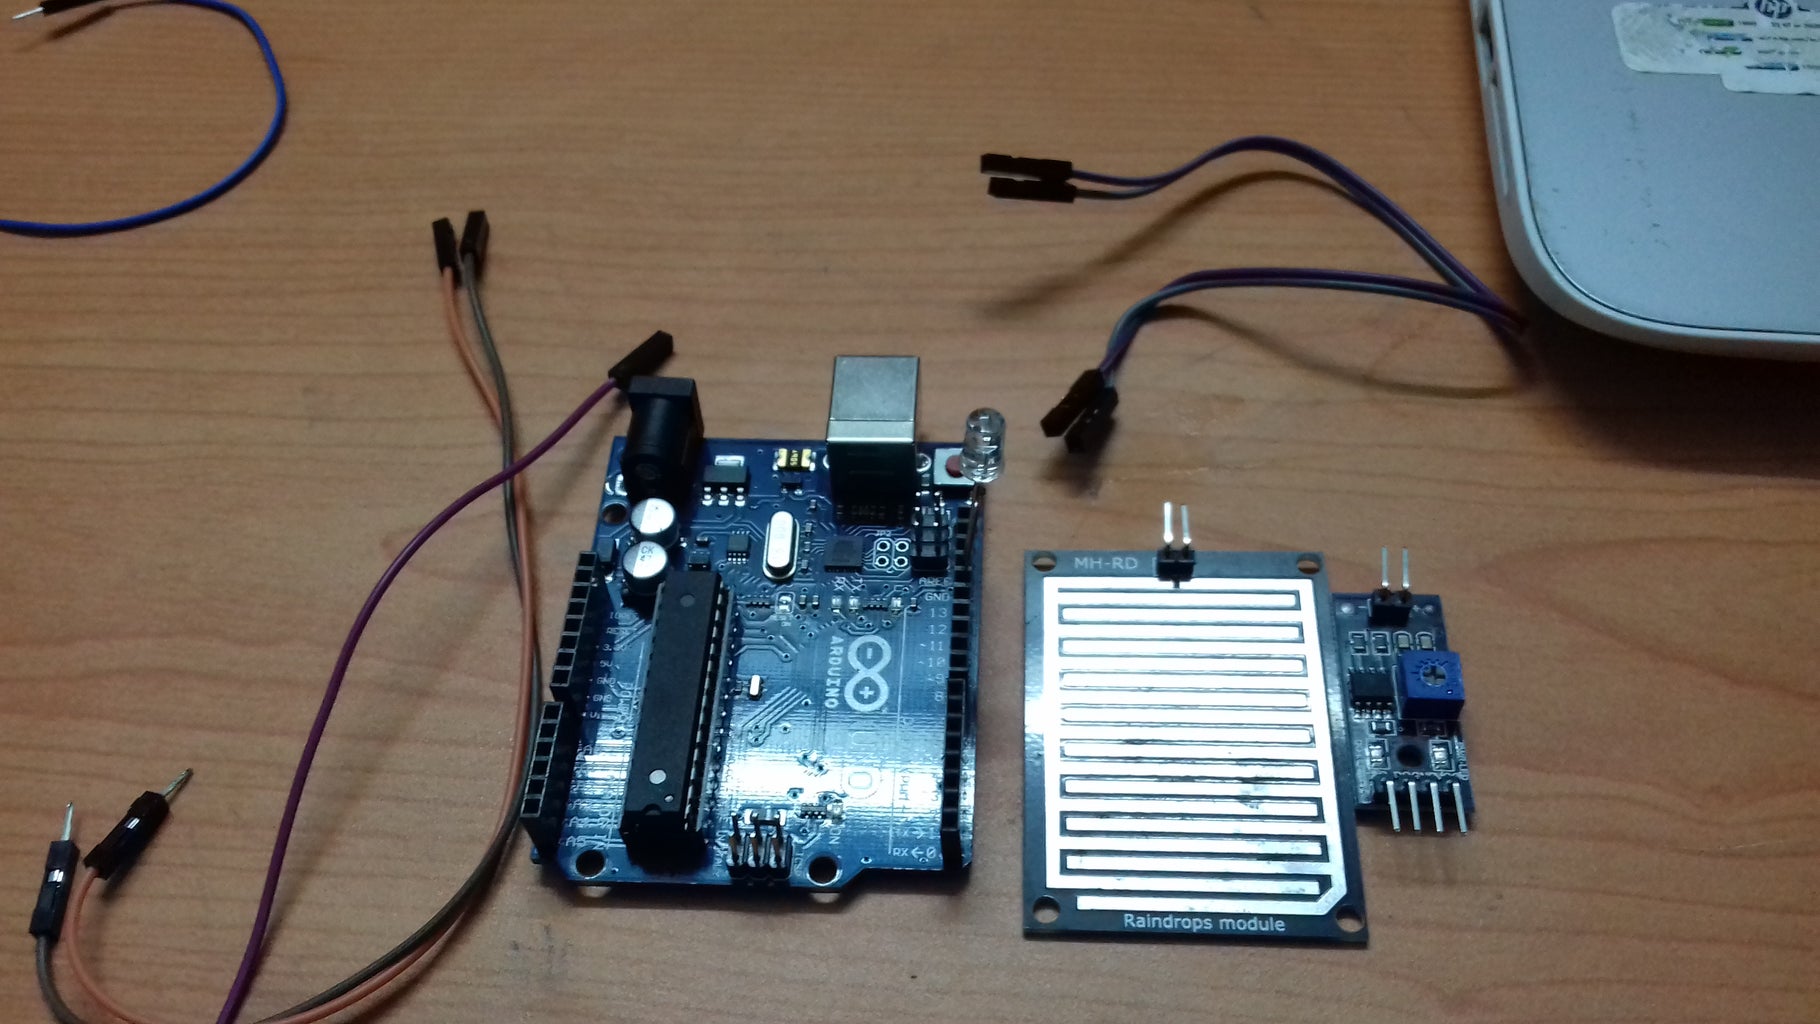
The following parts will be required for this project:-
1) Arduino UNO board.
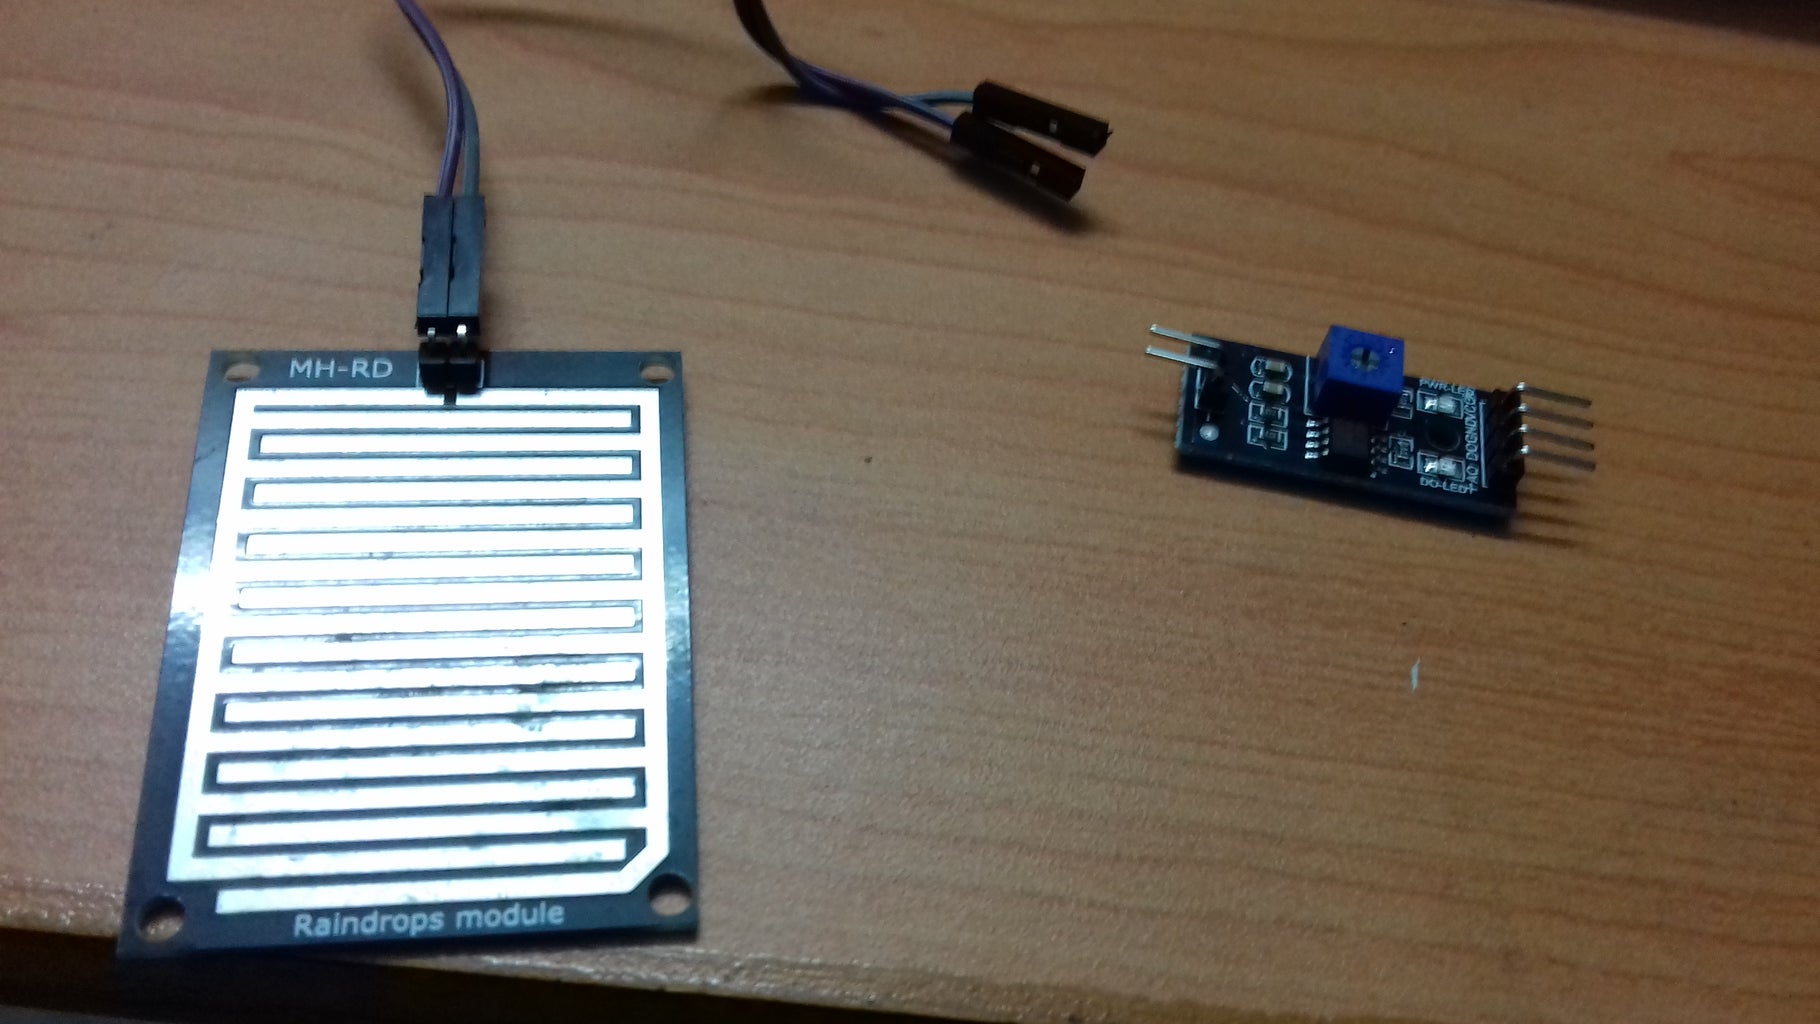
2) A rain sensor.
3) An LED.
4)Jumper wires.
Step 2: Assembly.
Connect the Arduino pin D9 to sensor pin DO(digital output), gnd to gnd, vcc to 5v, and Arduino pin A0 to AO(analog output).
Connect the LED to Arduino digital pin 13.
Step 3: Code:-
int a=9;
int b=0;
int c;
int d;
void setup()
{
pinMode(a,INPUT);
pinMode(b,INPUT);
pinMode(LED_BUILTIN,OUTPUT);
Serial.begin(9600);
}
void loop()
{
c=digitalRead(a);
if(c==LOW)
{
digitalWrite(LED_BUILTIN,HIGH);
}
else
{
digitalWrite(LED_BUILTIN,LOW);
}
d=analogRead(b);
Serial.print("Rain Reading=");
Serial.print(d);
Serial.println();
delay(1000);
}
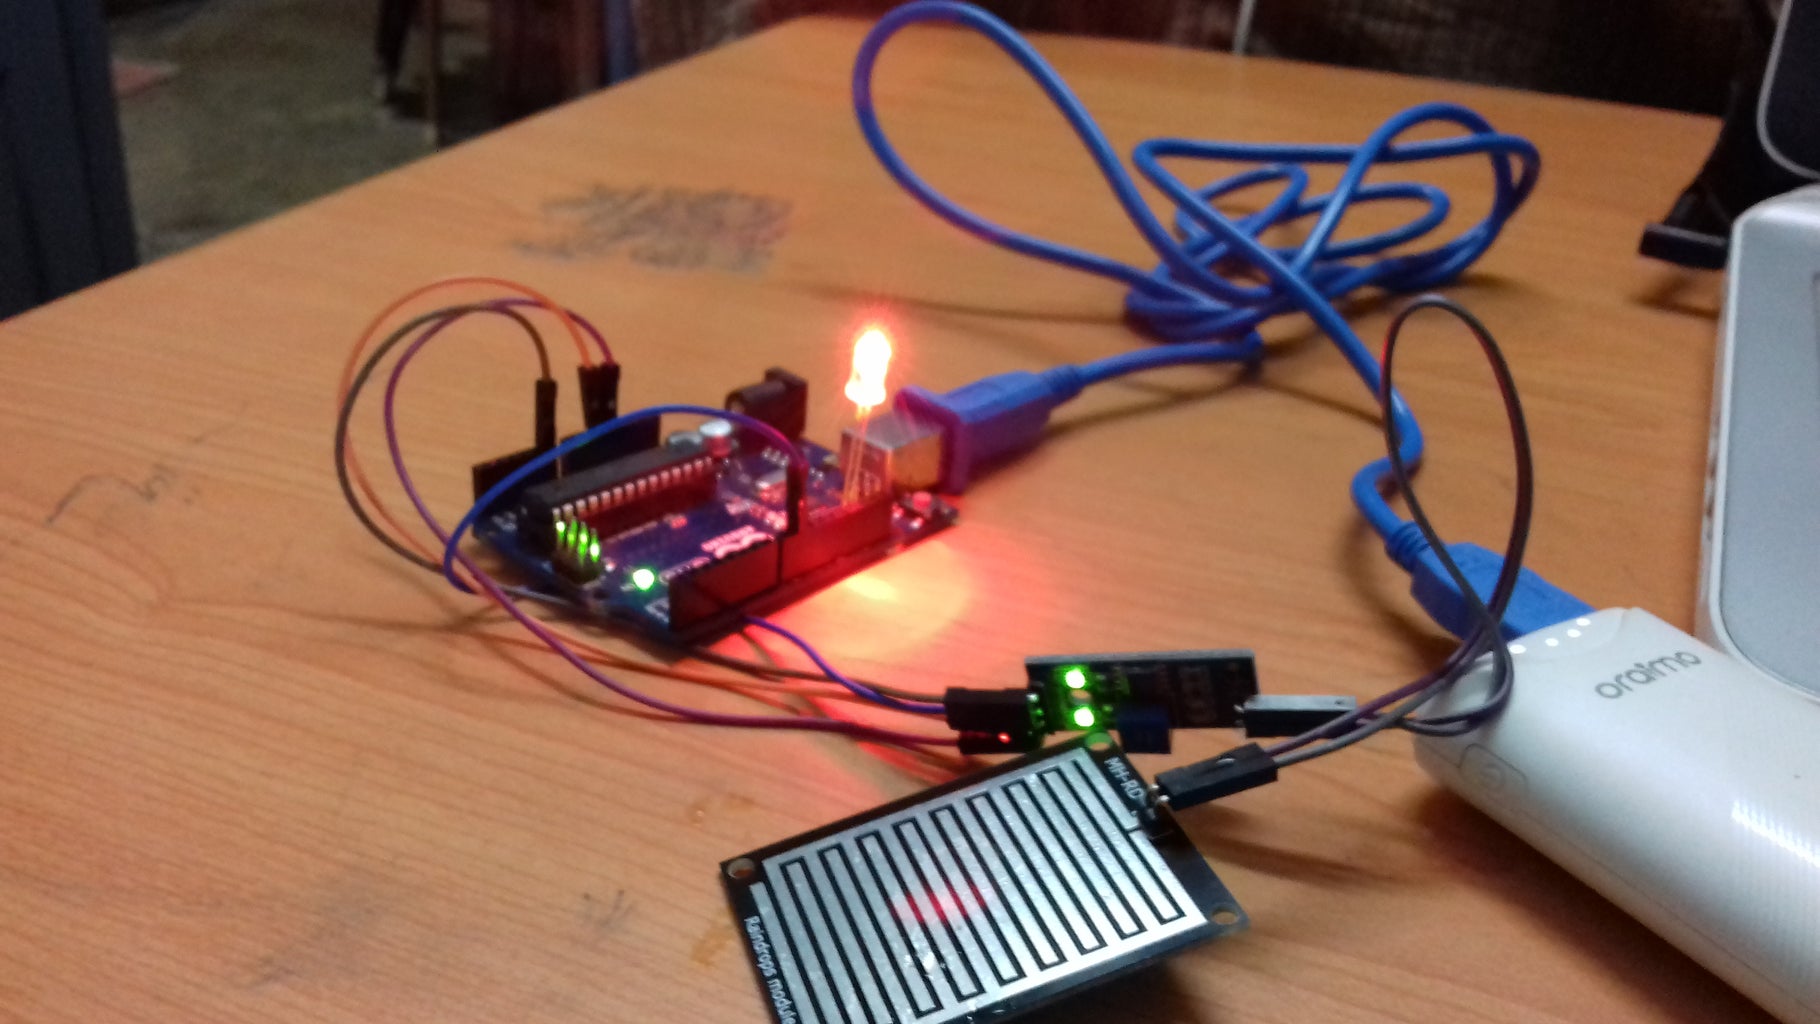
Step 4: READY!
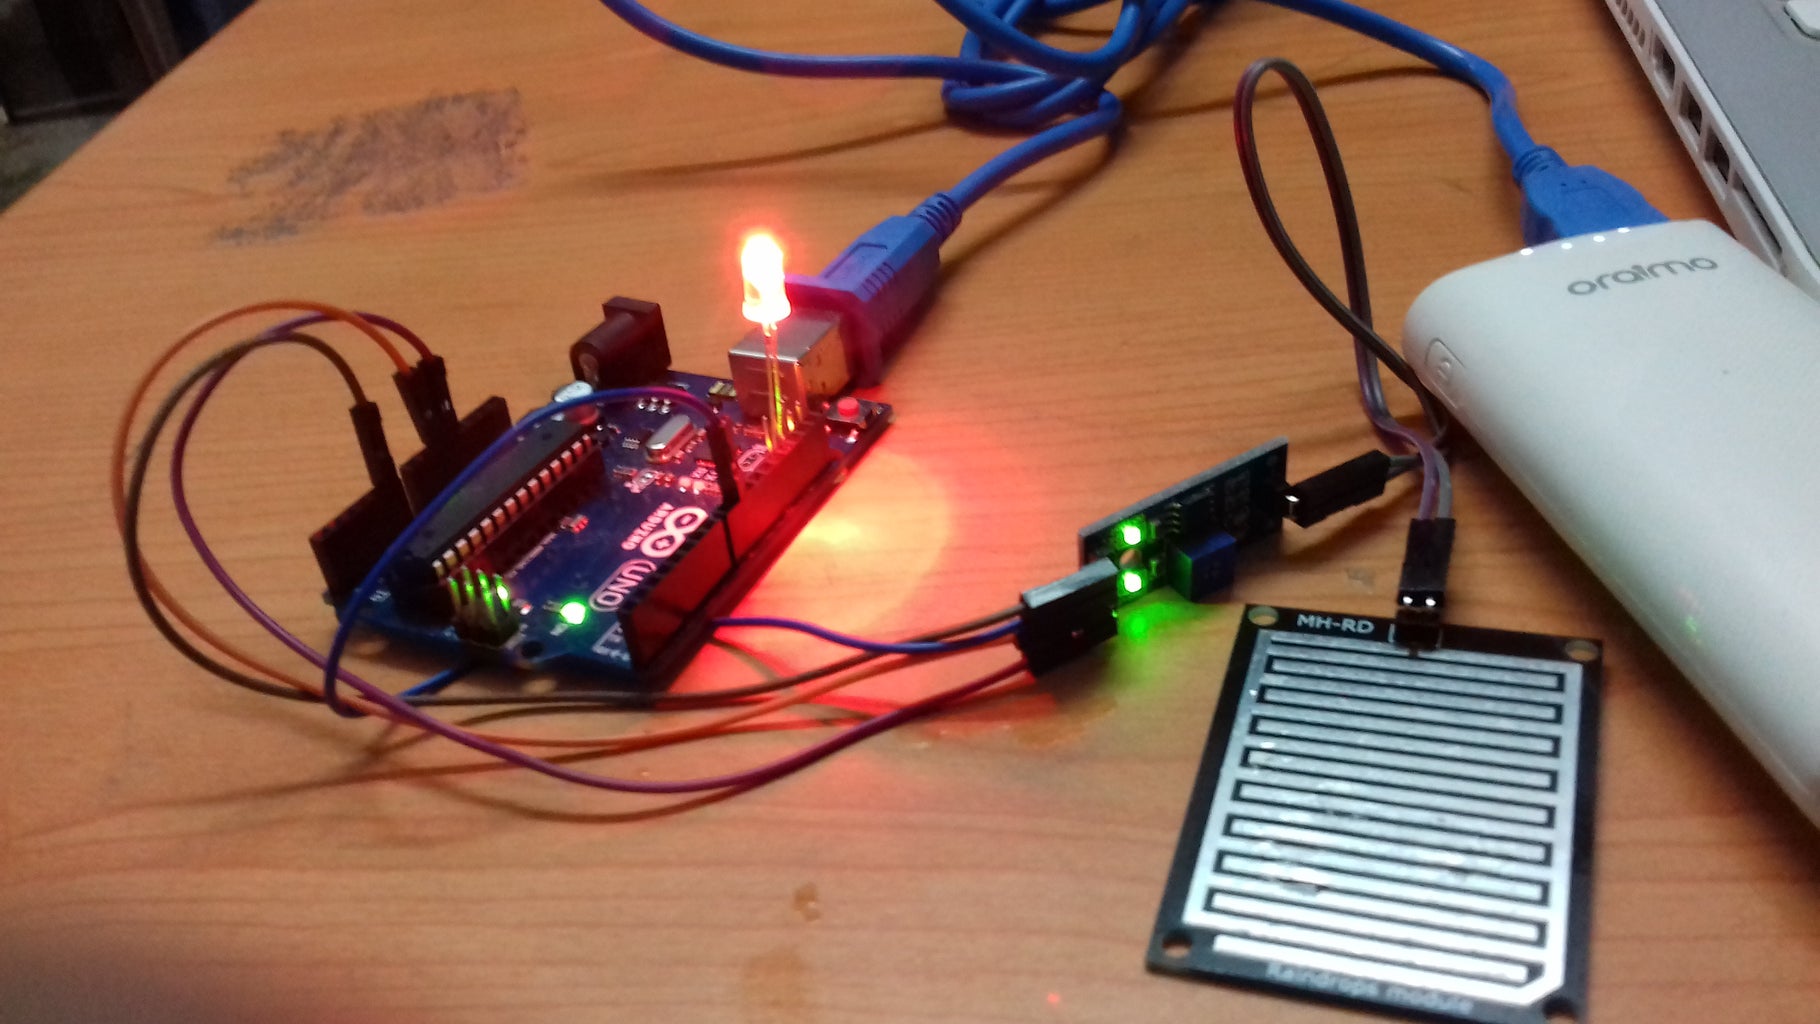
Hey! Why is that LED over there glowing?
Opps...Its drizzling! I can't let the clothes get wet!
Step 5: How Does It Work?
The 'Rain Sensor Module' has a metal plate with two strips of conductive metal which are not connected together.
When drops of rainwater , which is a good conductor of electricity falls on the plate, there is a short - circuit in between the strips and then , the main sensor module receives the feedback and conveys the signal to the Arduino.
Thanks a lot for reading !
P.S. please vote for this project for the microcontroller contest so that I can come up with more awesome projects!!!!!

Participated in the
Microcontroller Contest


