DIY Alarm With Phone
Intro: DIY Alarm With Phone
Ever wanted to know how to make your own alarm system? Believe it or not, you can make your own alarm for about $10 with a few simple hacks to a prepaid cellphone. You can easily catch intruders who set off the tripwire, because this neat little gadget calls your cellphone right when it happens.
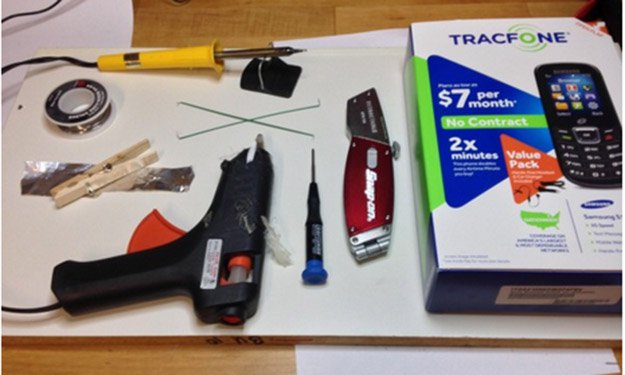
This instructable shows you how to make such a device, and all it’s going to take are a few common tools, a couple of hours and a $10 Tracfone from Target.
Like this project? Check out my other instructables, my favorite survival stuff, my cool DIY Projects and my paracord tutorials.
How to Make a DIY Alarm/Tripwire
Follow these simple steps and you will soon have an awesome little gadget that alerts you to any unwanted intruders. You will immediately get a call on your phone alerting you that your tripwire has been activated.
Supplies and Tools You Will Need:
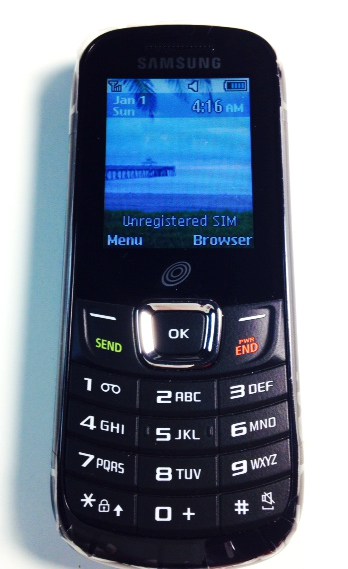
- 1 Pre-paid phone (We used a $10 Tracfone)
- 1 Soldering Iron (You can get a cheap one at Radio Shack)
- 60/40 Rosin-Core Solder
- Some wire
- 1 Box cutter
- 1 Small phillips head screwdriver
- 1 Hot glue gun with glue
- Tin Foil
- 1 Clothespin
STEP 1:
STEP 2:
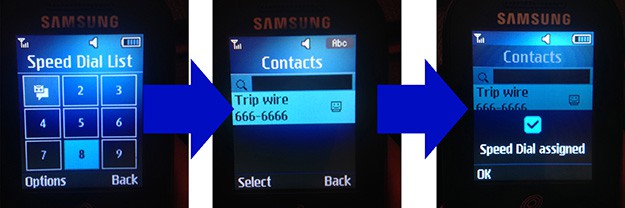
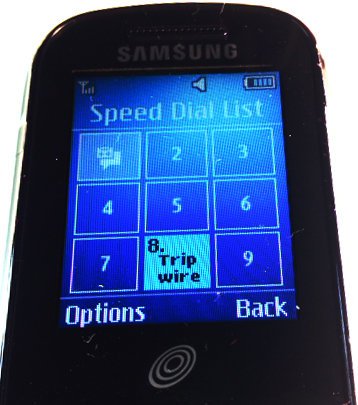
Next, we need to program the phone’s speed dial function to call your phone number when the number 8 key is held down.
First, Enter your phone number into the phone by going to: Menu >> Contacts >> Add New Contact
Once you’ve added yourself to the phone’s contact list, pair your number with the phone’s number 8 key by going to: Menu >> Contacts >> Speed Dial List
Select cell number 8, and then select your name from the contacts list.
STEP 3:
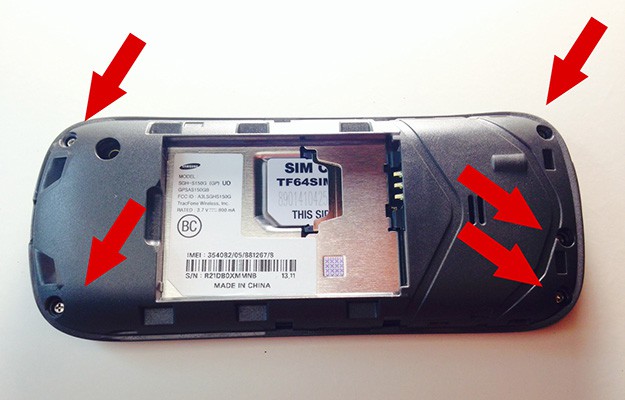
STEP 4:
Once the screws are out, you can use your box cutter to pry the back plate from the front plate. It takes a bit of force and will make a loud snapping sound as it separates, so don’t worry about breaking it because you wont. Once you’ve created some space with the box cutter, you can use your fingers to do the rest of the work.
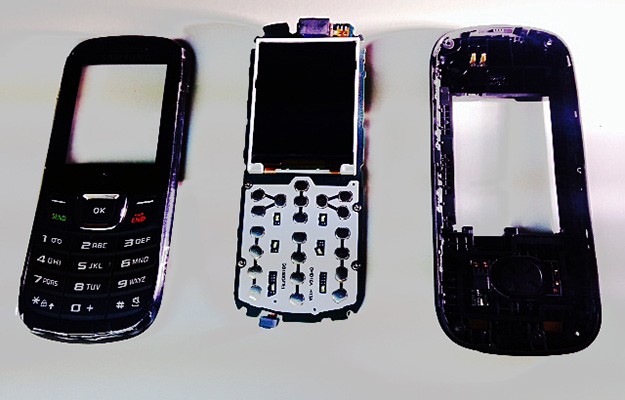
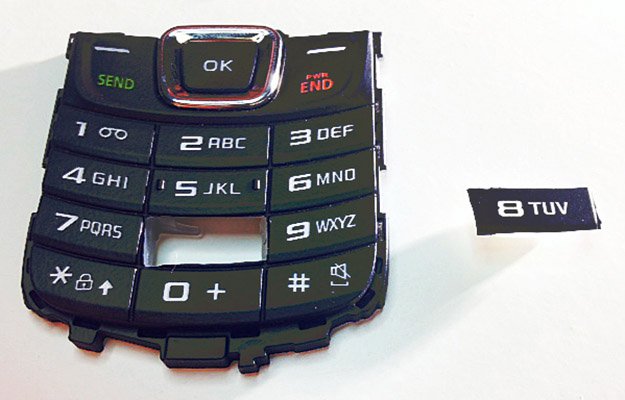
Using a utility knife, gently pry the edges of the cell phone apart. When you’ve pried it apart, it will be in three pieces.
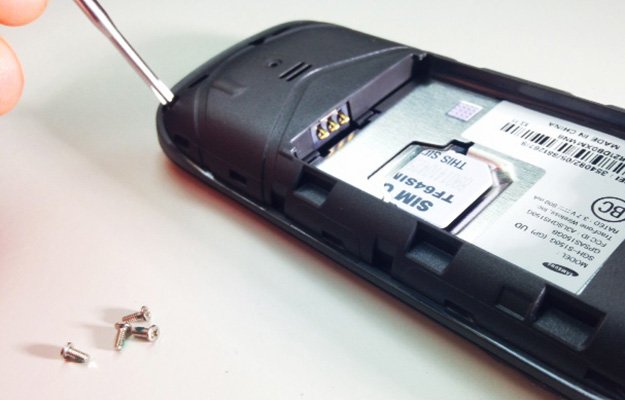
STEP 5:
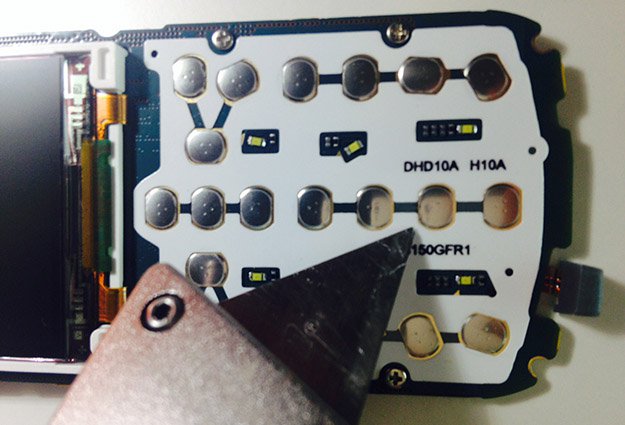
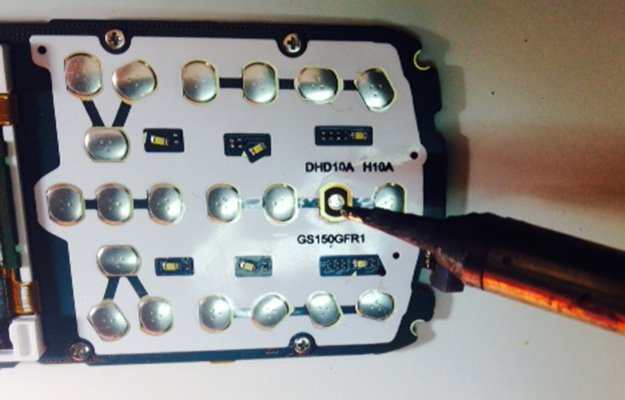
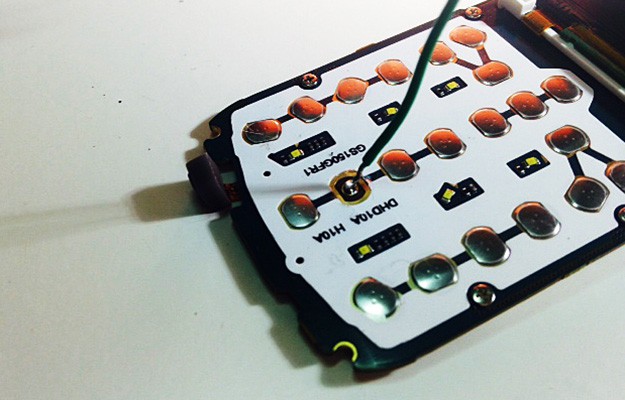
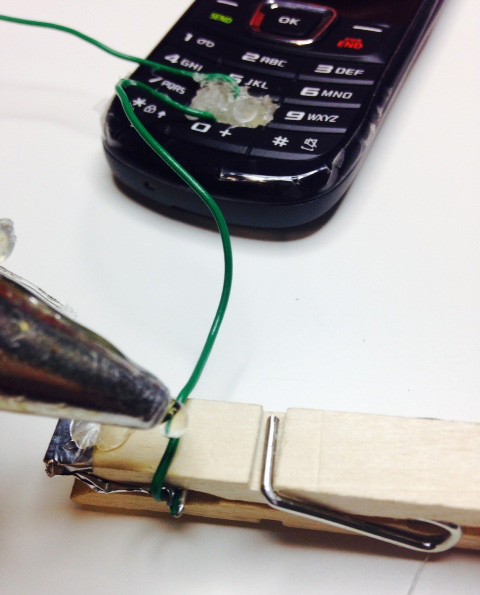
Locate the button on the middle piece that corresponds with the number “8″ on the front plate of the phone, where the numbers are. This will expose a copper ring with a copper circle in the middle of it. We need to solder a wire to each of them without crossing them.
STEP 6:
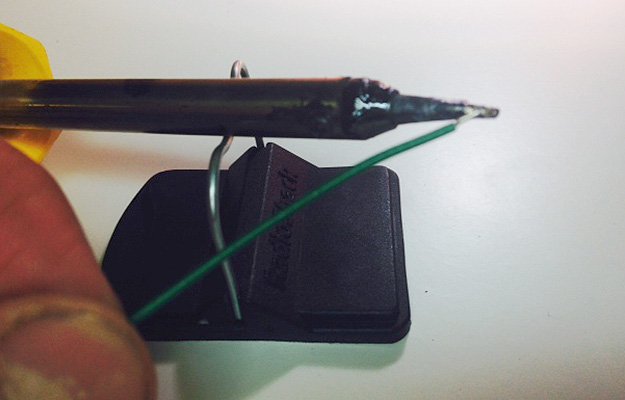
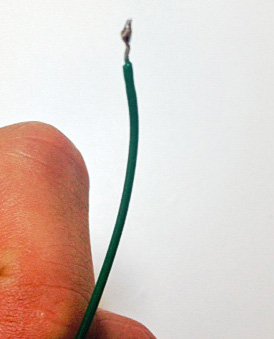
With a soldering iron, place a small amount of solder on the tip of a wire.
Don’t go overboard. This much will do.
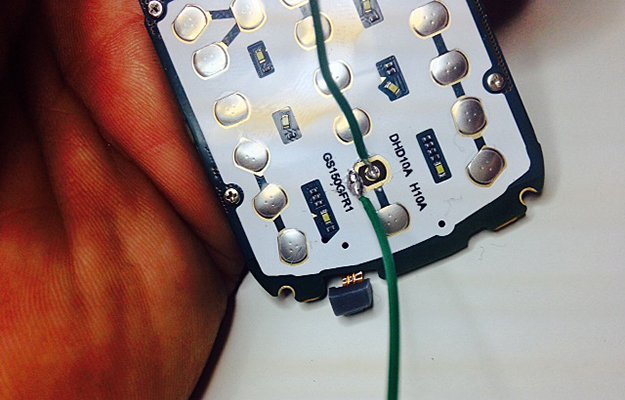
Now solder the wire to the copper circle in the middle of the copper ring. The solder can not touch the gold ring around it or the button will be ruined. This is why you practiced first
STEP 7:
STEP 8:
STEP 9:
STEP 10:
STEP 11:
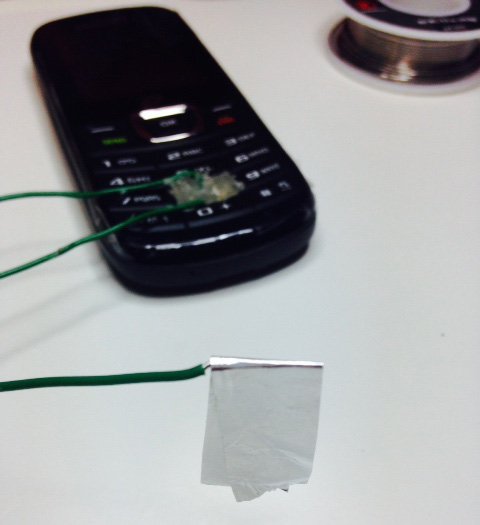
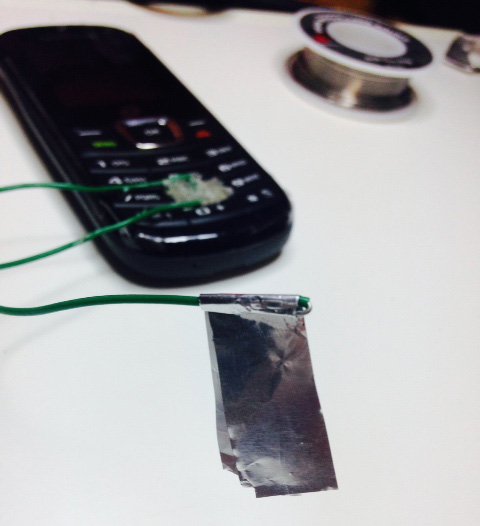
Now, take a strip of aluminum foil and fold it over the end of one of the wires.
Using your fingers, bend the end of the wire back onto itself.
Wrap the aluminum foil around the wire to secure the fitting.
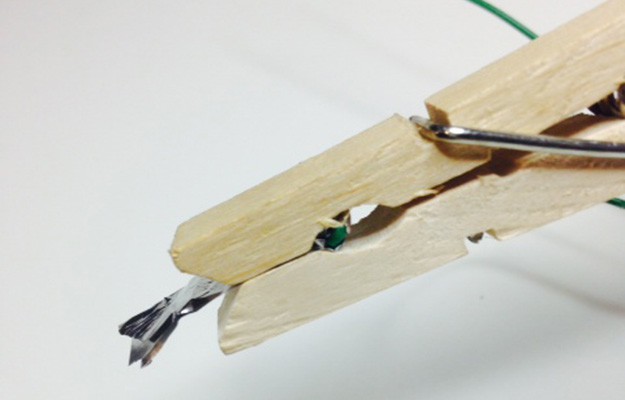
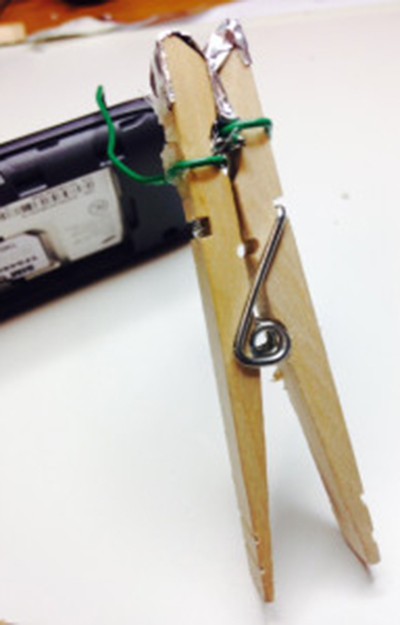
Use a clothespin to clamp the end of the wire as shown.
Fold the aluminum foil over the top of the clothespin and secure it into place with the hot glue gun.
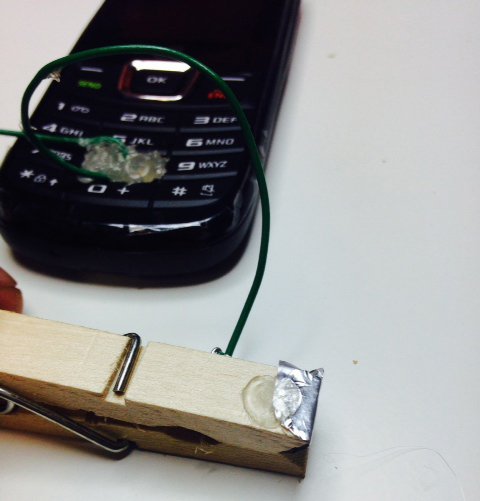
Secure the wire onto the body of the clothespin with hot glue.
STEP 12:
STEP 13:
Braid the two wires together by twirling the clothespin.
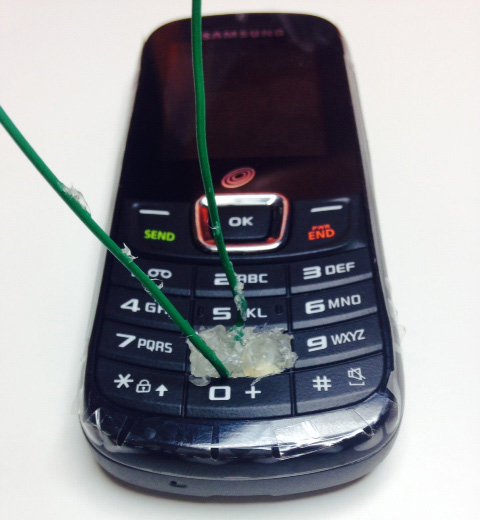
Fasten the clothespin to the back of the phone with hot glue.
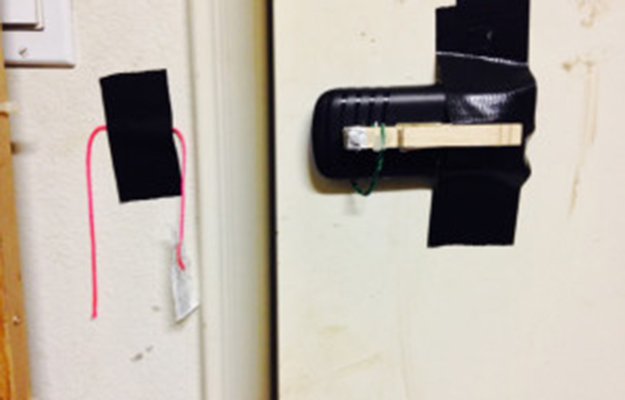
And your tripwire is complete!
The clothespin holds the number 8 key down on the phone, and so you need to separate the two halves with a thin piece of paper. Receipts work great for this.
When the paper is removed, the contacts on the clothespin touch and the phone will speed dial your number.
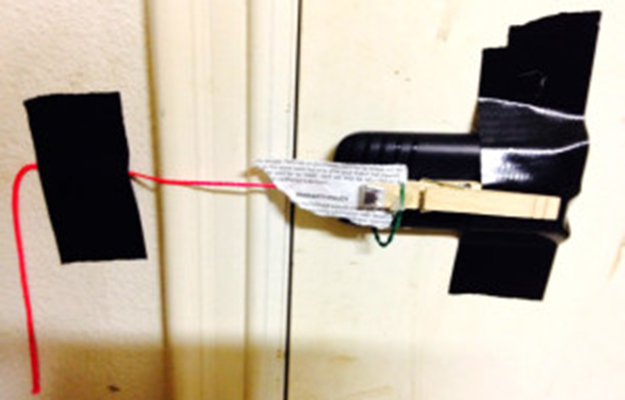
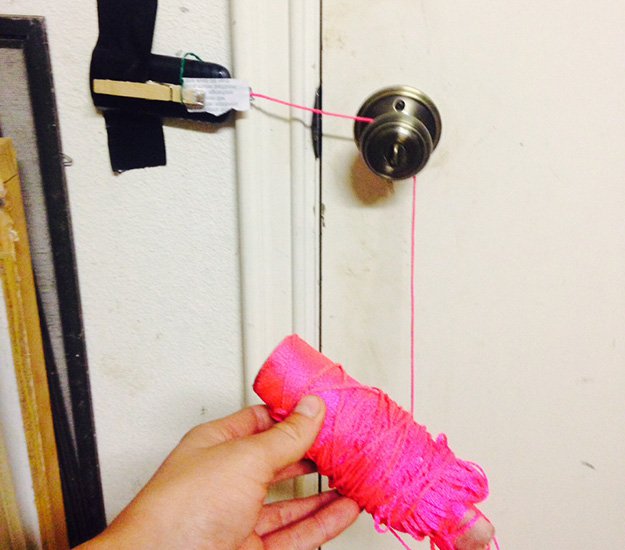
You’re probably going to need to exit out of the door that you’re booby trapping—I mean trip wiring—and so you’ll need to set it up like this:
Tape your trip wire device to the wall and drape the string over the doorknob.
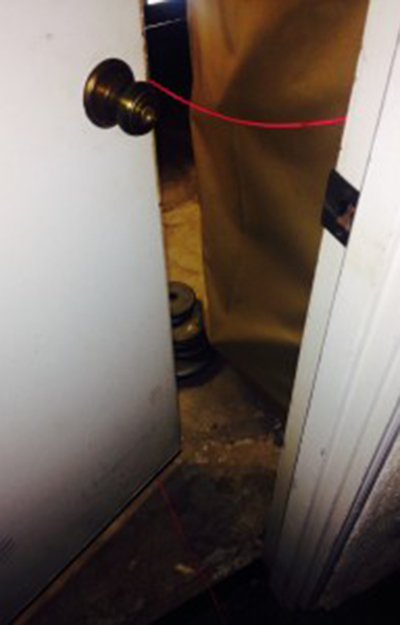
Run the string under the door and make sure to give yourself enough slack to get outside.
Once you’re outside, it will look like this.
Slowly close the door while pulling the string under the door toward you. Don’t pull it tight, but remove all the slack until you feel it tugging against the doorknob on the other side.
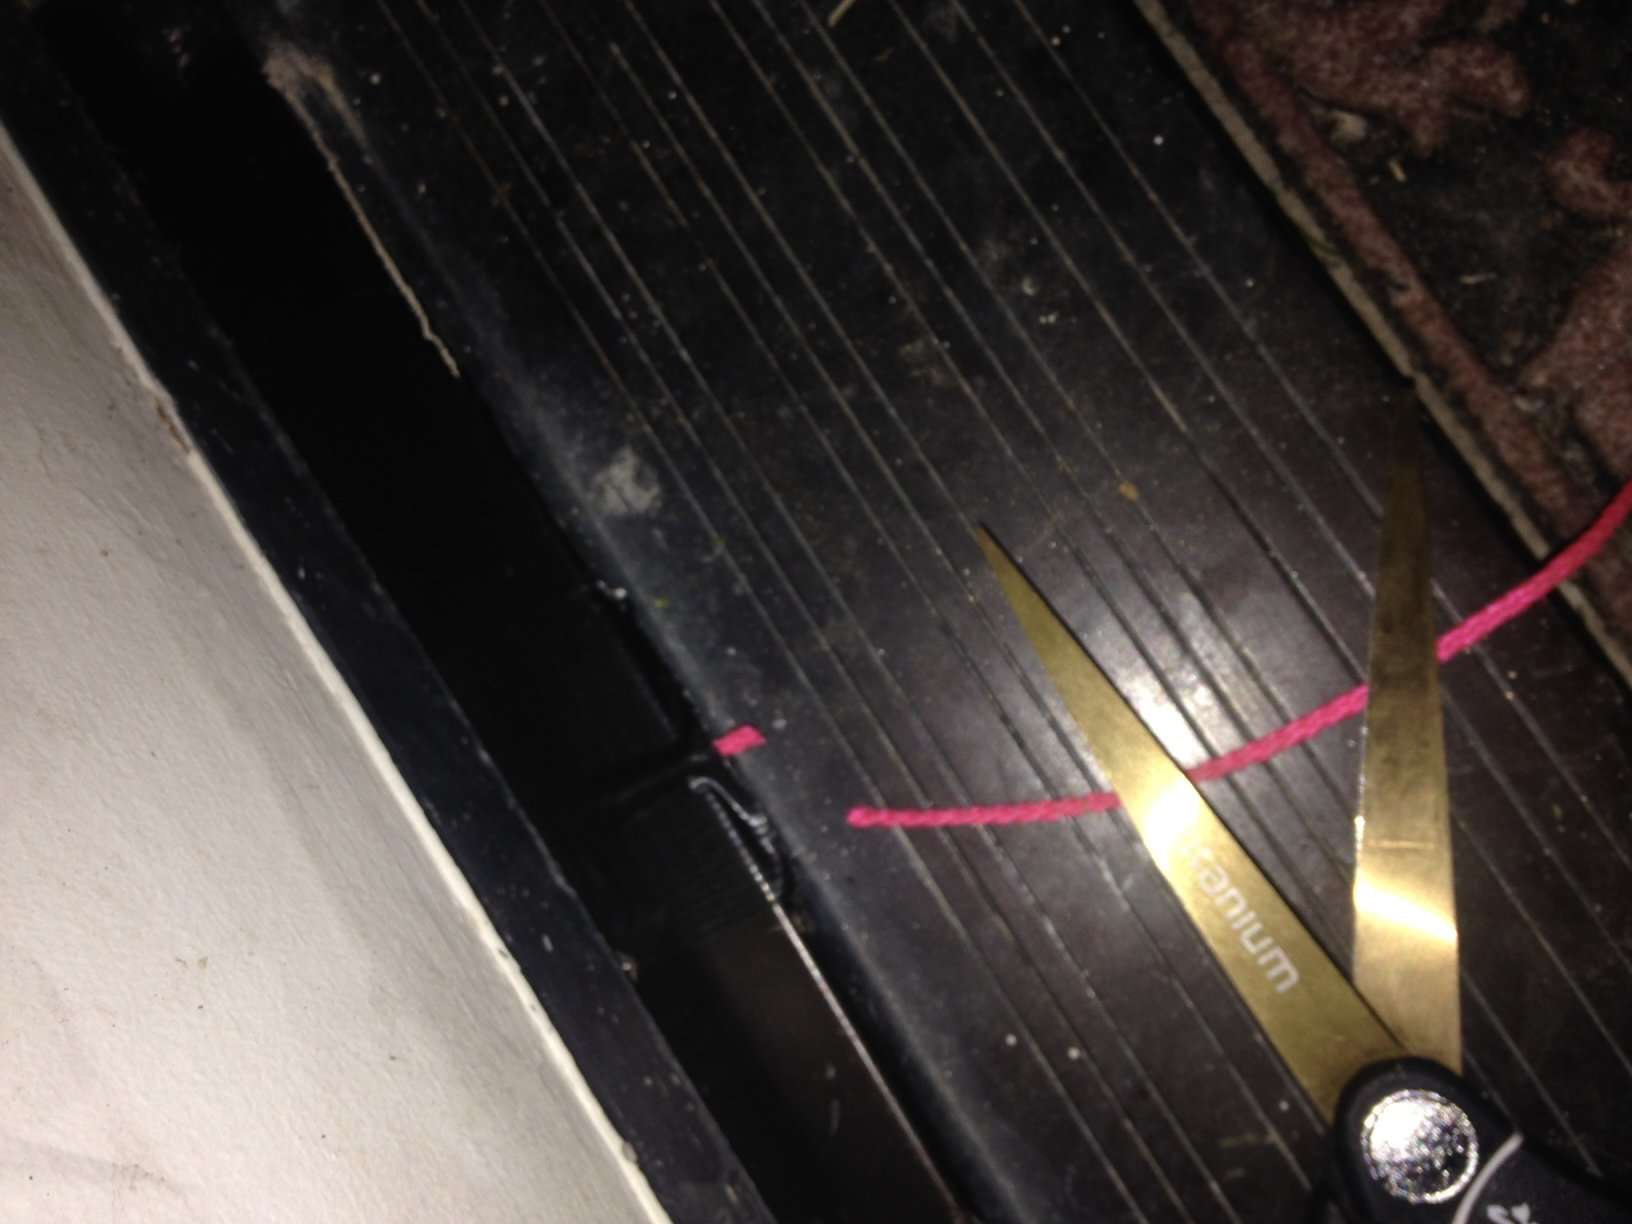
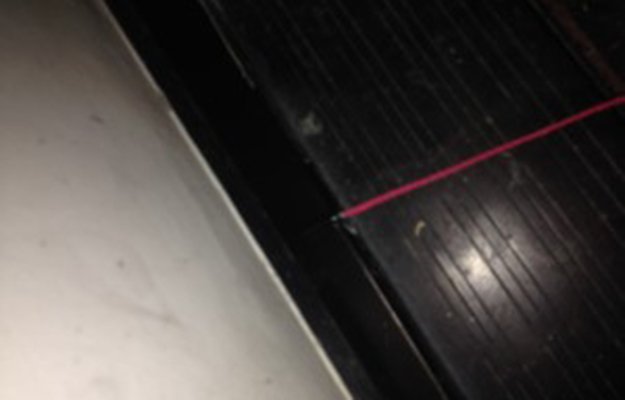
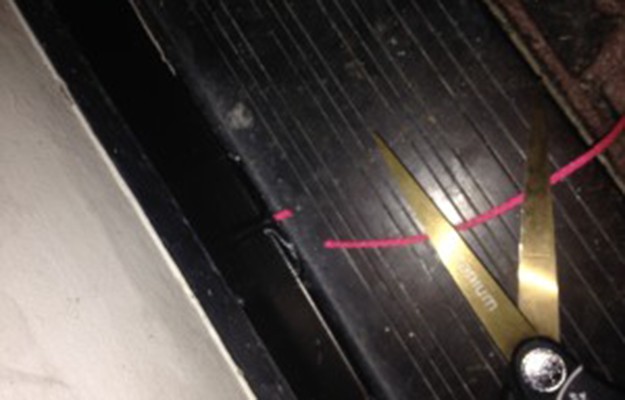
Just before you shut the door, tape the string to the threshold.
Now cut it and shut the door.
Comments
williedunne9 8 years ago
Brilliant idea. I know it was just a demo ,but I would hide the phone out of sight. I am definitely going to use this to catch a thief in the night thank you very much.