Introduction: DIY Organizer for Your Small Things
When I empty my pockets after I come back home all my things end up everywhere and sometimes goes missing. For that reason I designed a unique organizer for my small belongings like keys and lip balm.
Supplies
- 3D printer
- PLA filament
- Power Stretch Mesh
Step 1: Model in Fusion 360
I have attached all STL files for 3D printing.
Step 2: Print Base
I used Overture PLA filament to print the base. I decided to use PLA because it was more adhesive to the print bed than PETG.
I used the generic PLA setting in Cura, but changed the nozzle temperature to 210° Celsius.
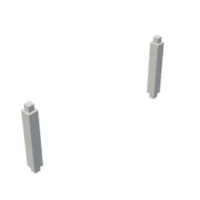
Step 3: Print the Posts
With printing the posts I had issues with warping, to fix this I found that printing with a raft made the print come out much cleaner. I Also had trouble with tolerances, I originally used a .1mm tolerance which worked in some instances but not all. You can change the parameters in the f3d file I attached.
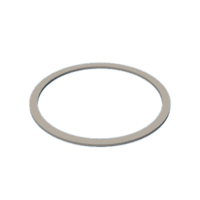
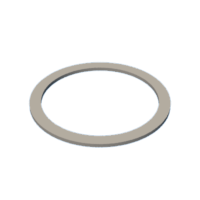
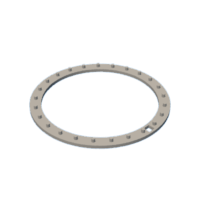
Step 4: Print Circles
Print out big and small circles, like the ones shown in the images.
Step 5: Attach Mesh to Posts on Circle
Cut out pieces of mesh bigger than the two circles.
Push posts through the mesh.
Step 6: Assemble Circles
Once you've attached the mesh to both circles. Take the top half of the circles with holes in them and attach it to the circles with posts.
Trim excess mesh on outside of circles.
Step 7: Assemble
Connect posts to base, then attach circles to top connectors on posts.


