

Introduction: Grip Switch


More by the author:


About: We are a Singapore-based non-profit organisation that empowers disadvantaged communities by improving their quality of life through sustainable engineering solutions.
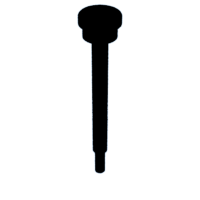
The Grip Switch is an disability adapted switch that can be used to operate home appliances, fixtures, toys, learning devices and different types of electronic gadgets. This "handy" device allows users with limited movement to access or activate devices with the slightest movement of their wrist or fingers.
Kindly note that for this model, it uses a mono headphone jack to connect to devices.

Supplies
For this project, you will need the following:
- Bike handle grip - 1 piece (this can be found from any bike shop. If variations needed, one can do a trial and error on various bike grips)
- 3.5mm mono headphone jack
- Wire Top Cap - to be 3D printed (see attached specifications
- Bottom Cap - to be 3D printed (see attached specifications)
- For the inner conductor, you will need springs used for pipe bending often used for air conditioners
- Copper foil tape (anti-slug)
- Small Epoxy glue
Step 1: 3D Print the Top and Bottom Caps
You can use the attached .stl files for 3D printing.

Step 2: Once You Have Printed the Top and Bottom Cap, Attach or Wrap the Metal Spring (pipe Bender, Small) to the Top Cap
Make sure to apply Epoxy glue to the bottom part of the top cap. See diagram included in this Instructable.
Attachments

Step 3: Attach the Mono Headphone Jack and Wire to Metal Spring


