

Introduction: How to Use Timer Off Delays on PLCs

Hi, my name is Thomas today I’m going to show you how to do program a PLC with 2 timer off delays and 3 outputs. Before all that you have to open up RSLinx to make sure that you are connected to your PLC and then open up RSLogics500 to do the diagram. When the program is opened up you’ll see the side bar which then you’ll come across data files, which will have what we need including O0-Output, I1-Input, and T4-Timer.
Step 1: Getting Started...

Alright next put things in place. Next you will want to find the functions, which are kind of located underneath help in which to start with use the first option, new rung. Right here we will have to click and drag down about 5 times, because that’s what we need for this operation.
Step 2: Inputs and Outputs

Now for this next step we will go back to the same spot where you use the new rung function except this time you’ll go a couple spots over where you’ll find the normally open contact. You will need to put five normally open contacts on the left side of the rungs one per line. After that go another two spots over where you will find the output symbol. Skip two rungs and on the last three rungs put three outputs on the right side of the rung.
Step 3: Timer Off Delays
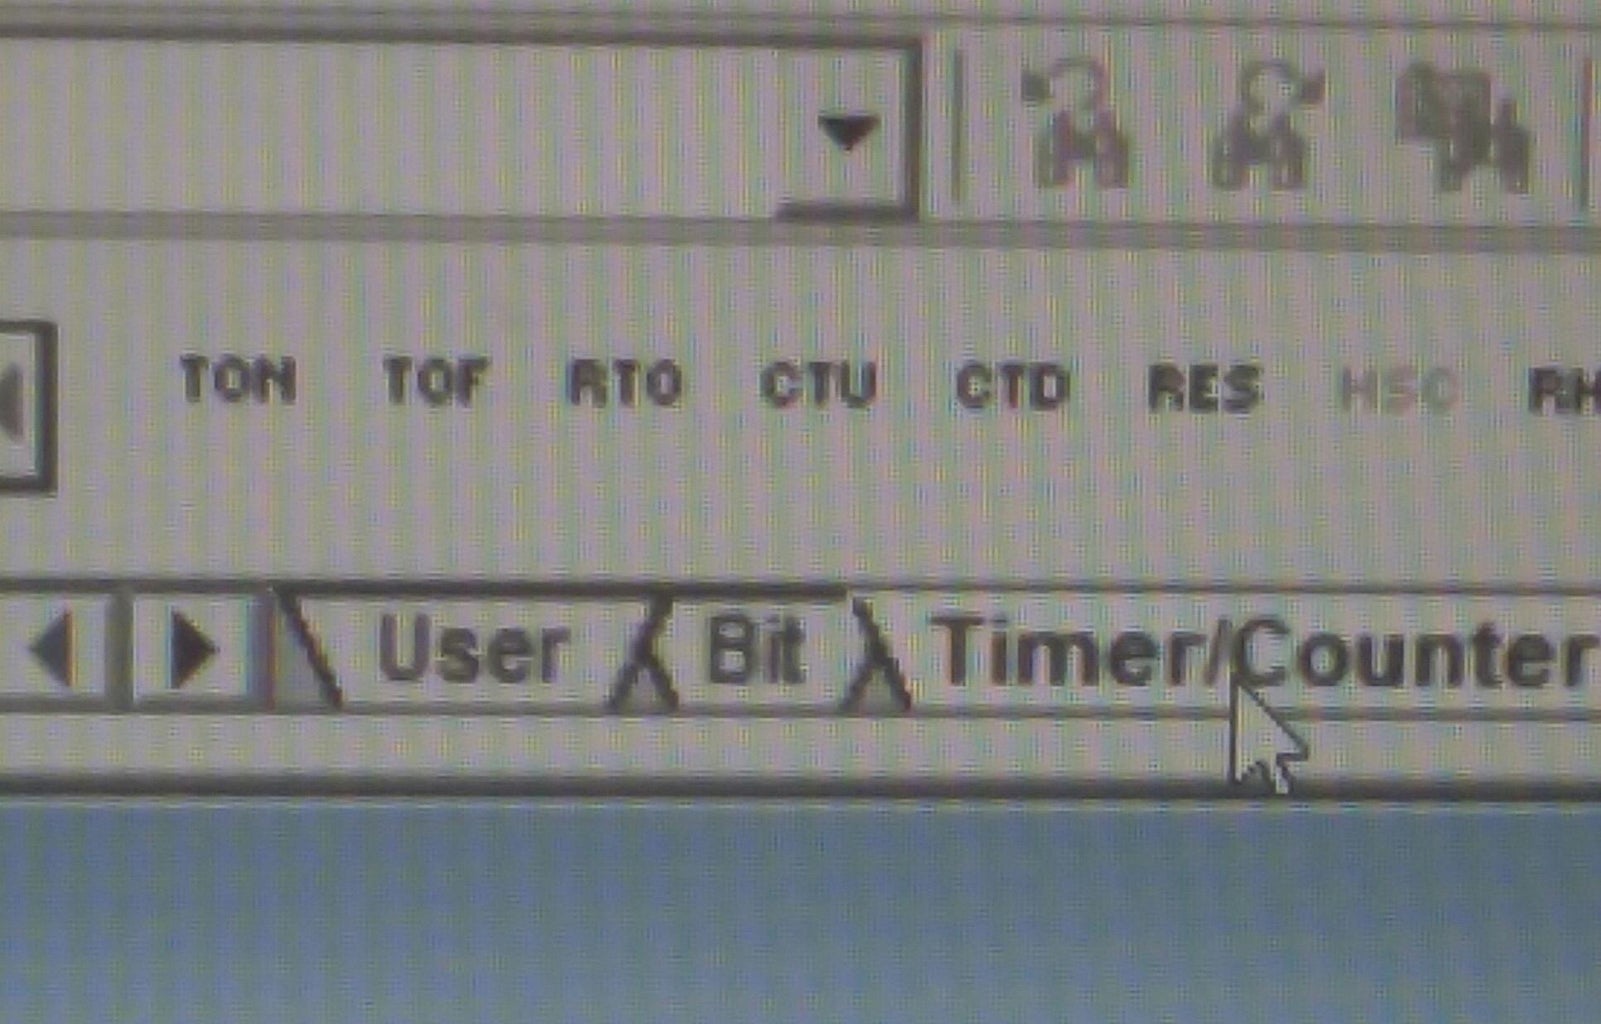
For this step you'll stay in the same general area as you have been, but this time you will see that there's different tabs. Go two tabs over where you’ll see timer/counter. Click on it and you will see that there multiple different options again. This time you will go and click on the one that is labeled TOF, which is the second option after TON (Timer On Delays). Drag the TOFs to the first two rungs above the outputs. Make sure the time base is 1.0.
Step 4: Inserting Inputs, Outputs, and Timer

Next you will use the bar on the far left of the page. You will want to go back to Data Files, go to inputs and go the Offset I:0.0, and on the top you’ll also see 15-0 click on 5 and put it on the input in the first line and the last line. Next go to timer and find T4:0 and go over to find label EN and drag to input on second rung. Proceed to go to T4:0, but this time DN and put it on your input on the third rung. Then finally go to T4:1 DN and drag to input on the forth rung. After that go to your first TOF and insert T4:0, time base 1.0, and preset is 5. Now go to your second TOF and insert T4:1, time base 1.0, and preset 10. Lastly for your outputs on rung 3-5 just insert 0-2.
Step 5: Fire Up Time
Now that you got everything set up it should be time to run the program. First go through all your inputs, outputs, and timers and just make sure you did miss anything. Now will want to go and click up at the left hand corner of the page where you will find Offline which is next to no forces, no edit, and forces enabled. Click on Offline and go to download, a box will pop up, click ok, and then proceed to hit enter a few times until no more boxes pop up and no we can see if it'll work. First turn the switch on the bottom right corner of the board. Instantly the first light should shut off, then five seconds later the next light will shut off, and then ten seconds later the last one should shut off.


