

Introduction: Mini Tornado Maker


Hello creative minds.
Welcome back again with an amazing project. Just wanted to make something cool, functional ,creative and mainly with everyday items so that anyone can make it.
Let's build this fun project.
Supplies
Materials needed are :
Old Edison Bulb
Cutter
Glue gun
Glue bottle
Trophy [for the base]
Teflon Tape
Insulation Tape
Soldering iron
Scissors
Pen refill
razor blade
Electronic Components :
DC Motor
LM 317
LEDs
Wires
50 Volt 1000uF*2
50 Volt 10uF
5K Ohm Potentiometer.
104 Ceramic capacitor
220 ohm resistor
SWITCH
1N007 Diode*2
9 volt battery
PCB Board
Step 1: Refining the Bulb


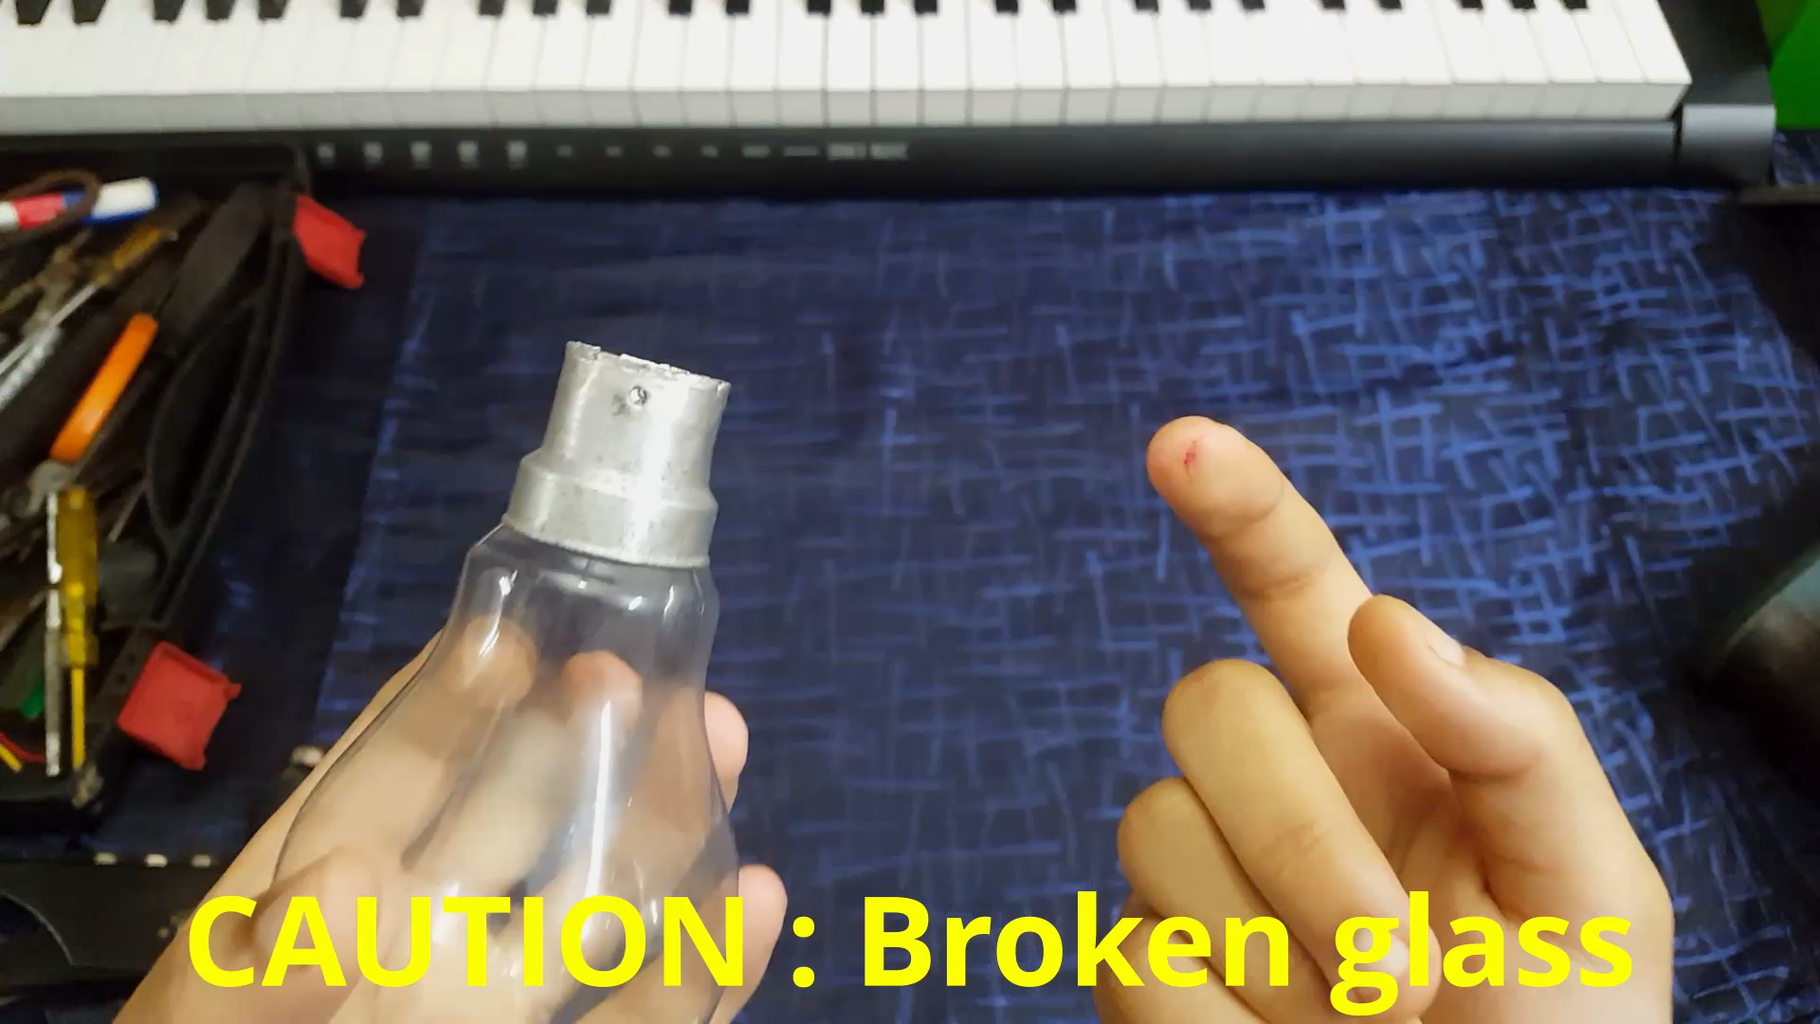


Firstly remove the filament wires and stem from the bulb .
You can remove it by tapping gently the black portion of the base with a sharp object[ screw drivers, knife...].
Don't make the same mistake I did, please be careful while breaking the bulb or you would end up with a wounded finger.
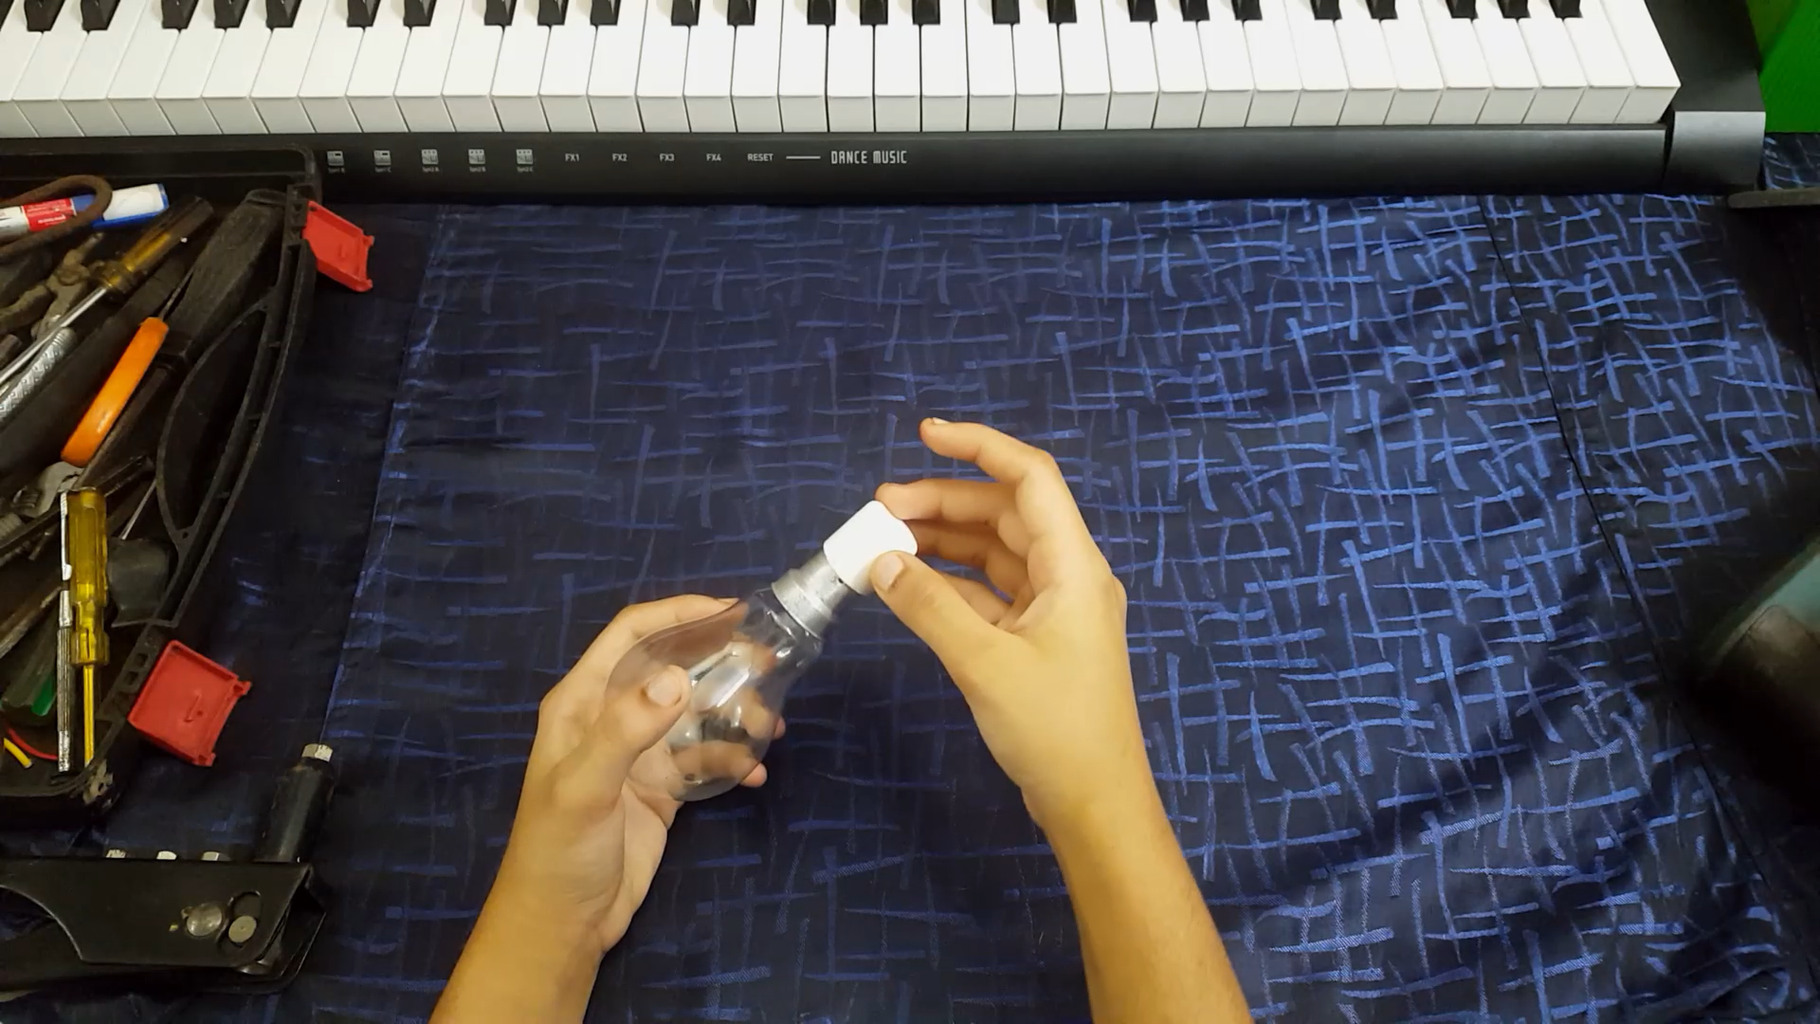
I used an empty glue bottle to cover it's base. It should be noted that the taken bottle should offer a tight fit.
I also used a Teflon tape to ensure a perfect seal.
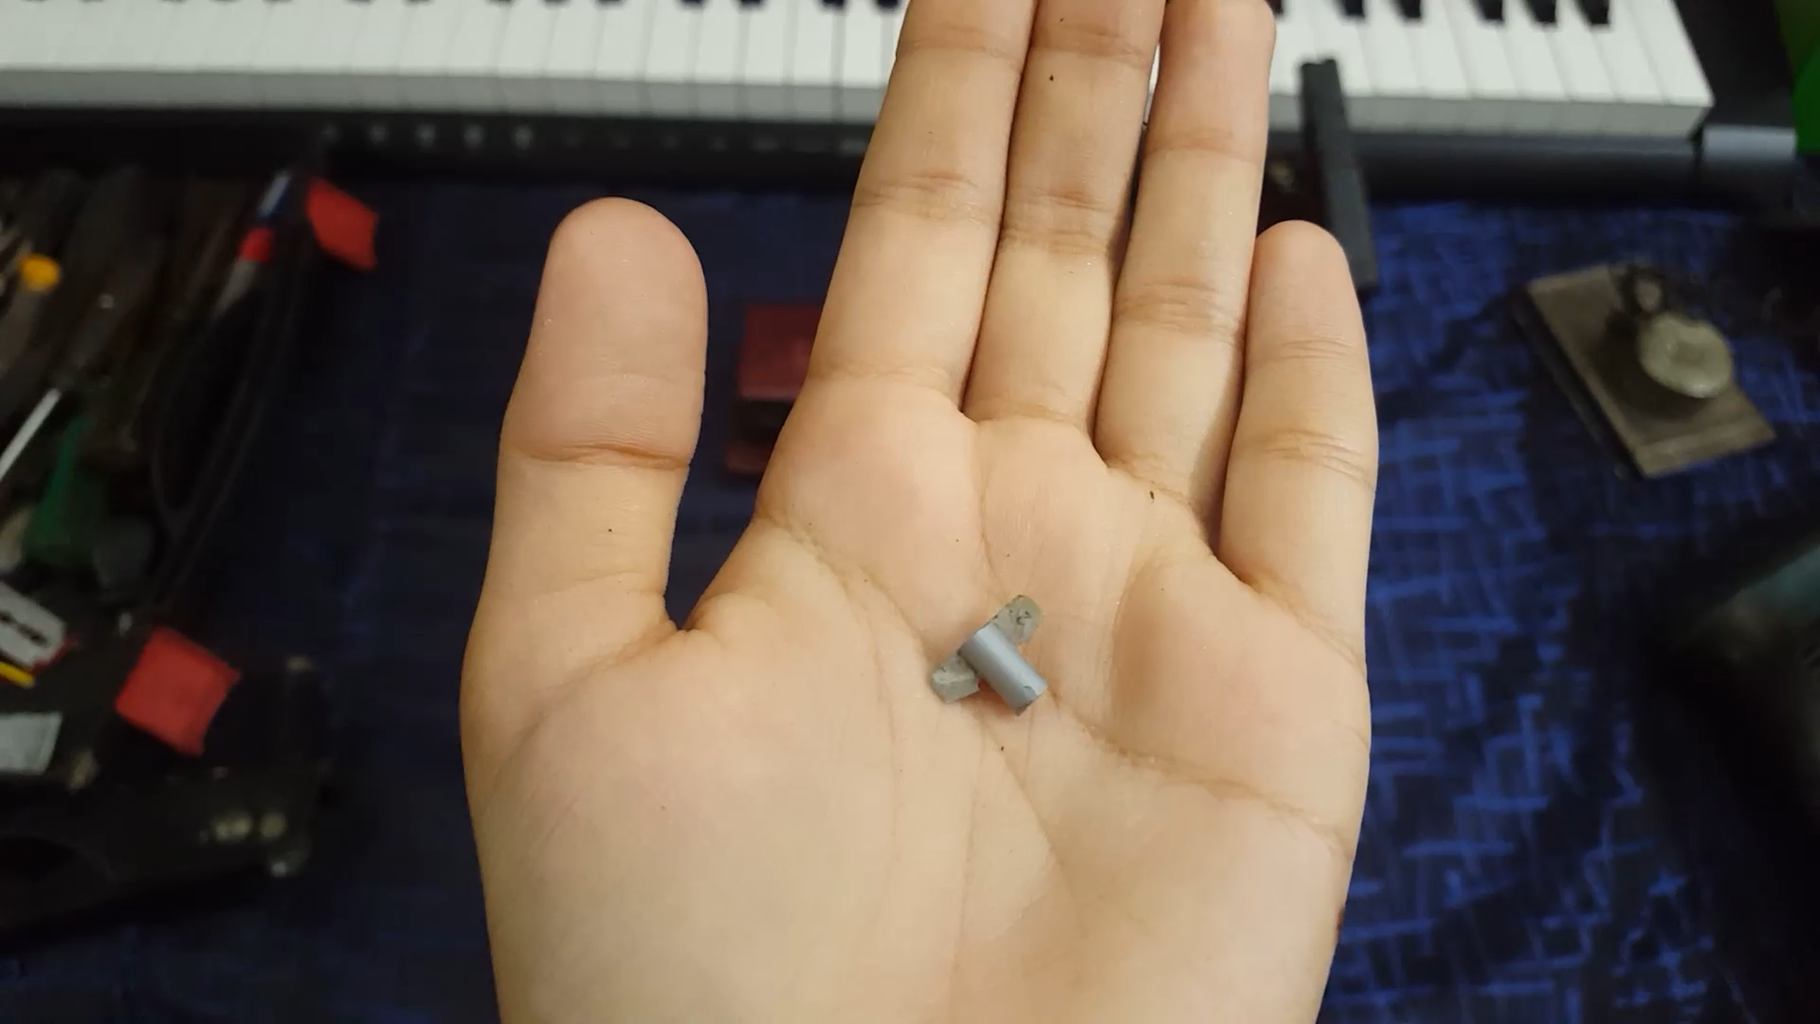
Step 2: Now That's a Stand...


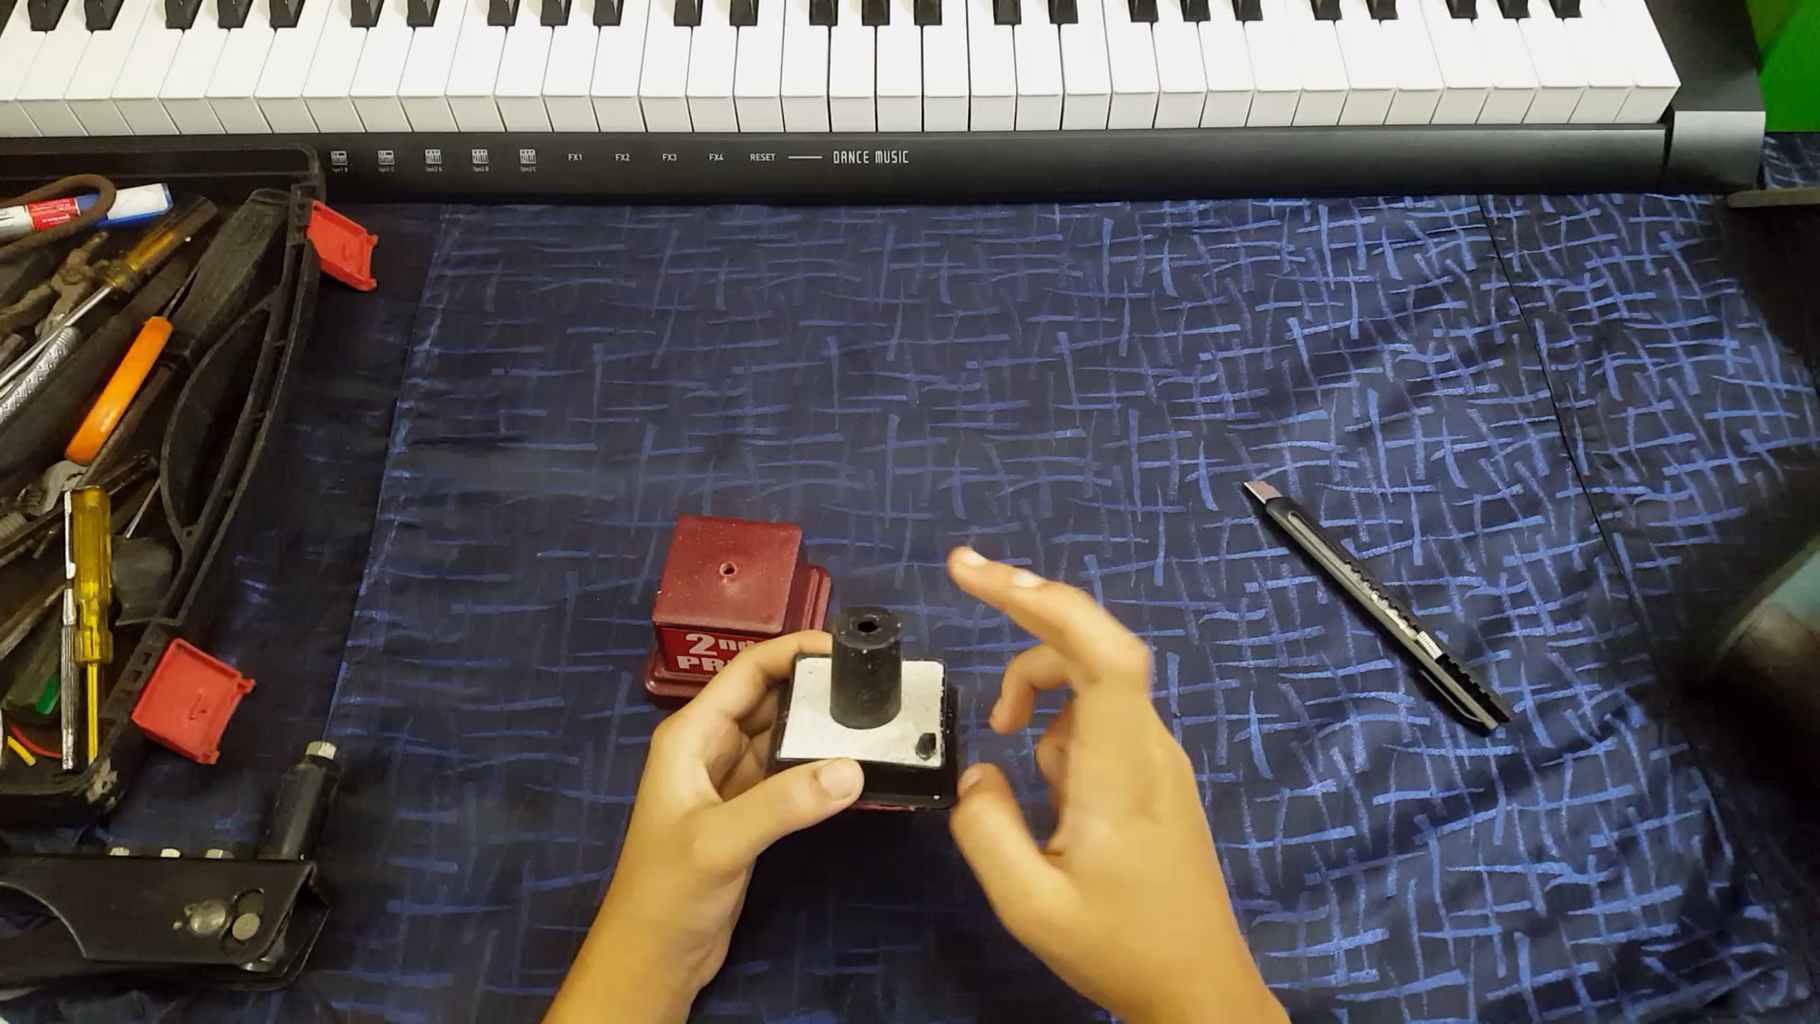


I just used the base of a trophy as the stand. Just refined it and made slots for switch and the potentiometer.
You guys could make stand of your choice. Just unleash your creative mind...
Step 3: Soldering Time...


Just solder everything with reference to the circuit diagram.
Additionally I also added an led and a switch. Solder the led as shown in the last image. The led will add a nice touch to our device. I have chosen red led as it gives the tornado a fiery appearance.
AKA "The Fire Tornado"
Step 4: Now We Need Impeller...


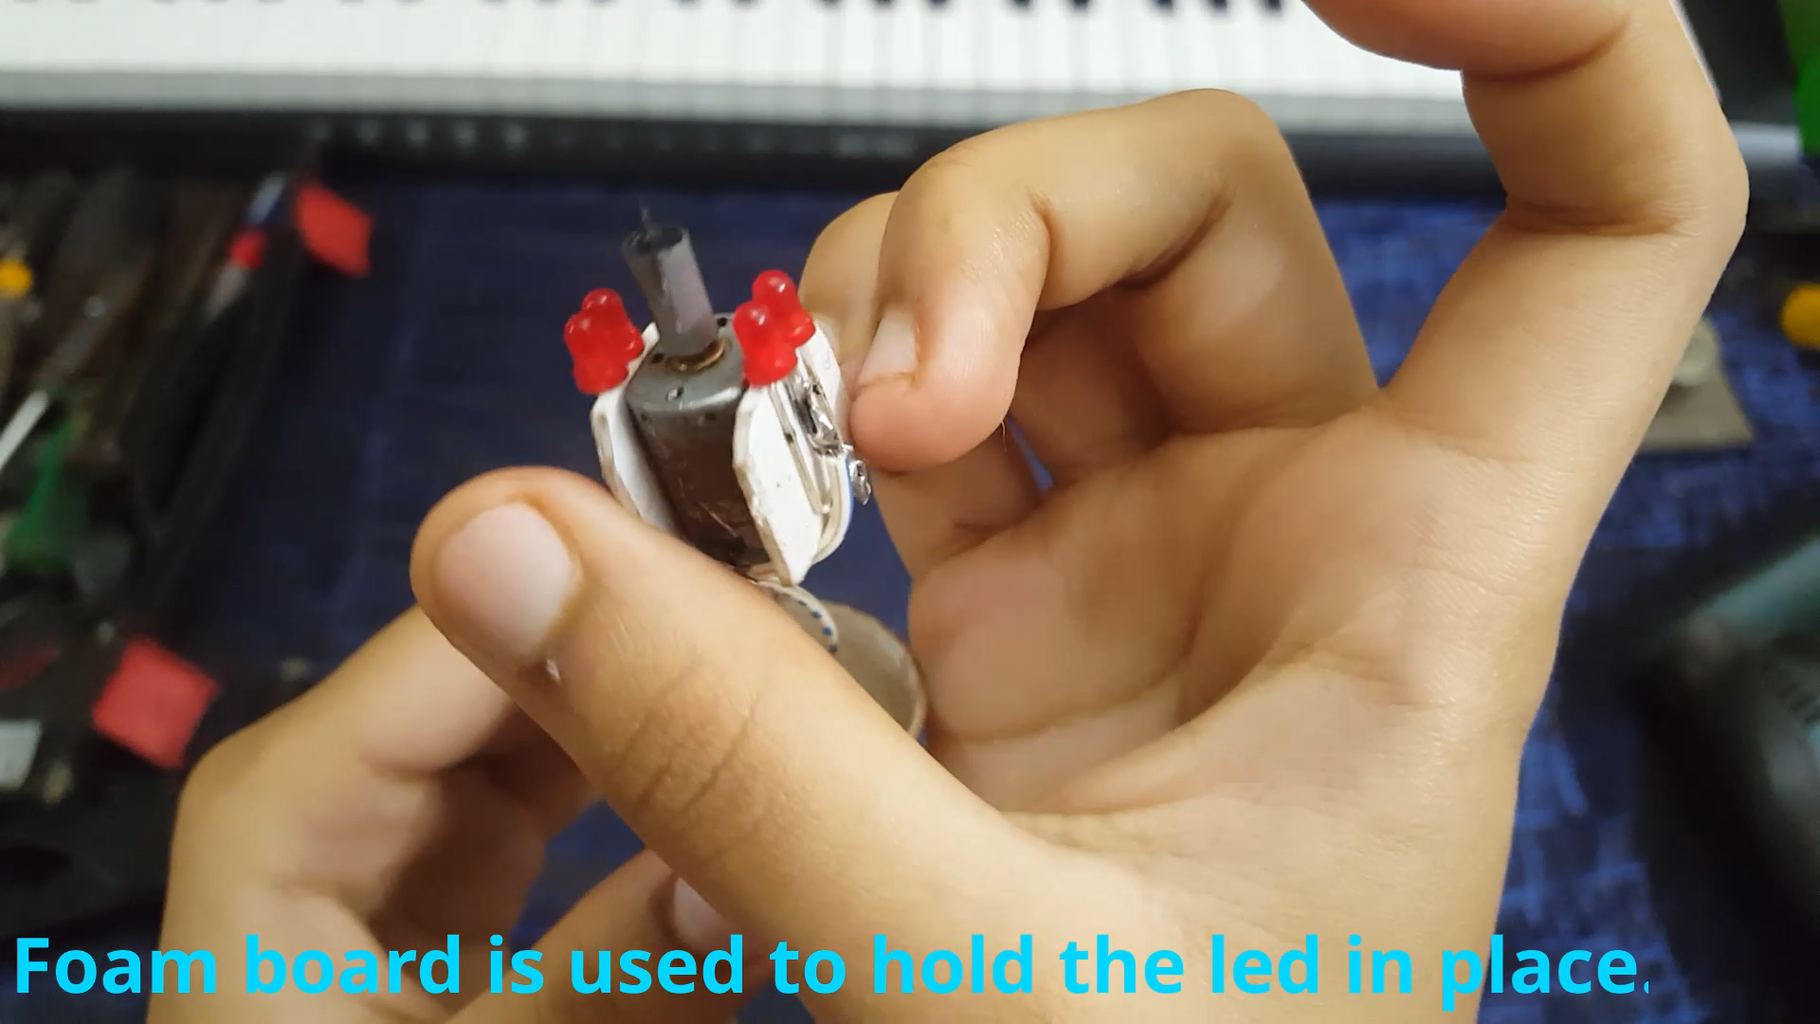

Cut a small section from the pen refill and a razor blade as shown in the pictures. Now glue the parts to make the impeller. Now attach the impeller to the motor shaft. I also soldered the LEDs and the wires to the motor. Foam board is used to hold the led in place. You can also use insulation tape to hold the LEDs in place. Now place the wires of the motor through the seal cap which we have made in step 1.
Step 5: Final Assembly...


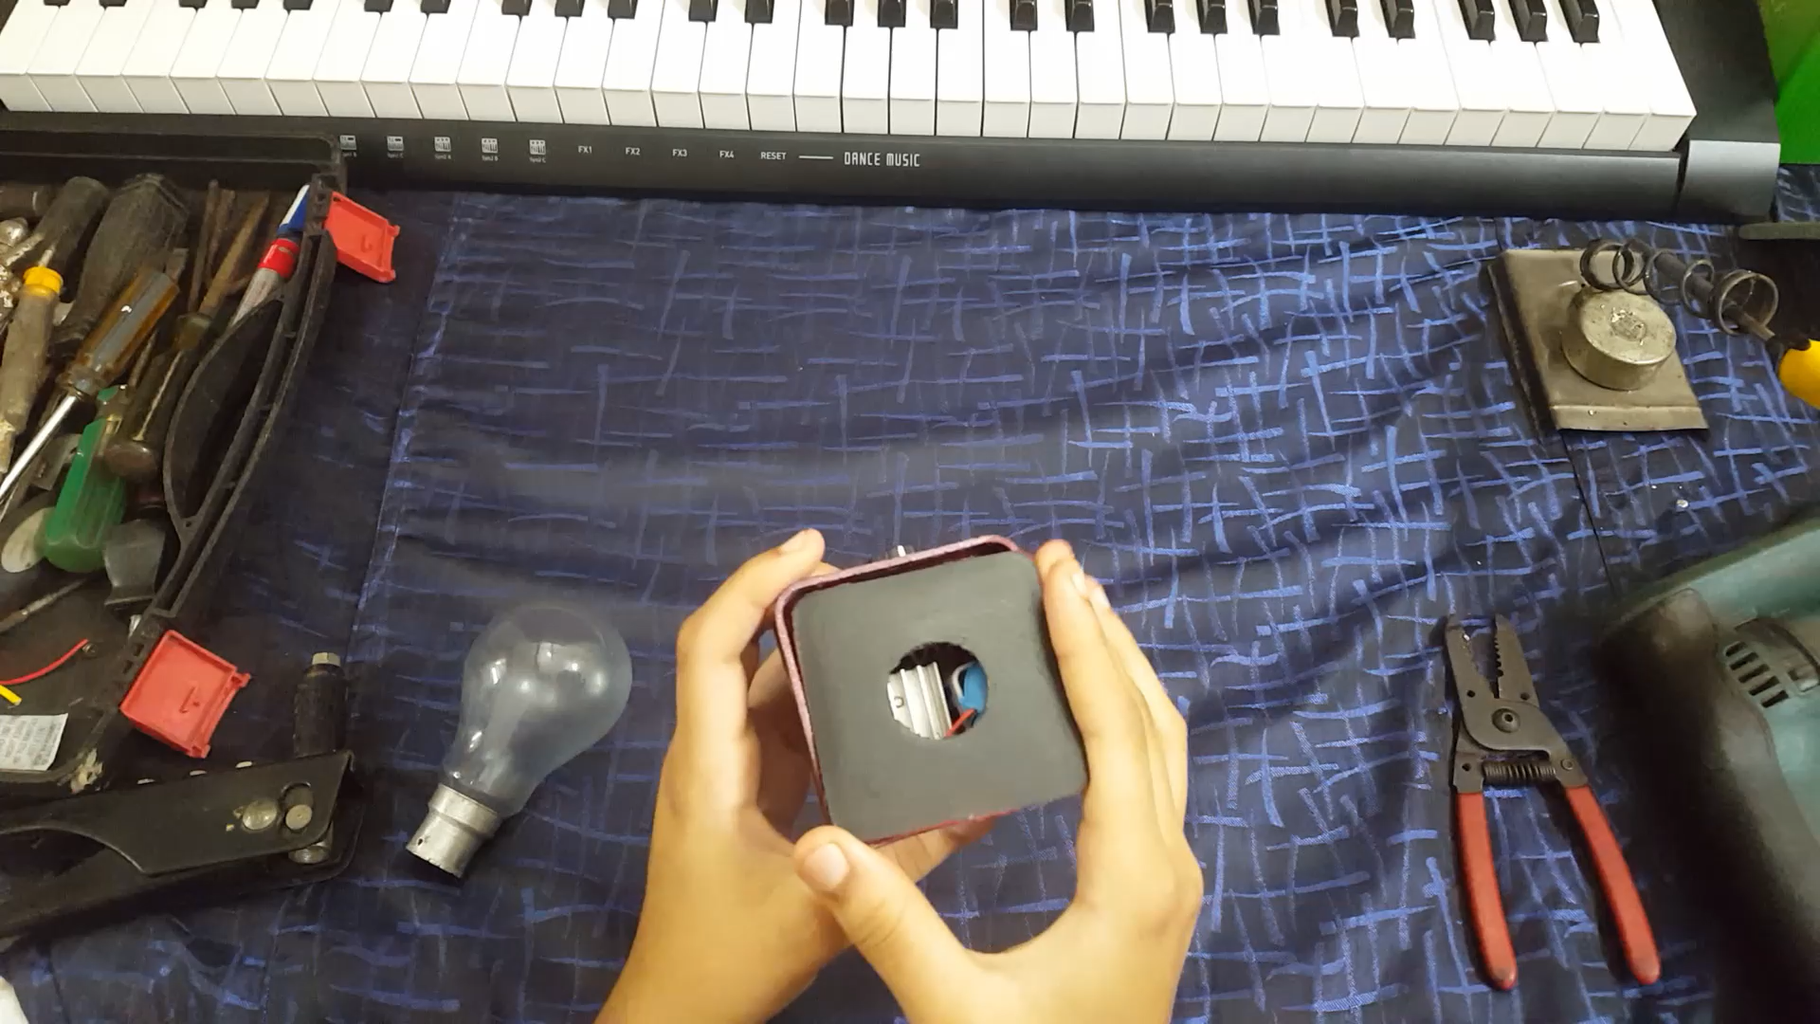


Using glue gun attach the seal cap to the stand. Now assemble everything in place. Now pour water into the bulb and screw it in place as shown in the image.
Switch ON your device VOILA...! Enjoy the visual effects...
Complete tutorial for this project is also included in the attached video.
This device will surely bring out the inner child in you. You guys should surely try this awesome projects.
Thank You for Reading.
Hope you enjoyed my little project. Stay tune for more amazing projects.
Be Creative, Enjoy life....

Participated in the
The Elements Speed Challenge


