

Introduction: Program Arduino Uno in C Language


Hello friends,
In this instructable, i have shown how to program Arduino Uno in C language.
Arduino uses its own language to program Arduino boards,Because its programming language is easy to understand.
But it can also be programmed in C language.
This instructable is beginners who are thinking to program Arduino Uno in C language. (I am a beginner too ;P )
So let's get started.
Step 1: Setting Up Things..

To write code in C, we need a software,
You can use AVR studio & any other coding software.
Here we will use code blocks, a light weight, easy to use & it has a built in software to directly upload code to your Arduino. you can download it here.
when download is done, open it & select new project.
A dialogue box will open.
Select AVR project,
( Yes, there is a Arduino project too, because code blocks also support Arduino programming language too. )
click Go,
Click Next
give the name of the project, (you can also change the destination folder for saving this project.)
click Next.
It will ask for the compiler, default compiler is already selected,
click Next
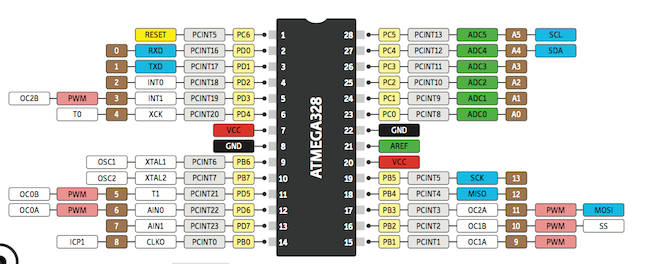
here you have to select chip of your Arduino, ( i am using Uno, so i will select Atmega328p.)
click finish.
A blank screen open. On the left side. There is work space
double click on sources & select main.c.
Step 2: Writing Code.

So we have set up all things
a text file is attached with instrctable, find & download it.
copy the code save in it & paste it in the screen.
{ understand the code.
<avr/io.h> to tell thi chip where all the ports & pins are located.
<util/delay.h> to use built in delay features. for accurate delay
DDRB Data direction register for port B
PORTB5 In Uno, PORTB5 is connected to digital pin 13.
BV bit value. }
now Click on the gear like icon located below the menu bar. it will compile & build all the necessary files.
Now go to tools in menu bar & Click on Arduino Builder.
Attachments

Step 3: Uploading Code to Arduino...
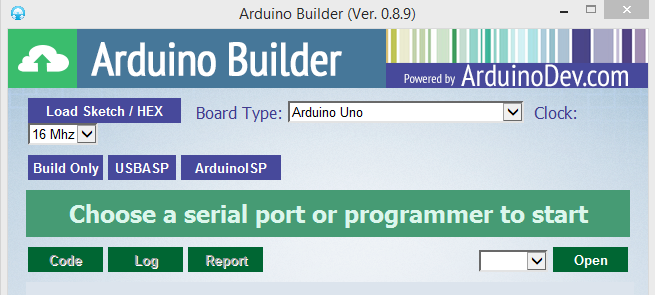
A program will open.
Now attach the Uno to PC.
Click on Load sketch / hex file & browse the hex file from where you had stored it. ( default is in C drive/file_name/bin/debug/ )
Dont change Clock.
Select the COM port of Uno.
as soon you click on COM port, the Arduino Builder will start to program it.
when programming is done, L led on Uno should blink.
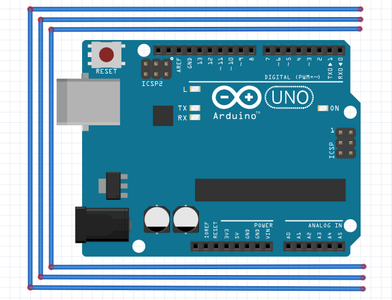
I have used Uno in this tutorial, but you can use any arduino, you just have to know which pin of IC is connected to which digital or analog pin of Arduino.
If you any suggestions or you get any error, you can write me in comment section below.
happy programming ^_^
