

Introduction: Raspberry PI Touch Screen Frame and Case Assembly Guide


One of the most versatile and useful devices / accessory recently on the market for the Raspberry PI is the 10-points touchscreen 7 inches LCD device. The video above show some examples of its performances.
The touchscreen is sold without any frame or support, just the screen and the touchscreen film over it. As it is really a very good quality product to make it more usable and manageable it is the worth to add a support frame and case.
The goal is to make available a support to the screen, protect the touch surface avoiding possible sliding of it and also protect the back side with a case.
Available in different colors the DIY Kit can be bought onDrobott.comfor few dollars; for all the users of Instructables.com I have reserved a surprising special discount introducing the coupon code
9N72YDMU (expires on Nov, 30) when completing the order.
This instructable illustrates step-by-step the assembly procedure of the frame and the case.
Step 1: Kit Components


The kit consists of 6 pieces:
- 1 Front frame: acrylic material, 5mm thick, white semi-transparent opaline machined with a mill machine
- 1 Main back frame: acrylic material, 3mm thick, transparent machined with laser cutter
- 1 Secondary back frame: acrylic material, 3mm thick, transparent machined with laser cutter
- 3 Hardware case, solid ABS, 3D printed and painted. Available colors: white, black, yellow, intense green, light blue
The kit also includes the screws, Allen screws and nuts needed for the assembly.
Step 2: Installing the Front and Back Frame


What you need
In the first assembly step we use the front and back frames.
Remember to remove the protective plastic film from the transparent parts before using them in place.
Obviously you need also the Raspberry PI touchscreen :)
Insert the screen in the front frame
- Put on a soft surface the white front frame top-down so that you can see the internal engraved area; this is the side where insert the front side of the screen.
- Push slowly the screen from the back side inserting the device in the front frame. Note that the front frame is designed to host the screen without forcing it but you should press a minimum to complete the insertion.
- Insert the four Allen screws from the bottom in the corresponding holes
- Lock the two frames with the provided nuts. close firmly the two frames together with an Allen key without forcing the two plastic side that can broke.
The four Allen screws can also be used to insert the device with the frames in another support, depending on your needs and usage.
Step 3: Assembling the Second Back Frame


The second back frame can be installed separately without the 3D printed case.
- To install the second back frame follow these steps:
- Without fixing the touchscreen controller board insert the second back frame following the orientation of the images.
- Center the frame on the back of the touchscreen then add the four blocking screws with the washers.
- Now fix the controller board with the long nuts and add the Raspberry PI board on top.
Step 4: Assembling the Second Back Frame With the Case


If you are assembling the full kit including the 3D printed case follow the previous step without blocking the second back frame with the four screws and washers. Then, use the short screws instead of the long nuts to block the touchscreen controller board to the back of the screen.
- Using the provided Allen screws and nuts, fix the first two parts of the case together creating the base of the case.
- Check that the controller board power cables and flat signal cables are correctly inserted in the connectors.
- Pass-through the cables in the case base as shown in the images and put the case base in place.
- Fix the case base with the four screws provided.
- Insert the Raspberry PI on top of the case base
- Fix the Raspberry PI to the case base with the four screws provided
- Insert the data flat cable in the top case as shown in the images the insert the cable in the Raspberry PI display connector plug
- Insert in a similar way the power cables inserting in the Raspberry PI 40 pins header.For detailed instructions on how to connect the touchscreen display cables to the Raspberry PI please refer to the Element14.com tutorial.
- Put the top case over the Raspberry PI and double check that all the connections are correct.
- Close the case with the 4 screws provided as shown in the images.
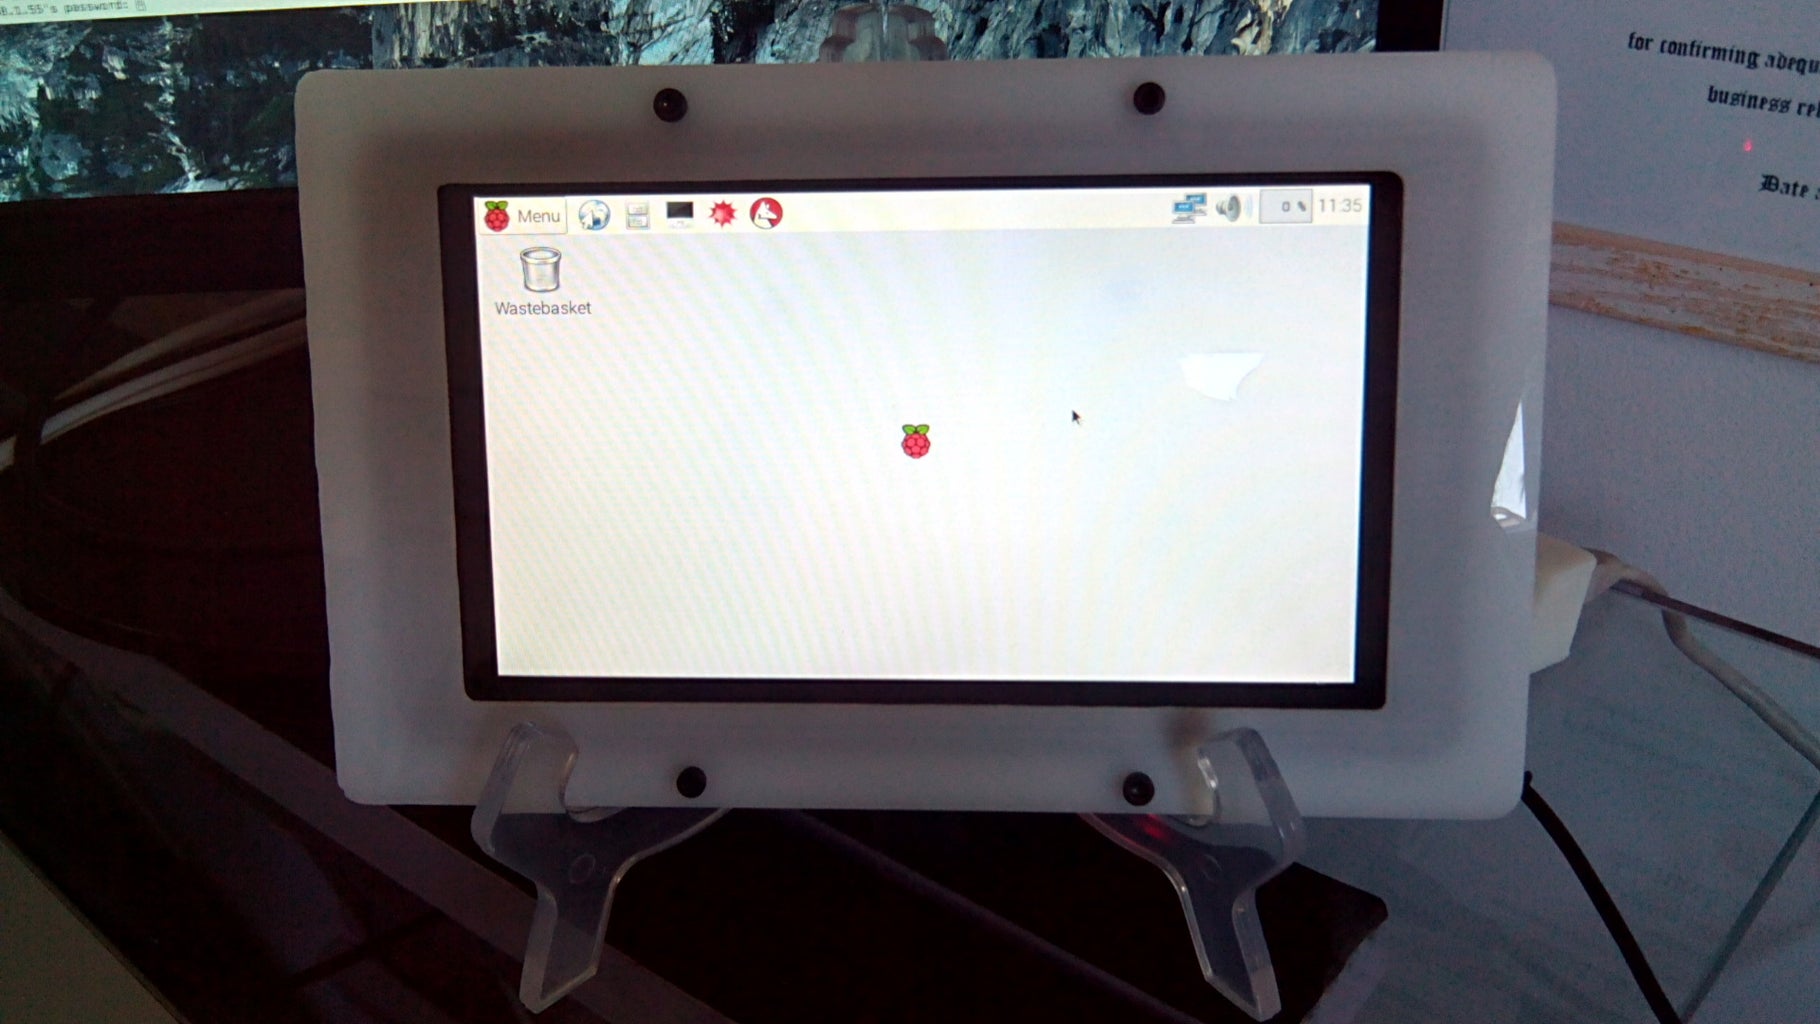
Congratulations!!!
Now you system can be powered and boot.

Participated in the
Epilog Contest VII


