Introduction: Trigger Smartphone Camera With Arduino


This tutorial shows you how to trigger a smartphone camera with an arduino every 2 seconds. You can modify this for your camera to trigger when
-a button is pressed
-motion detector is trigger
-receive a twitter tweet , etc
Step 1: Trigger a Smartphone Camera With an Arduino


Parts:
-breadboard
-jumper wires
-MCP4131 - 10K DIGITAL POTENTIOMETER ($3 CAD)
-arduino uno
-smartphone (any)
-TRRS Audio Jack ($2 CAD)
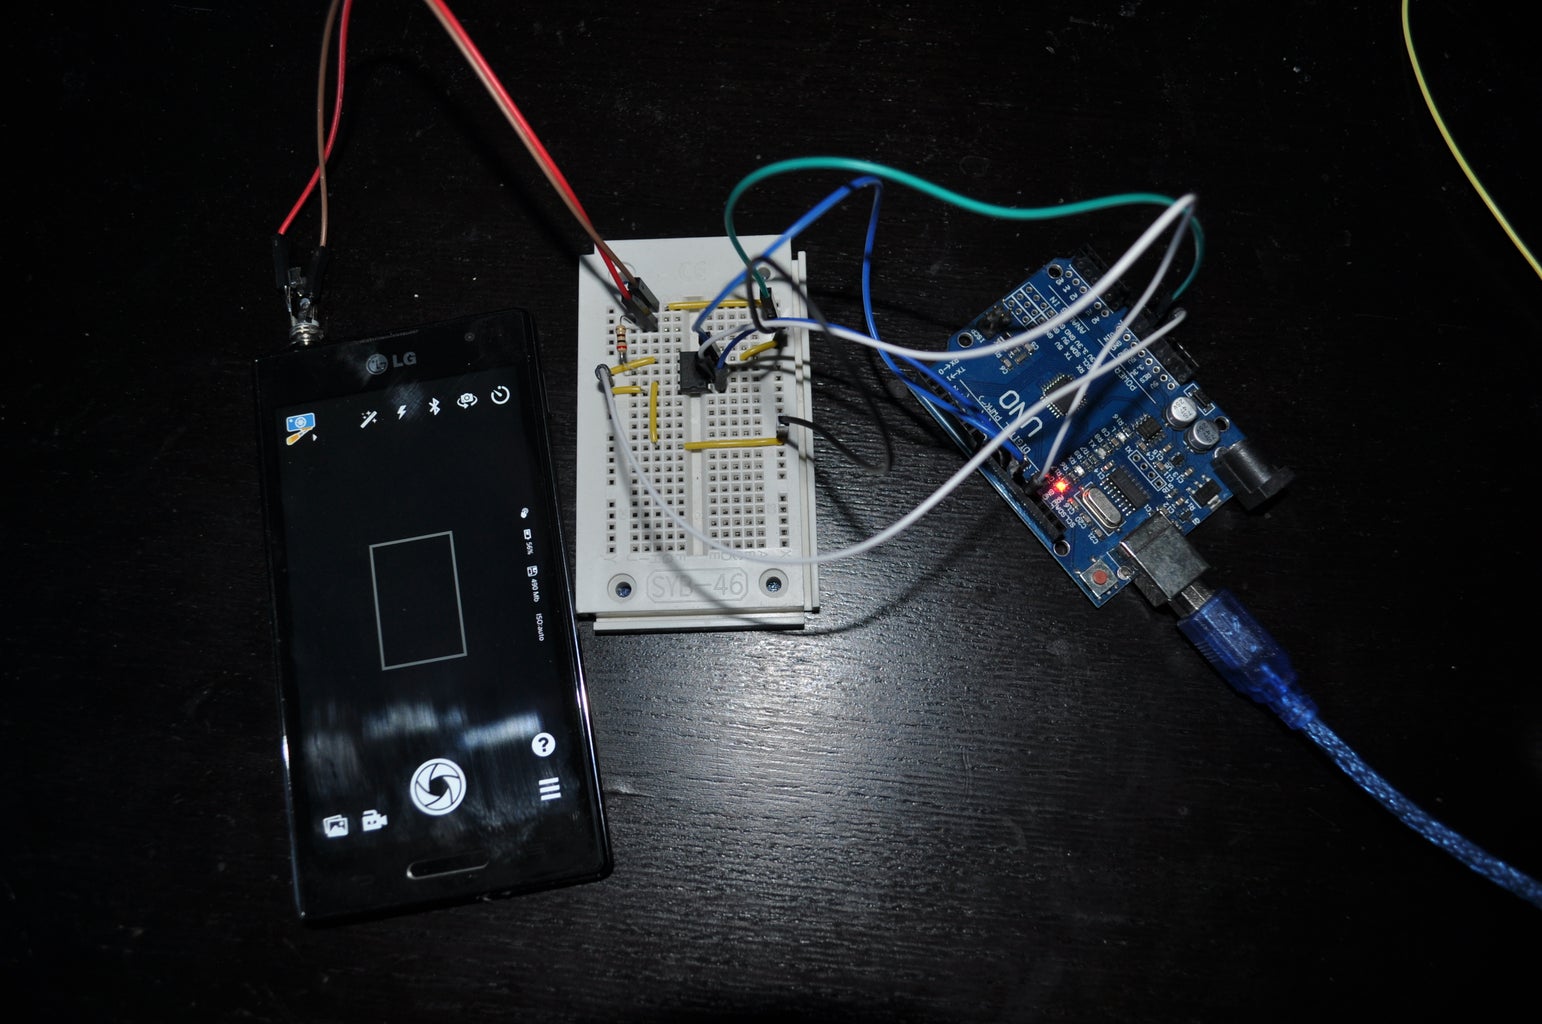
Step 2: Wire It Up and Solder TRRS Audio Jack


How the TRRS audio jack works:
The audio jack has 4 parts. -left -right -ground -mic
When the mic and ground are connected, it will trigger a smartphone. With a camera app, it will trigger the shutter button. Self-sticks use this.
If the mic and ground are connected directly, the shutter button will constantly be trigger. To fix this, a digital potentiometer is placed in between the mic and ground.
A digital potentiometer can electronically adjust resistance. When I want to take a picture, the digital potentiometer has 0 resistance. The connection between mic and ground is made. Camera triggers.
When I don't want to take a picture, the digital potentiometer has 10k resistance. The connection is blocked. no picture is taken.
TIP:
Before Soldering jumper wires to the audio jack. Plug in audio jack into phone with phone app on(link below). Physically connect the mic and ground with 1 jumper wire. The camera should trigger. Sometimes it works better to solder jumper wire on the outside tab on audio jack. Test where on ground and mic is best to trigger your phone before soldering.
Step 3: Code
#includebyte address = 0x00; int CS= 10;
void setup() { pinMode (CS, OUTPUT); SPI.begin(); } void loop() { digitalPotWrite(0); // no resistance here. Camera is triggered. delay(500); digitalPotWrite(128); //resistance here. Camera is not triggered. delay(2000); } int digitalPotWrite(int value) { digitalWrite(CS, LOW); SPI.transfer(address); SPI.transfer(value); digitalWrite(CS, HIGH); }
Step 4: Download Free SelfiShop Camera APP