

Introduction: Turn Your Messy Luos Biometric Security System Into a Clean Prototype


If you're here you must have seen one of my Luos Biometric Security System, if not then go check them out :
- Arduino version
https://www.instructables.com/Create-a-Luos-Biometric-Security-System-on-an-Ardu/
- Nucleo L432KC version
https://www.instructables.com/Create-a-Luos-Biometric-Security-System-on-a-Nucle/
Now that everyone know what we are talking about, let's all agree that this system isn't very practical as is and could really use some protection.
Let's build a case for this bad boy !
Supplies
Step 1: Let's Print Some Samples


If you used different components than me don't forget to modify mydesigns.
To be sure that everything fits properly print some samples and alter (or not) the designs accordingly.
The leds are supposed to stay in their hole without help, the buttons, lcd and servo need to be fixed with screws and you have a gif to show you how the fingerprint is supposed to fit.
Don't forget to edit the whole front piece file and not just the sample file !
Here are a few pictures of the evolution of my designs throughout the tests process.


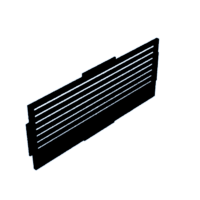
Step 2: The Big Print

Now that we made sure every component fit, let's print everything !
Attachments


Step 3: The Assembly


Once you've printed everything you can take the front part.
Fix the servo motor with 2 of the provided screws and then fix the LCD screen with those you have left.
Place thefingerprint sensor in his hole, slide the long piece under to elevate it and then slide the last little piece to stabilise the whole thing.
Take the other screws and fix the buttons.
Place the leds in their respective hole.
Place your board(s) on the bottom part.
Put the back on the bottom then add the left and right sides.
Then you can put the power cable of your choice into the hole in the left side and plug your board(s).
Finally, add the front part and top it off with the last piece.
Step 4: Last Touches

For a clean finish, identify the function of each buttons, print labels, mine are Enroll, Delete, Up and Down. Stick them next to the right button and you're done !

Participated in the
Anything Goes Contest 2021


