

Introduction: 100 Subscribers Youtube Play Button !
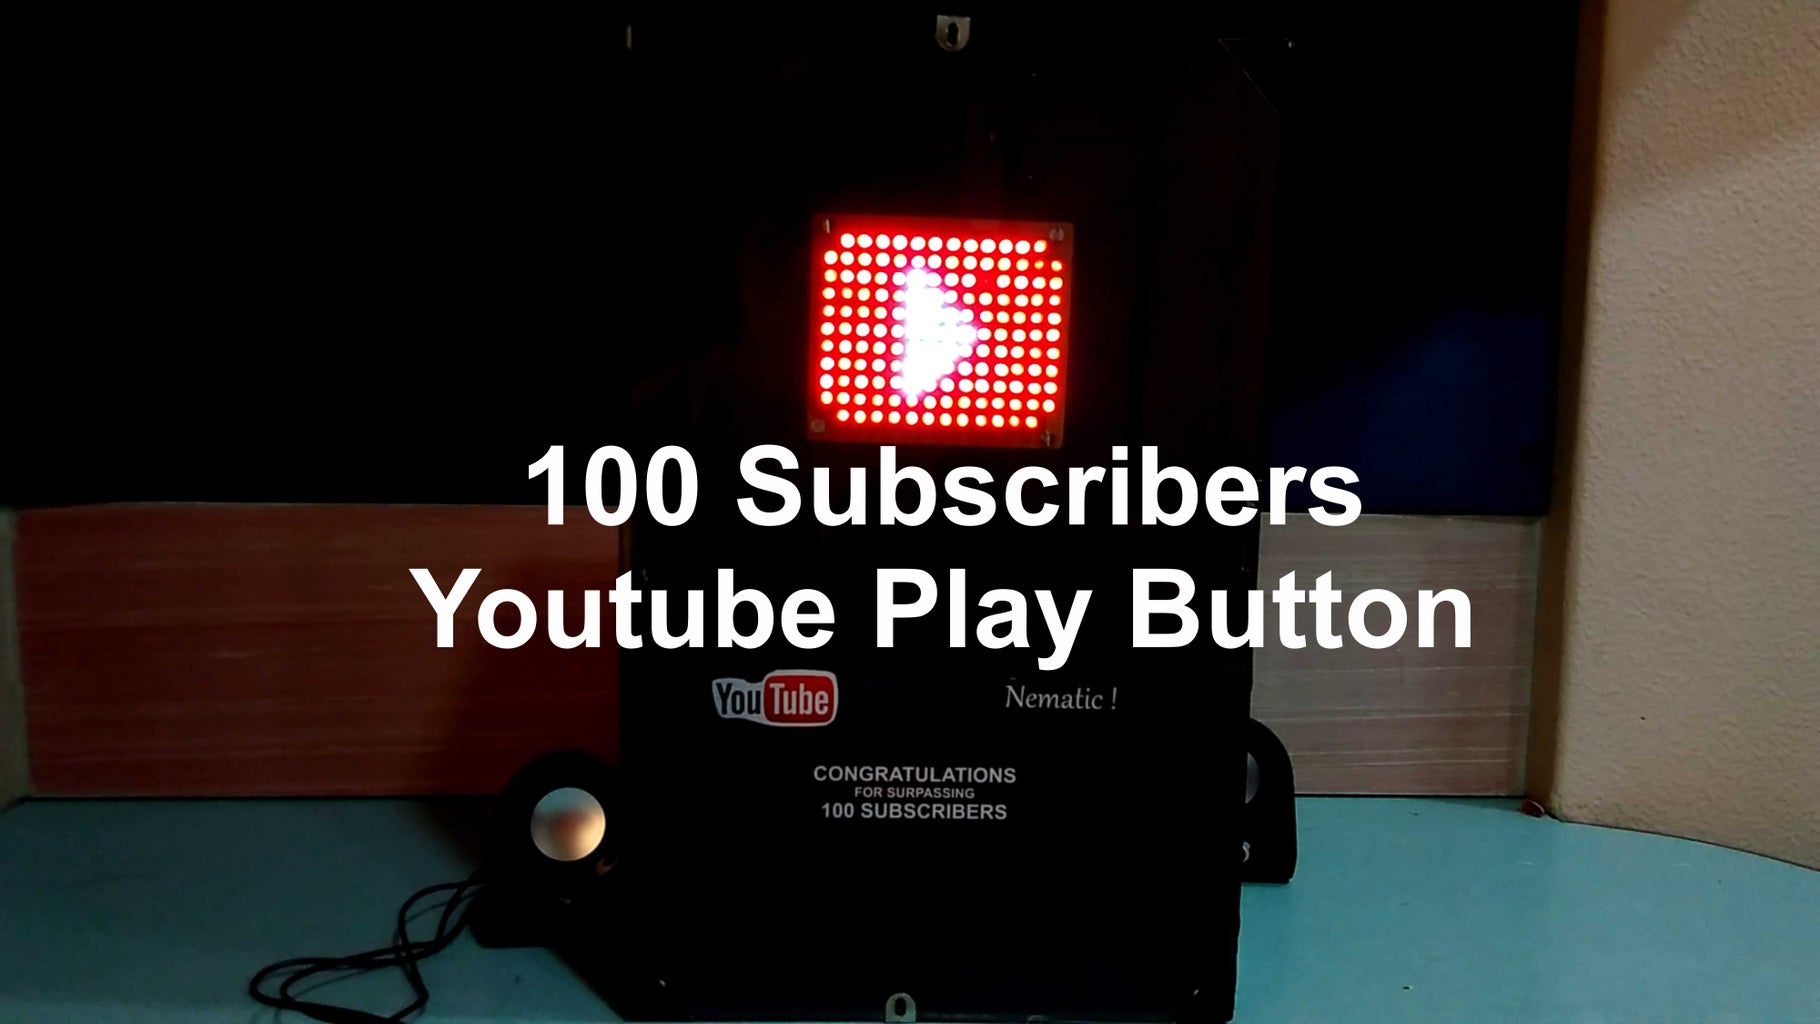


As the title says, Since my Youtube channel has crossed 100 Subscribes it is time for some celebrations, So I decided to buit my own 100 Subscribes Play Button ! So without anymore further delay Let`s get Started !
Step 1: Construcing Play Button Using LEDs


For this step we will need tons of LEDs.
Start placing them on the PCB and create the Play Button Symbol. Once LED`s are placed flip them over for the next step which is soldering.
Step 2: Soldering LEDs


Start soldering from outside and go inside by cutting of the extra leads of LED`s.
Once done it should look like this don`t worry we can simply fix it by heating up both the lead s of LED and applying force on other side. After that it will be fixed.
After all the LED`s are solders solder them in the arrangement shown in last picture.
Step 3: Components for Main Circuit


For the main circuit we will need
-microphone
-LM358
-IC 4017 and
- PCB
here it is how it is going to work
Our Microphone will be the input for the LM358 which will amplify it and give the output to the IC 4017 which make the LED`s to react to the music.
Step 4: Soldering the Main Circuit


I started with the IC Base and then Capacitor, Resistor, soldered all of them together and the circuit was complete ! and for the power I used an old 9V power supply. After this I added the LM358 and IC 4017 to their place and powered whole thing and tested it using a single LED.
Step 5: Constructing Frame


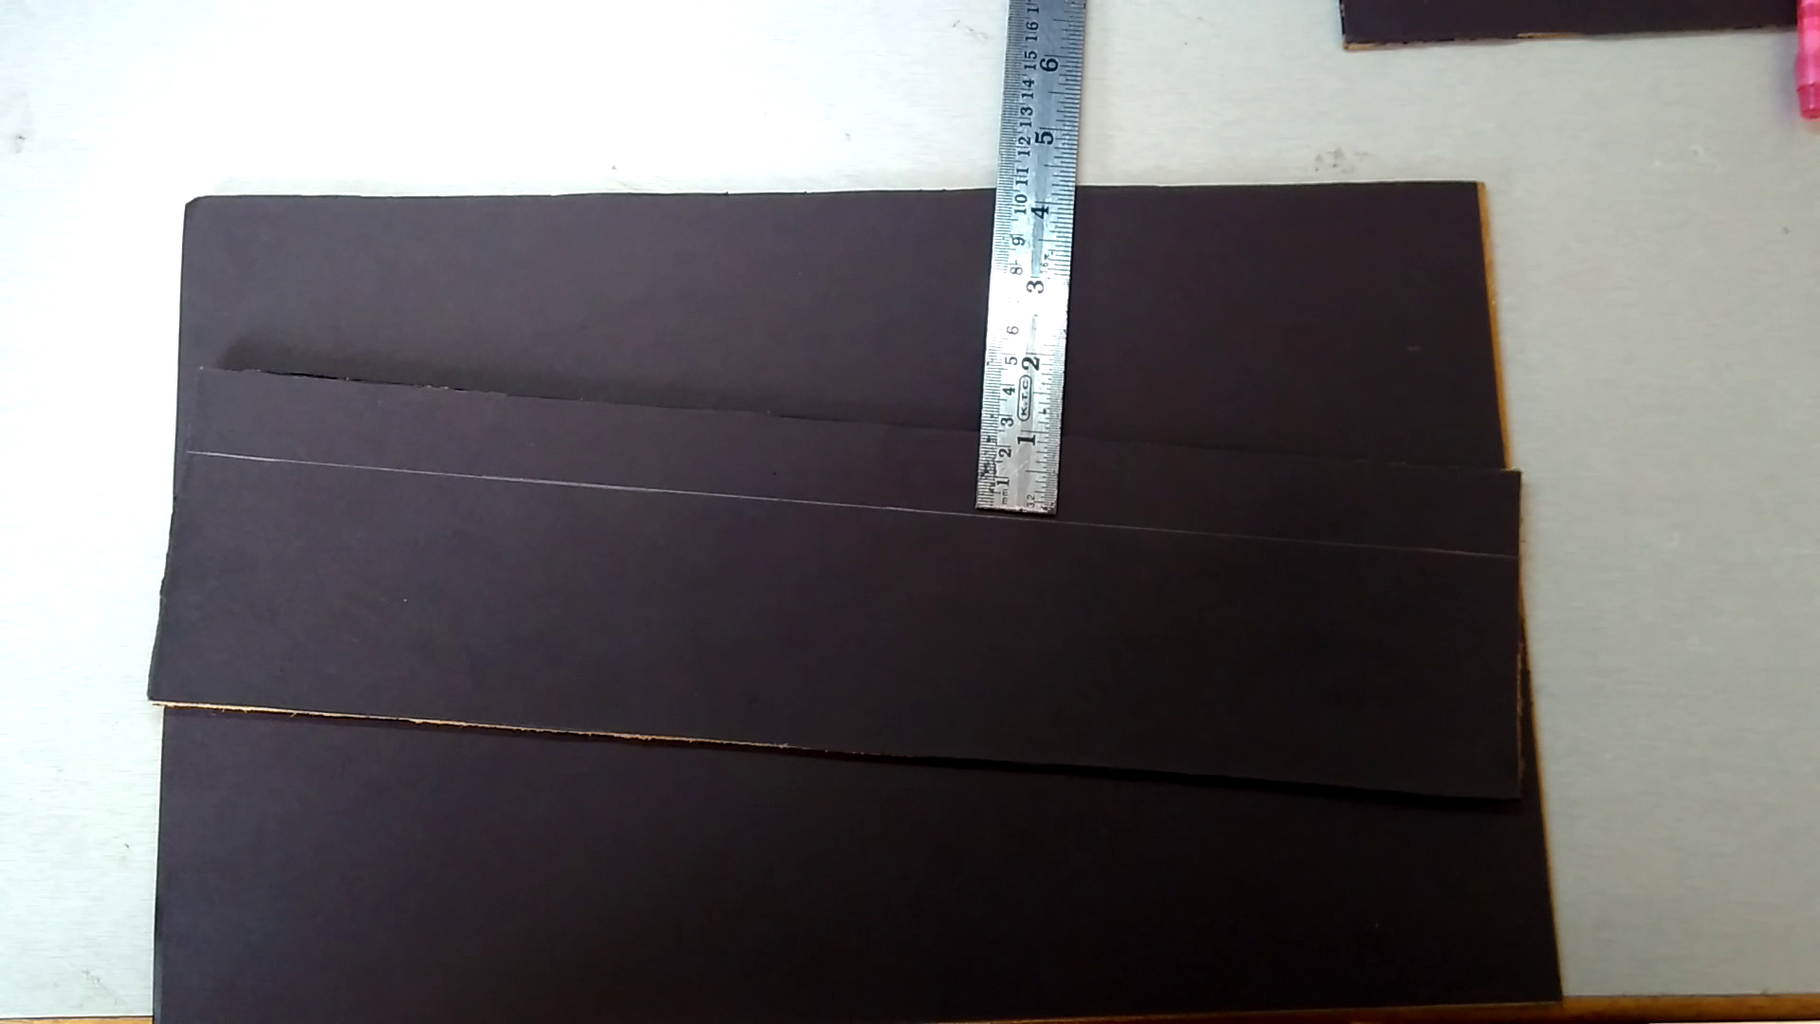


For the frame construction I used MDF of the following measurement
- 26*16 inch
- 16*4 inch
- 26*4 inch
Now I glued the black paper on top and bottom of all the piece.
After this mark a line of 1 inch on all side piece and then hold the middle piece perpendicular on the side piece over 1 inch line.
Now we will need the part shown in 7 th picture which you can find it in any hardware store.
Put some hot glue at a point an then Place the part on top of it to give frame rigidity. Once the glue settles put some more hot glue in between both frames. Similarly repeat the same procedure for all the parts.
And our frame is Done !
Step 6: Play Button and Frame !


First drill four holes on the Play Button then mark the position in the frame where we need to fix the Play Button. Also drill hole in the middle of four holes for the wire to pass through.
After drilling the holes first solder the wires on the Play button and the pass all the wires through the middle hole then we will need Screws and spacers to fix the play button on the place !
Step 7: Behind the Play Button


Now Solder the wires to the main PCB and secure the PCB to a safe place I screwed it behind the Play Button on leftover screws and hot glued the power supply PCB at the bottom of it at the end used I used zip ties to do some cable management to make it look clean !
Step 8: Final Step


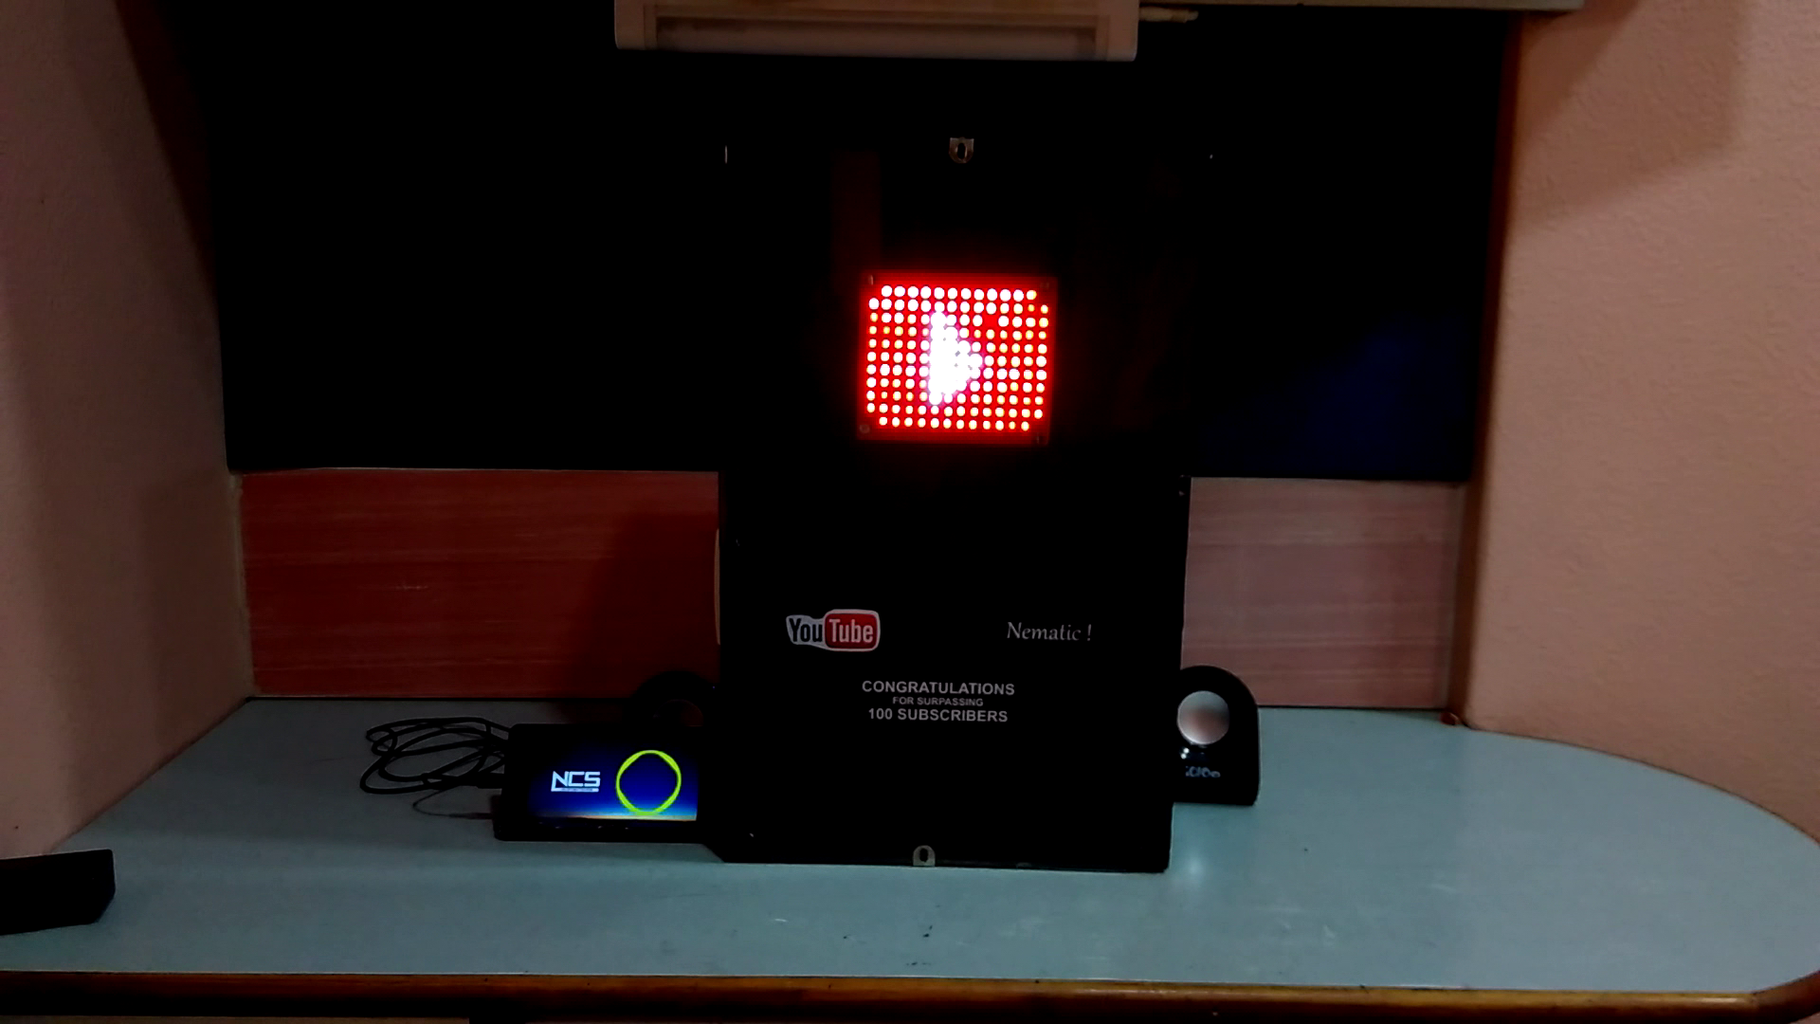
For the final part I used a piece of glass to cover it up but before that I added Youtube stickers and It you done !
If you want to watch it working Click Here

Participated in the
LED Contest

Participated in the
Lamps and Lighting Contest 2016


