

Introduction: 36" SailPlane Build

Step 1: Materials


Materials needed:
-1/16x1/16" Balsa Strips/bass wood strips
-1/8x1/8" BasswoodStrips
-1/32x1/2" Balsa Strips
-1/32x4" Balsa Sheet (I also used a 1/32x4" "light" balsa sheet that bends easily, I'm sorry I don't know the exact name)
- 1/16" plywood
-Hinge tape (or even clear tape will work for rudder and elevator controls)
-Tissue paper
-Cardstock or paper
-White Glue
-CA Glue ( I used medium)
-sharp craft knife
-electronics of your choice
What I do when I'm making a plane or glider from scratch is draw up some basic plans and designs of what I generally want it to look like. Measurements include, wing span, wing chord, fuselage legth, width, higth, etc. Then I go to drawing the airfoil. I used an airfoil that I made up but there are surely several and more efficient airfoil designs than the one that I have.
Measuements:
Wing Chord: 5"
Wing span:36"
fuselage length:24"
fuselage hight:1 1/2"
fuselage width:1 1/4"
Vertical stablizer:
hight: 4 3/4" tapered up to 5 1/4"
fin length: 2 1/2"
rudder lenght: 1 1/2"
Horizontal stablizer:
length: 4"
width: 10"
Step 2: Wing


Wing:
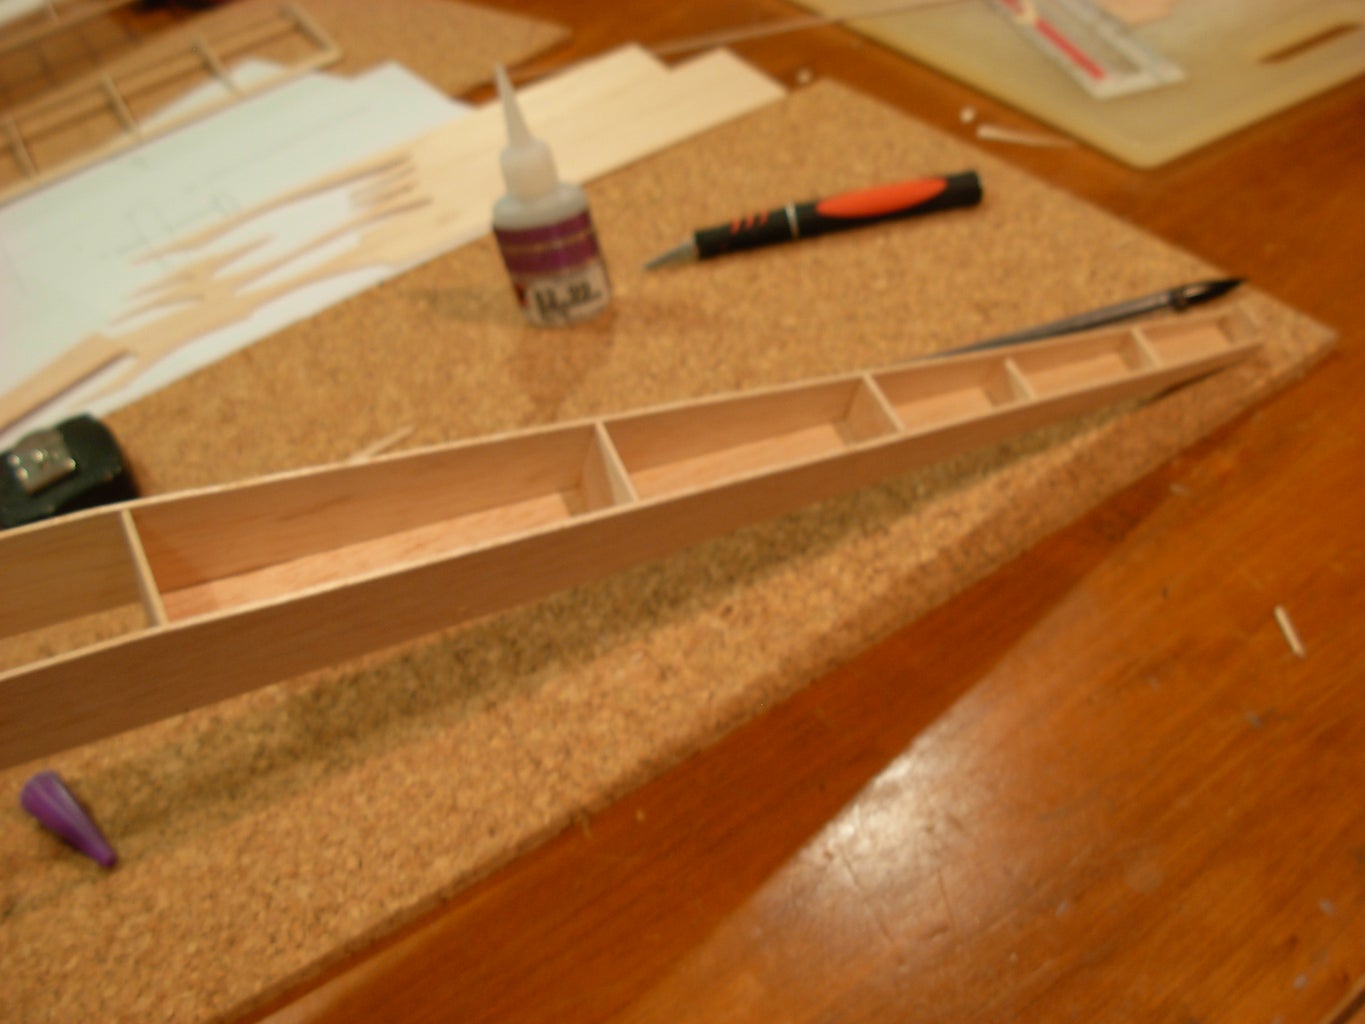
I start out with cutting out the basic shape of the ribs, a stencle is nice. Then I go back and cut out slots for the spar, leading, and trailing edge. In this case the spar STARTS at 1 1/2" back from te leading edge. Cut the spar 1/8" basswood spar at 10" in length and CA it to the ribs at 2 1/2" spacing between each rib. It helps if you dry fit everything first so you don't pull your hair out later (trust me...) Then CA the 1/16" basswood strip lining up with one end to the front, this is your leading edge. Trim off the excess strip on the other end. Then repeat the same process with the 1/32x1/2" balsa strip on the trailing edge of the wing, trim off the excess like before. You now should have a 10" segment of your wing. repeat this for the other side of the wing.
Wing tips:
These are kind of tricky to explain but I set it (mock set up of the wing tip) against a square and measured 1 1/2" down from the leading edge, this is were the spar will go so it will line up with the main wing segment. The first three ribs you see ( left to right) is generally tapered from 5" to 4" then the last 2" is from 4" to 3". I spaced the ribs on the wing tips every 2". The trailing edge and spar are both 8" and the leading edge is cut into 6" and 2" segments. All I did to the ribs is cut the leading edge of the ribs in 1/4" increaments. then the very tip of the wing is 2 1/2". Then CA it all togeather.
Step 3: Fuselage


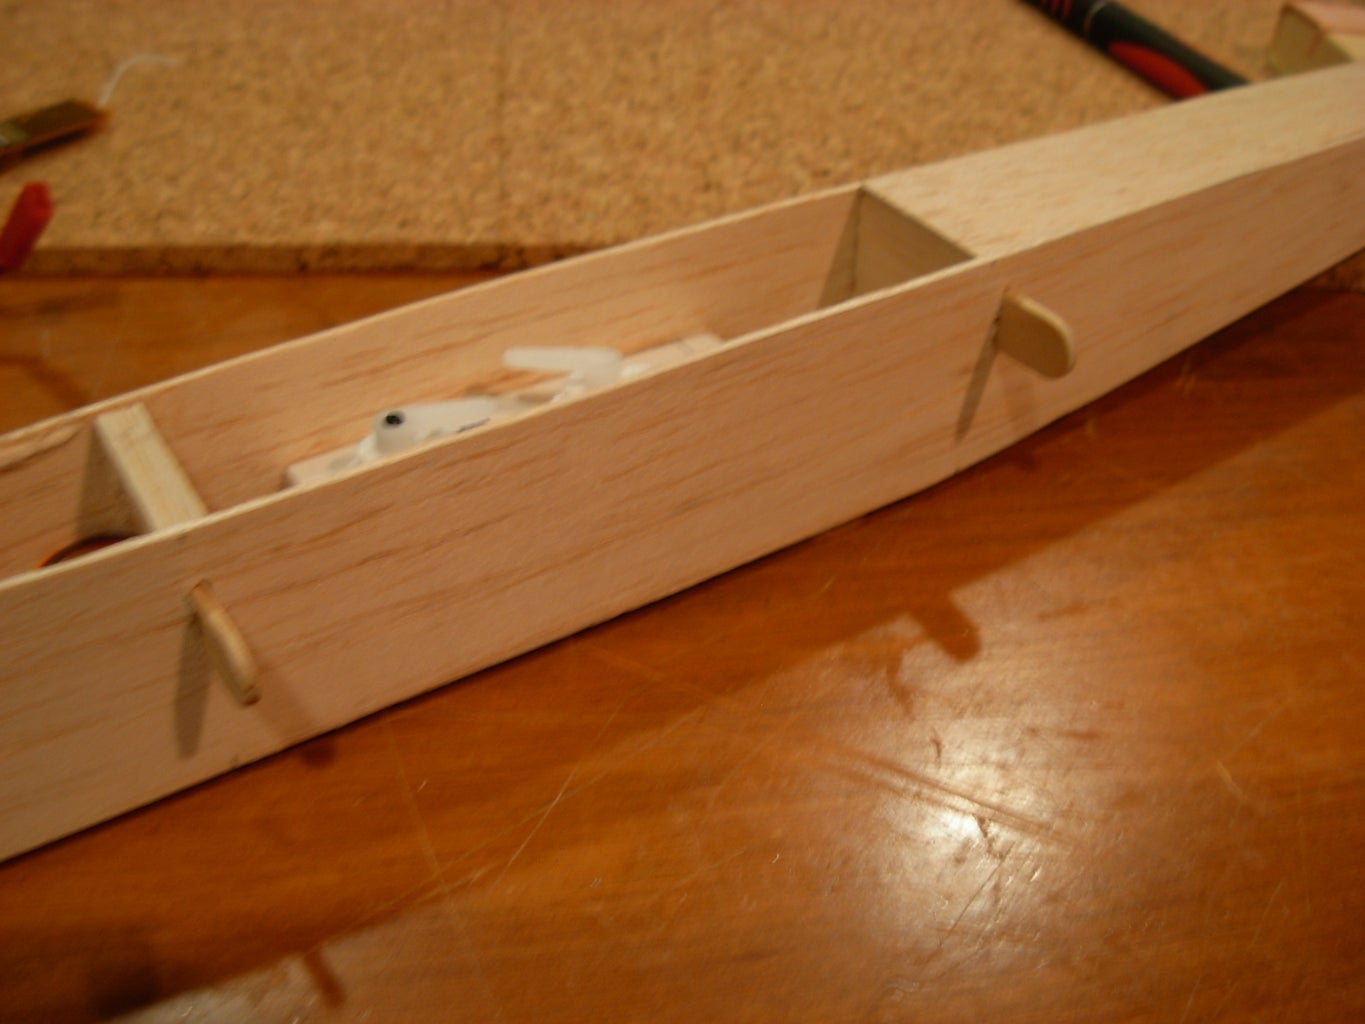

In this case the fuselage shape doesn't matter that much as long as it fits the design and is light on weight and is slim you'll be fine, and to tell you the truth I don't know the exact measurements of it. But depending on your electronics this is what the basic layouts were for me:
length 24"
hight 1 1/2"
width 1 1/4"
I also had a top made out of the same balsa sheet for the fuselage, but no bottom to save weight.
Also dowls or something else for tying the wing down with rubber bands.
Step 4: Tail


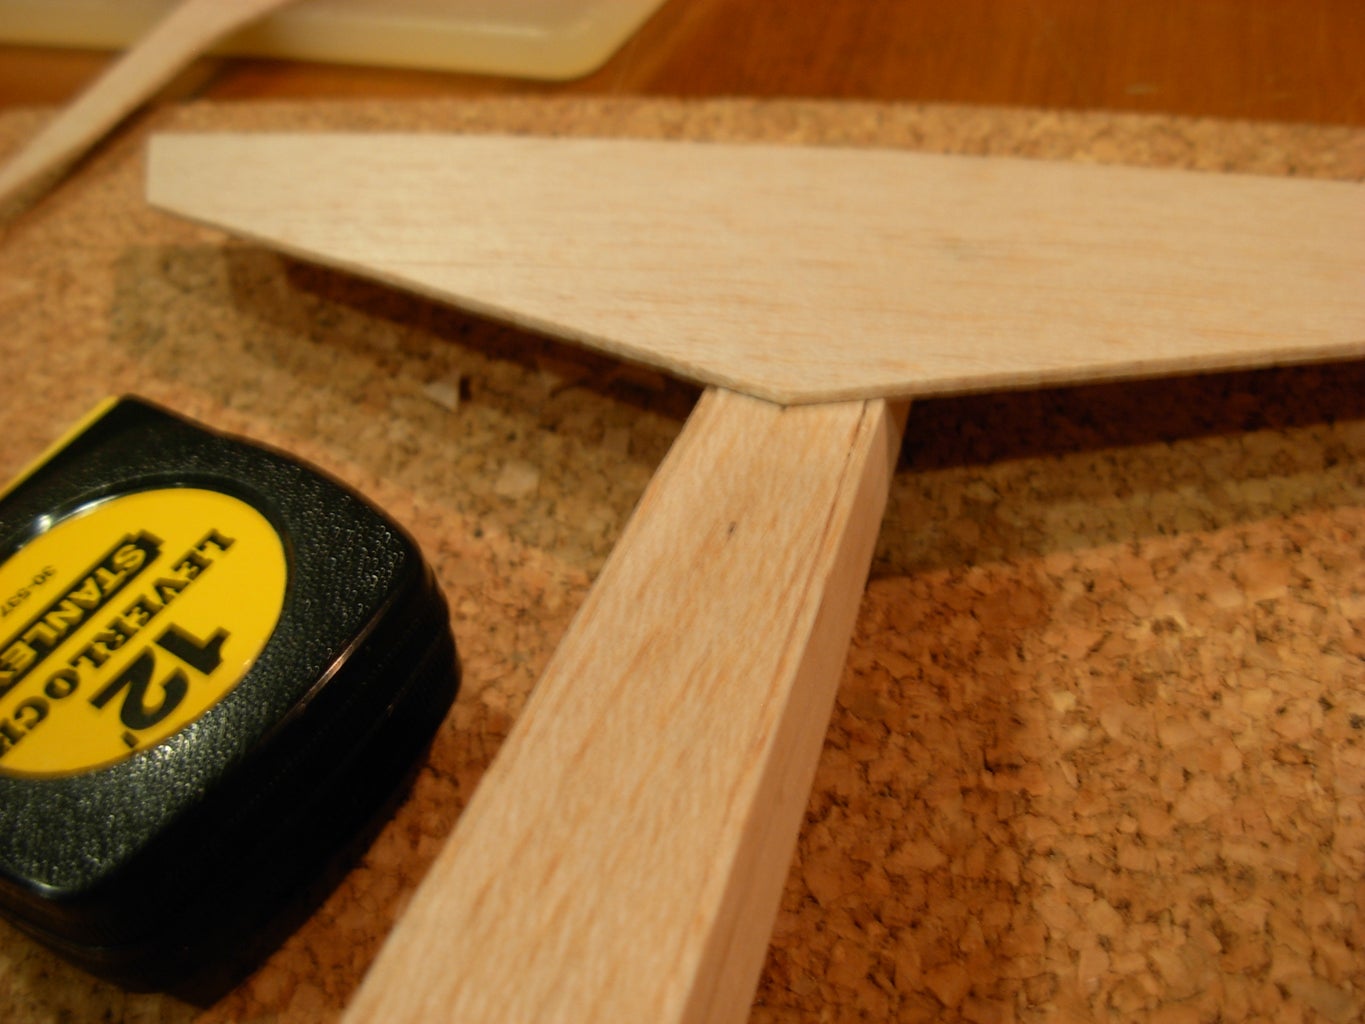


I put small braces going against the grain of the wood to help it so it would not flex so much. I had about a 1 1/2" control surface for bolth vertical and horizontal stablizer. And again the design doesn't matter so much as long as it has a good amount of control and fin surface.
Step 5: Covering


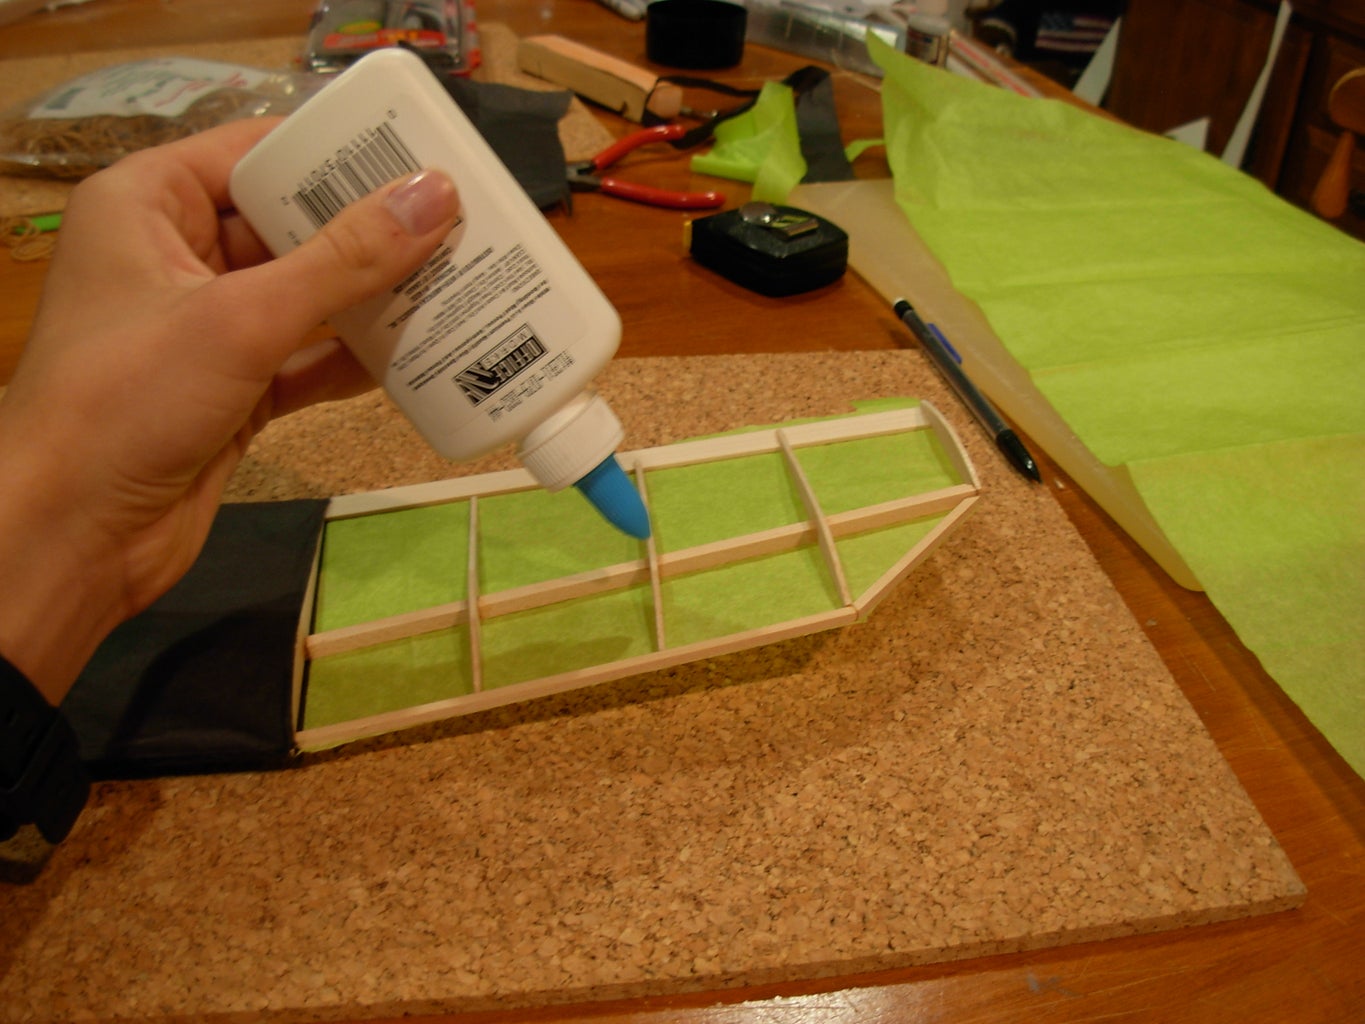

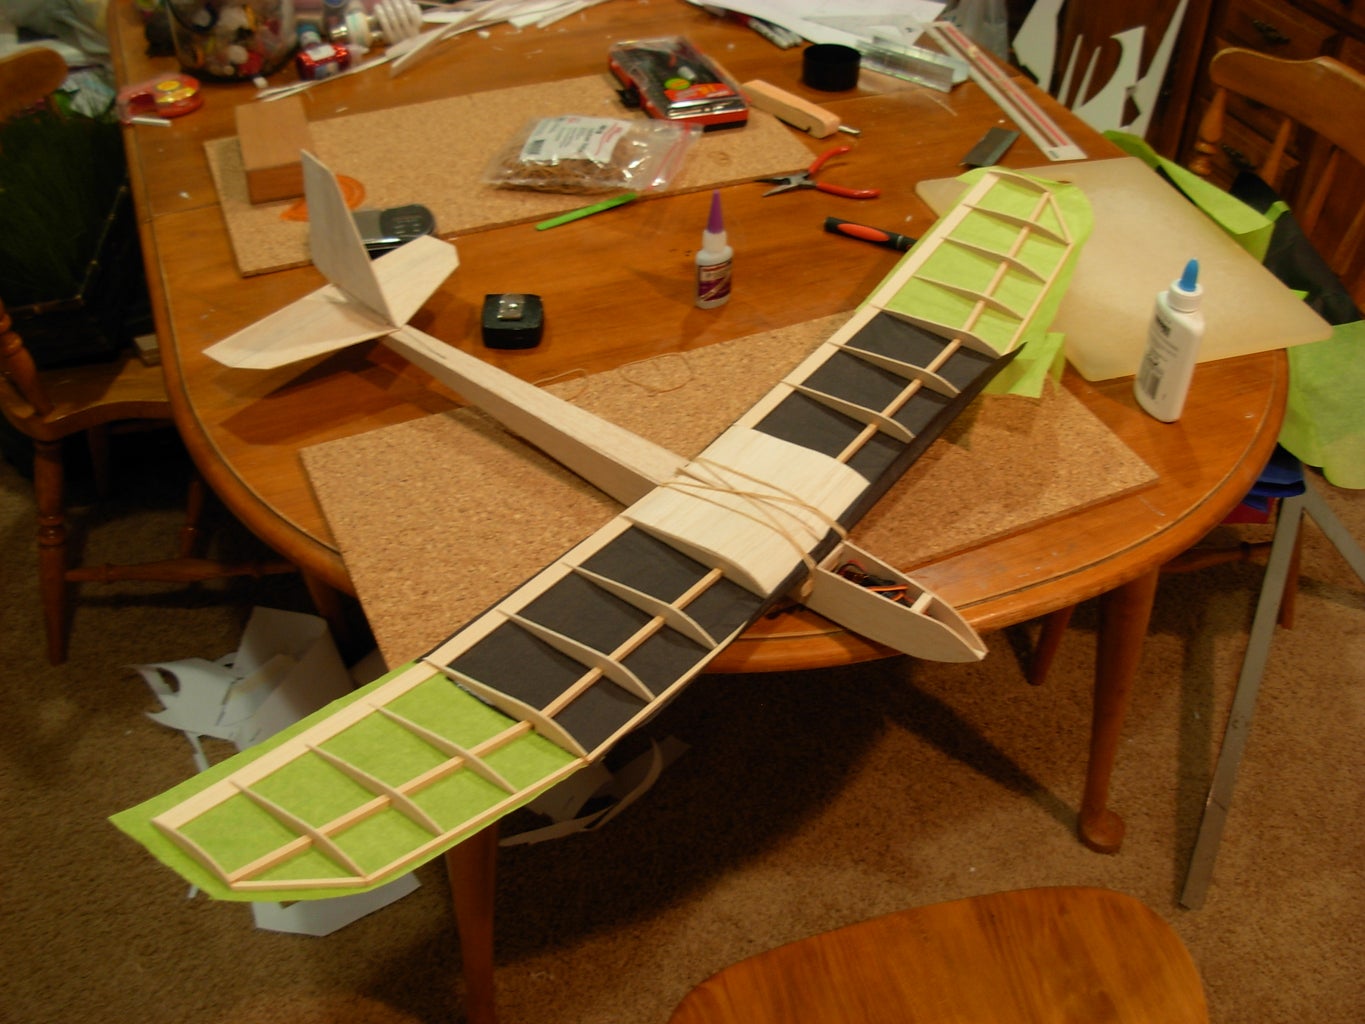

One thing that I wanted to do with this glider is cover it with tissue paper. I wont go into details in covering with tissue but having a bottle of water or rubbing alcohol to tighten the tissue really makes for a sharp covering job. and it's extreamly cheap!
-Cover the wing frame that will be TOUCHING THE TISSUE with a small amount of white glue (I take my finger and smear some on) you don't want to load on the glue, just enough so the tissue sticks well. Wait for it to dry then trim the excess off. I chose black and green for my color sceme. Then you can go ahead and tighten the tissue paper with water or rubbing alcohol.
Step 6: Finishing Up...


Then install your electronics and depending what you have installation will vary. I used foam board for my servo mounts.
Using bass wood I made my own control horns but you are welcome to buy some or use your favorite ones. Drill holes through the fuselage down to the tail and install control linkages.
cut out a cardstock flap that will cover the top of the electronics and tape it down in place.


