

Introduction: 4-Digit 7-Segment LED Display + Arduino
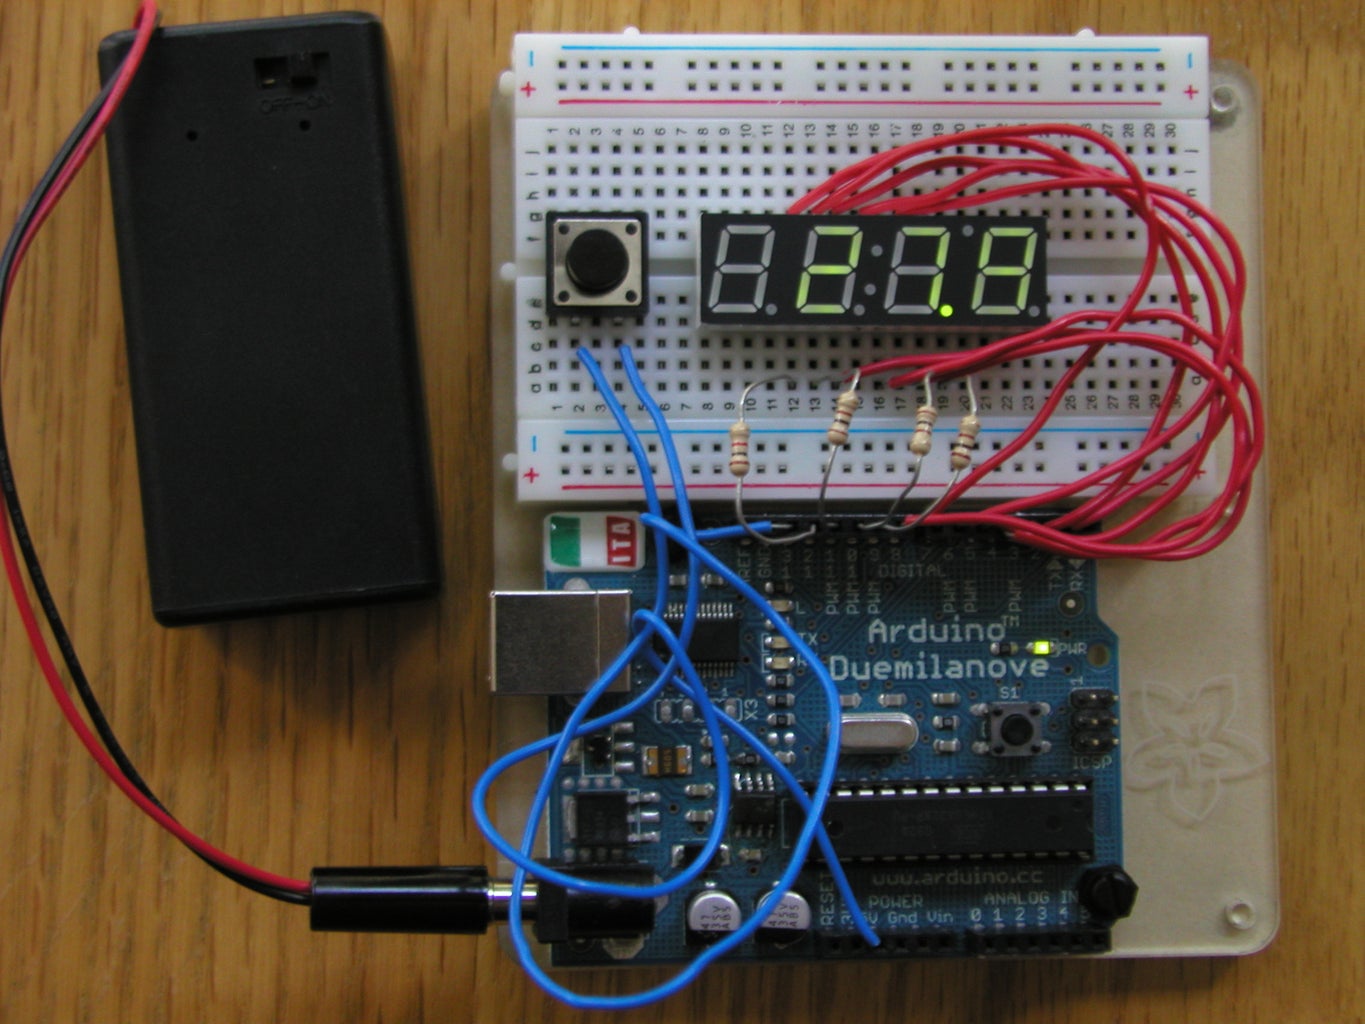


I recently got a 4-Digit 7-Segment LED Display from Sparkfun, and couldn't wait to use it. Here, I will show you how to wire it, and some sample programs to use with it!
Step 1: Display Info
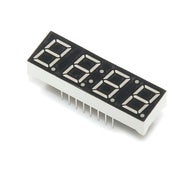
This is the way the display works. It's multiplexed, so you select the digit by setting its pin (we'll get into pins later) HIGH, and you select the segment by setting its pin LOW. You display multiple digits at once by rapidly cycling through them.
The Pins (digits are numbered from the left):
Digit 1: 1
Digit 2: 2
Digit 3: 6
Digit 4: 8
Segment A: 14
Segment B: 16
Segment C: 13
Segment D: 3
Segment E: 5
Segment F: 11
Segment G: 15
Decimal Point: 7
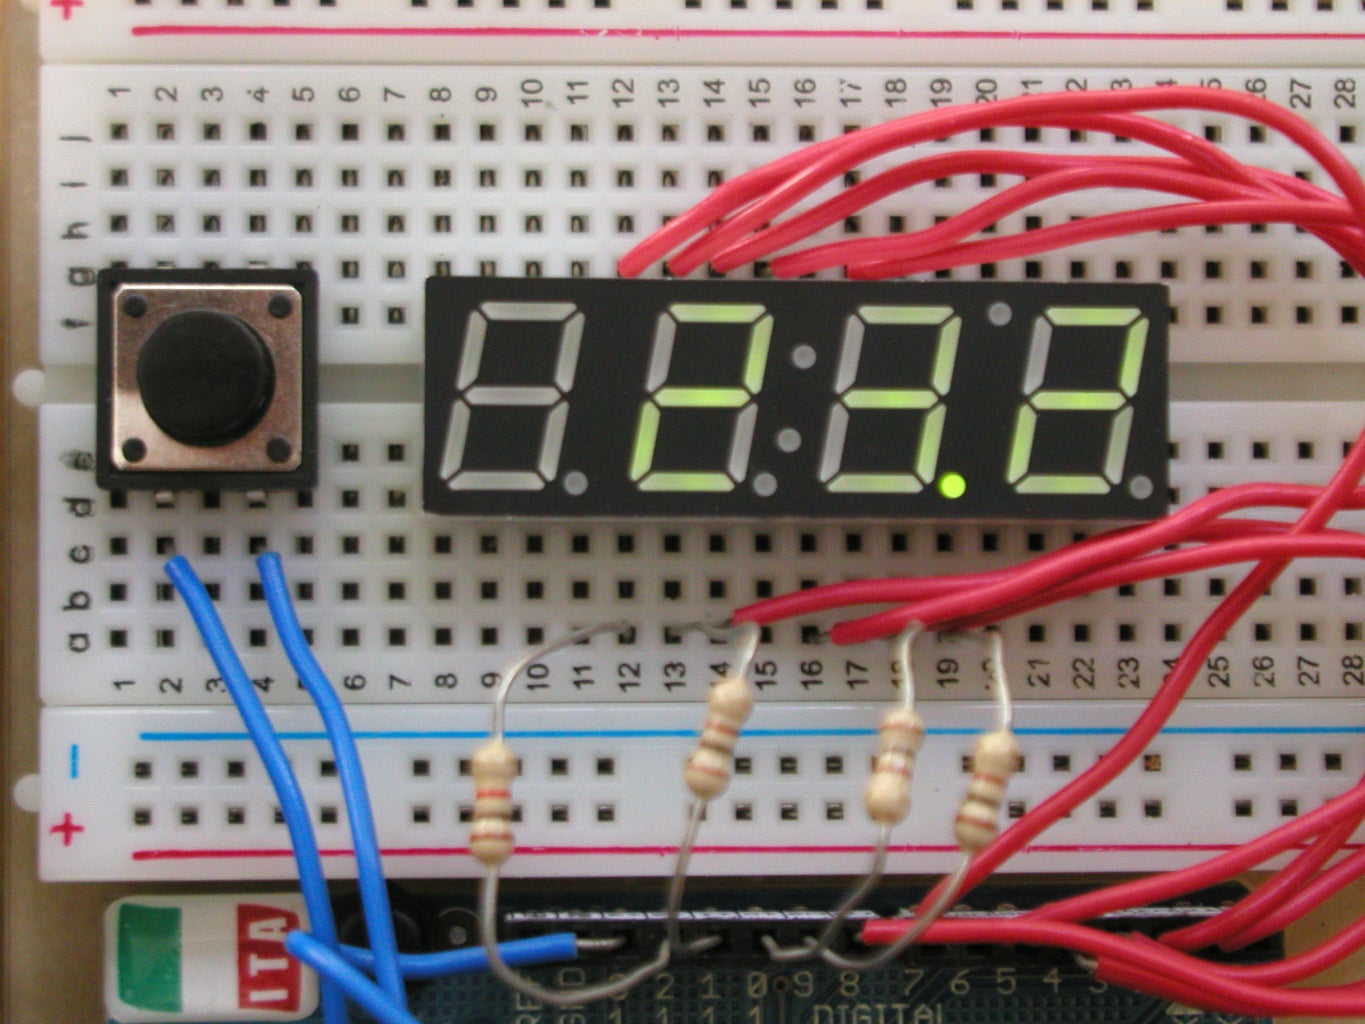
Step 2: Wiring the Display and Button
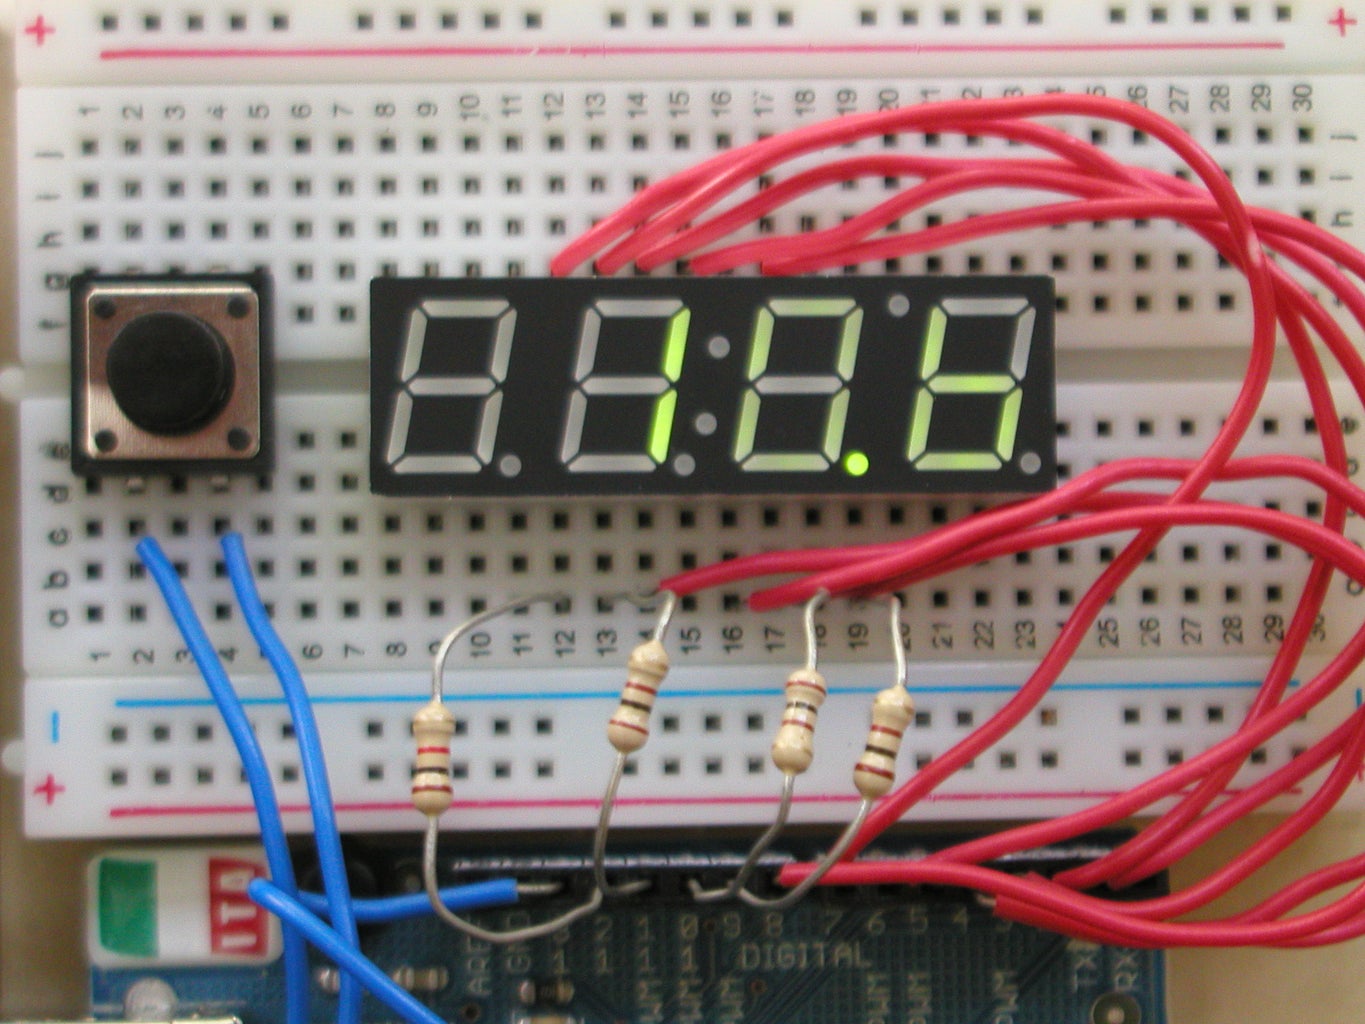
Now, to wiring! To make it easier for you, I am going to put the Arduino pin number first, then the display's pin number.
1--14
2--16
3--13
4--3
5--5
6--11
7--15
8--7
9--1 (resistor)
10--2 (resistor)
11--6 (resistor)
12--8 (resistor)
If this is too confusing, say so in the comments, and I'll rewrite it.
Connect the button to Arduino pin 13 and 5V.
I used 1K resistors, but you could get away with less.
Step 3: Programming
I'm pretty much just putting refrence links and files here.
Display Datasheet
Timer Program (I modeled my timer after this)
Attatched Files:
_4segTimer: Timer program
_4digitAni1: Animations
The programs still need some tweaking/additions, so I'll be updating them once in a while.
Update History:


Participated in the
LED Contest


