

Introduction: 8-Pin Programming Shield


The 8-Pin Programming Shield allows you to program ATtiny series chips using the Arduino itself as the programmer. In other words, you plug this into your Arduino and then you can easily program 8-pin chips. These small microcontrollers can then be incorporated into any project that you want. Follows are instructions for assembling your own 8-Piin Programming Shield.
Step 1: Go Get Stuff

What you will need:
- Shield circuit board (download the source file: 8pinshielf.pcb)***
- Attiny85 chip
- 8-pin 0.3" socket
- SPST tactile switch
- 10uF 16V electrolytic capacitor
- 5mm LeD
- 220 ohm 1/4 watt resistor
- 6-pin male header
- 8-pin male header
- (x2) 2-pin male header
- (x2) shorting blocks
***If this file doesn't work for you (it doesn't work for me either), I still may have a few kits available for sale. Private message me for details.
(Note that some of the links on this page are affiliate links. This does not change the cost of the item for you. I reinvest whatever proceeds I receive into making new projects. If you would like any suggestions for alternative suppliers, please let me know.)
Step 2: Headers


Solder the 6-pin and 8-pin male headers to the circuit board such that they are pointing down from the underside of the board.
These headers will plug into the Arduino sockets.
Step 3: Resistor


Solder the resistor to the board in the spot that kind of looks like a resistor outline right below the bottom of the chip's footprint.
Make sure to solder this to the top side of the board and not the bottom like the headers.
Step 4: Switch


Solder the tactile switch atop the large square footprint that is in the shape of a tactile switch.
This is the chip's reset switch.
Step 5: Socket


Solder the socket in place.
Make certain that the notch in the socket aligns with the notch on the screen printed footprint.
To be more clear, the notch should be pointing towards the tactile switch and 6-pin male header.
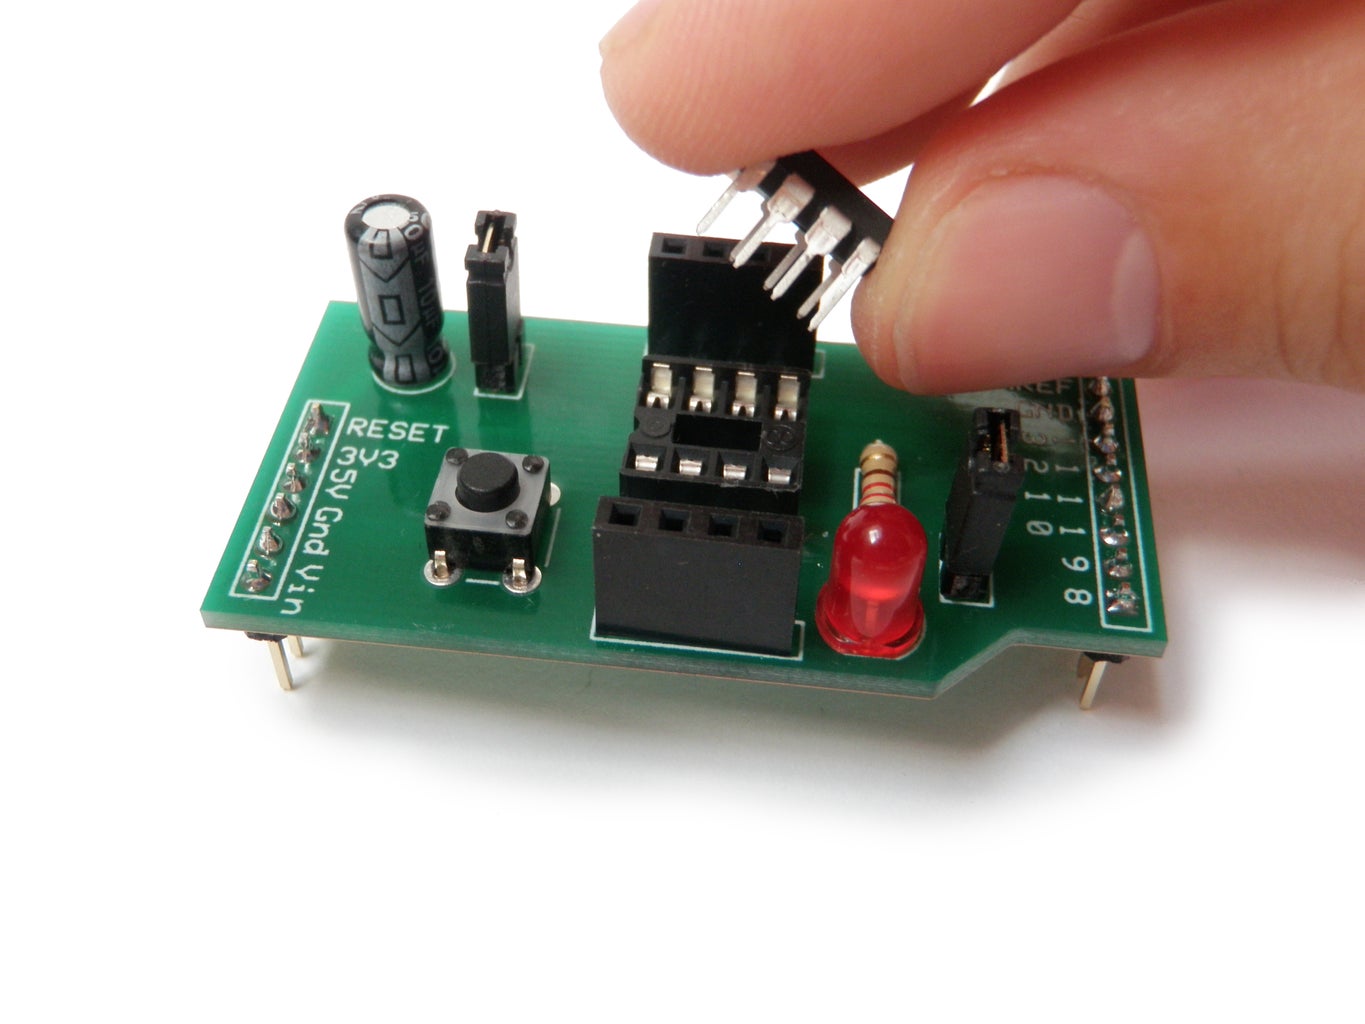
Step 6: Dual Headers


Solder the 2-pin headers to the top of the board as shown.
Step 7: Sockets


Next solder the two 4-pin female sockets on each side of the chip's socket.
Step 8: LED


Make certain that the flat notched side of the LED lines up with the flat side of the LED footprint and then solder it in place.
Step 9: Capacitor


Electrolytic capacitors are polarized, which means they can allow electricity to flow in one direction, so you don't want to wire this backwards.
Carefully align the side of the capacitor without the minus stripe label with the + sign that is labeled on the circuit board. The minus stripe aligns with the hole without the plus sign.
Step 10: Short


Put the shorting blocks onto the 2-pin header.
You may want to consider removing the shorting block next the LED during programming (and circuit depending). This shorting block basically connects the LED to Digital Pin 0 and is used for testing. If you are using that pin for anything else, you probably want to keep the LED disconnected.
The other shorting block is for connecting the 10uF capacitor between resistor and ground. This capacitor is largely needed when working with the Arduino Uno. Earlier versions may or may not need this capacitor connected while programming the ATtiny.
Step 11: ATtiny


Insert an ATtiny chip into the socket such that the notch in the chip lines up with the notch in the socket.
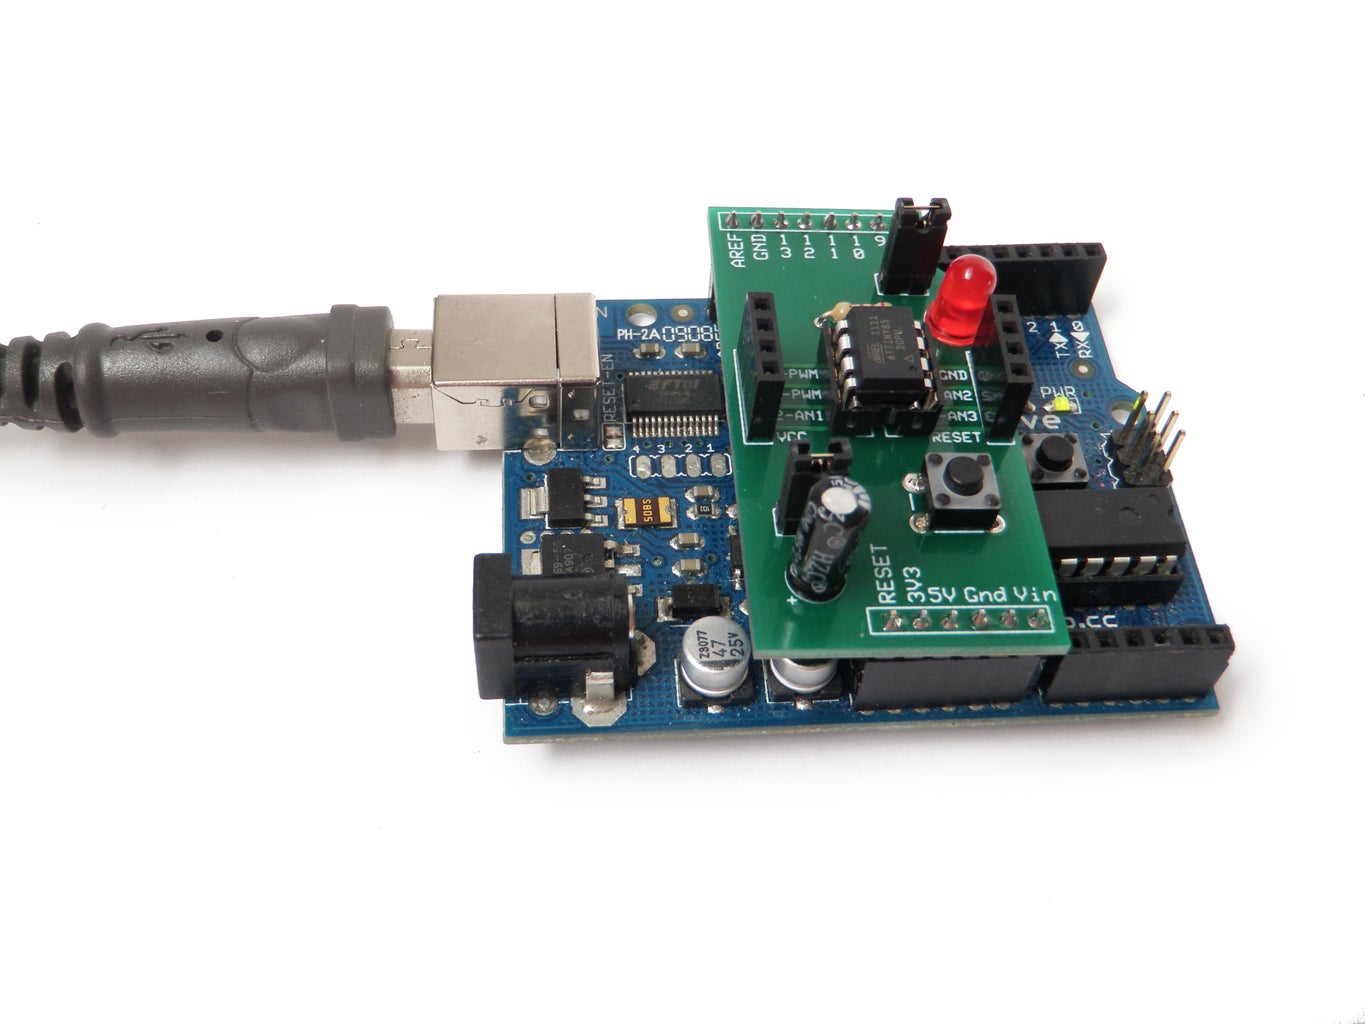
Step 12: Plug It In


Plug the programming shield into the Arduino such that the labels on the shield align with corresponding pins on the board.
Step 13: Program
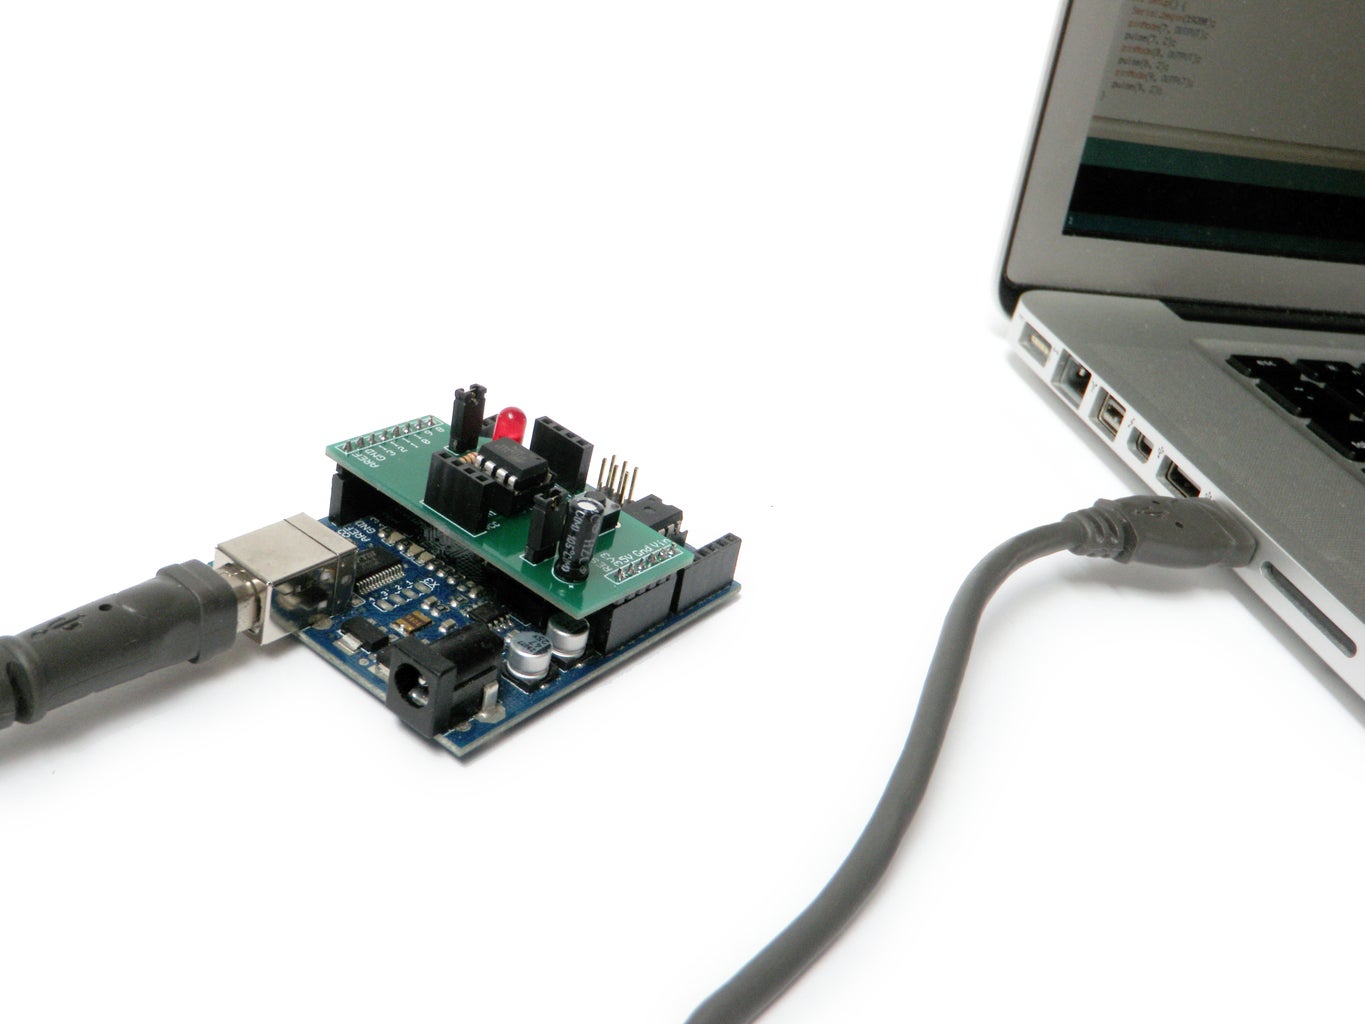
Plug the whole thing into your computer and program the ATtiny chip using the programming directions found here.
*Note: You can skip ahead to Step 3 of that Instructable, as the circuit is already built.
Step 14: Get Your Own

I still have a few kits available for sale. Private message me for details.

Did you find this useful, fun, or entertaining?
Follow @madeineuphoria to see my latest projects.

Participated in the
4th Epilog Challenge

Participated in the
Pocket-Sized Contest


