

Introduction: 9 V Battery Adapter for Arduino From Scratch


If you are starting off with arduino you can use a usb A to B cables to supply the power to run . If you want your project to be mobile you need batteries . I get into trouble with A to B USB cable when I want it to be portable . So I made a 9 V battery adapter for arduino in Makers way :)
of course you can make 9 v battery adapters using a 2.1 mm power plug and battery clip . But in this instructables I will show how you can make 9 V battery adapters from scratch .
It works great for arduino , development boards , Evaluation boards and more !
Step 1: Materials Used:


- Drinking straw
- Aluminium foil paper
- Pliers or screw driver (to dismantle battery)
- 9 V batteries
- Wires
- Glue gun
- Super glue
- Transparent tape
- Solder and soldering rod
- scissors
Step 2: Making 2.1 Mm Power Plug


I have used a drinking straw and aluminium foil to build 2.1 mm power plug.
First of all cut 2 cm drinking straw .
Next ,To a red wire (+ve ) I wounded some pieces of aluminium foil and inserted into inner part of straw and I fixed wire's one end by using glue gun(see above figure)
next step is to connect -ve wire(black wire) to the outer part. You can fix the wire to the straws's outer part by using a transparent tape.you can see in the image that some of the metal portion is not covered with the tape.Over that you can wrap aluminum foil using super glue.
check continuity to ensure that it is working.
You have successfully made 2.1 mm power plug :)
Note:
I Used black and red wire to show the polarity ,you may use any wire.
Step 3: Making Battery Clip (Snap Connector)


Don't throw it out when your 9 V battery is dead.Of Course you can reuse some of it's parts.
It is a great idea that you can reuse a dead 9 V battery for clip head.Top of 9 V battery form clip for another 9V battery.
You can dismantle battery by using a pliers or screw driver.you can start opening battery from the place where 2 end are in contact(see figure) .
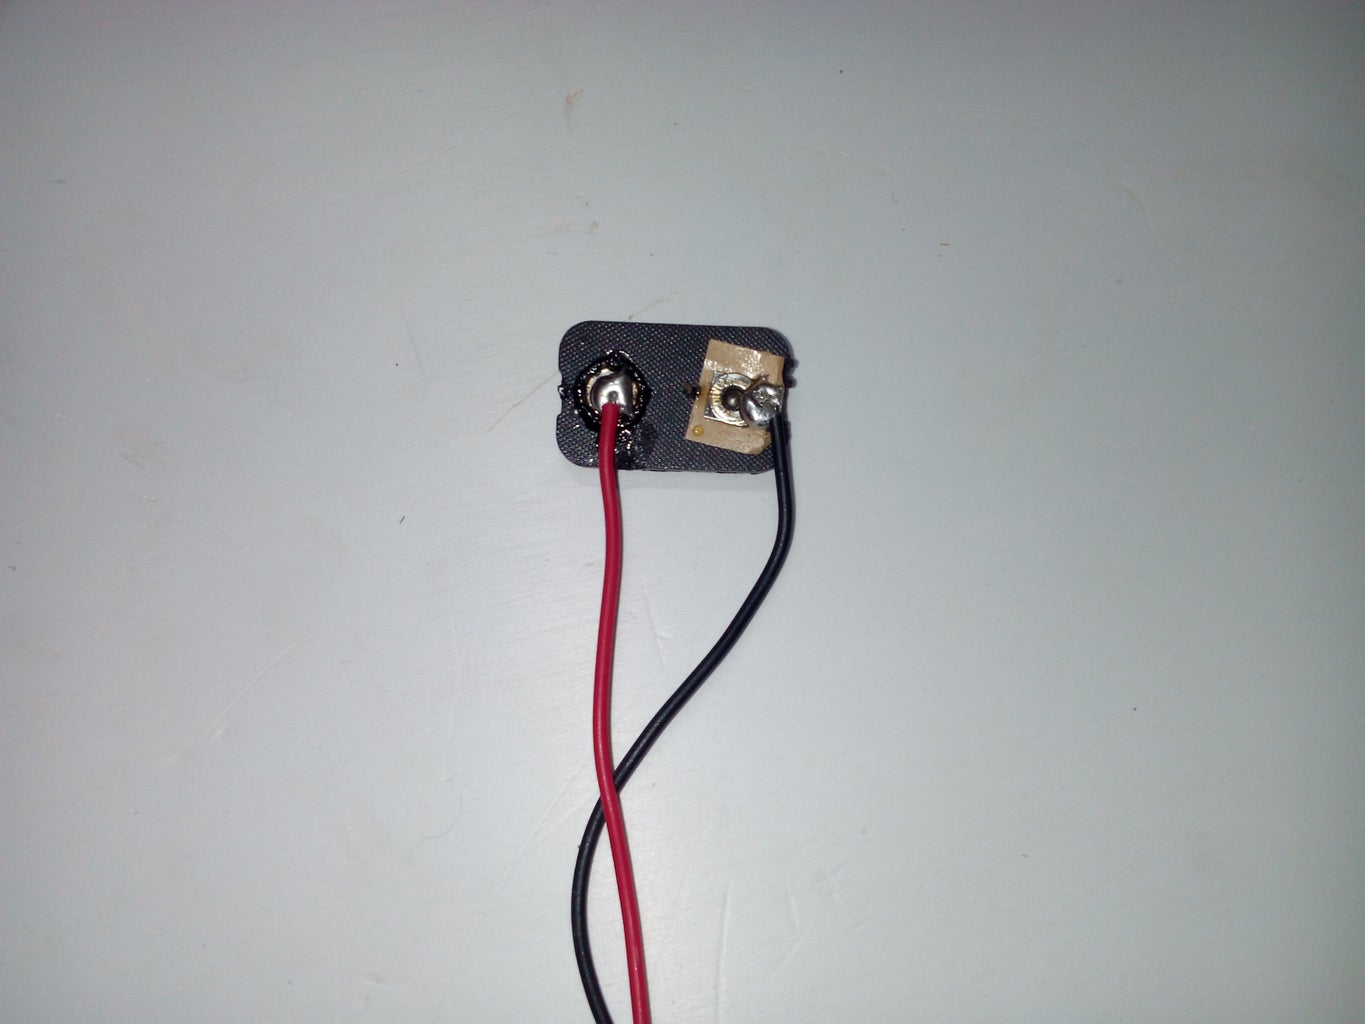
You take top and down part of Battery.You can see in the figure that i have pointed out +ve and -ve polarities.
Apply solder to the clip contact(on the back side)
Solder wires to the clip contacts .
join top and down part of battery by using glue gun.
Note:
check continuity to ensure it works.
Step 4: Testing

Step 5: Yes ,you Have Made Your 9 V Battery Adapter :)


Now you can use your adapter to power arduino.
There is already a 5 V DC regulator on board to convert that voltage to what the board needs.
Thanks For Taking a look !
Happy Making:)


