

Introduction: A Real Book Rack


This is a simple to make book rack with real books as the end caps.
Step 1: Items Needed

1. Two small size books about an inch thick.
2. Three dowels rods 3/8" or larger.
3. Regular glue.
4. 4 X 6 index card.
5. Drill and a bit the same size diameter as the dowel rods used.
Step 2: Marking the Books


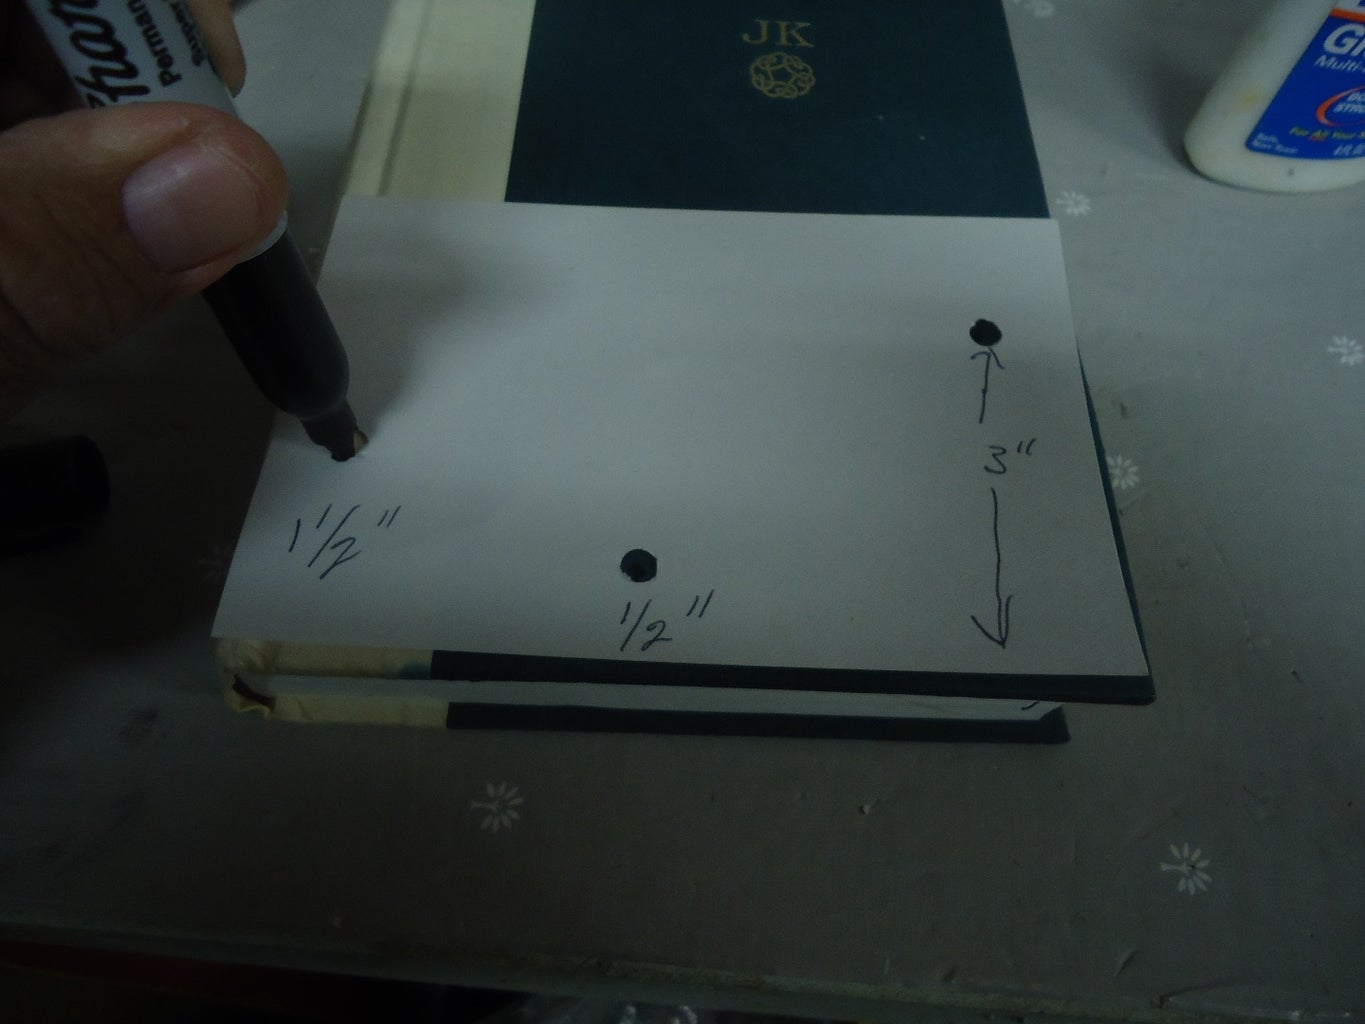
1. Make a template with the index card. Note the position of the drill points on the index card shown.
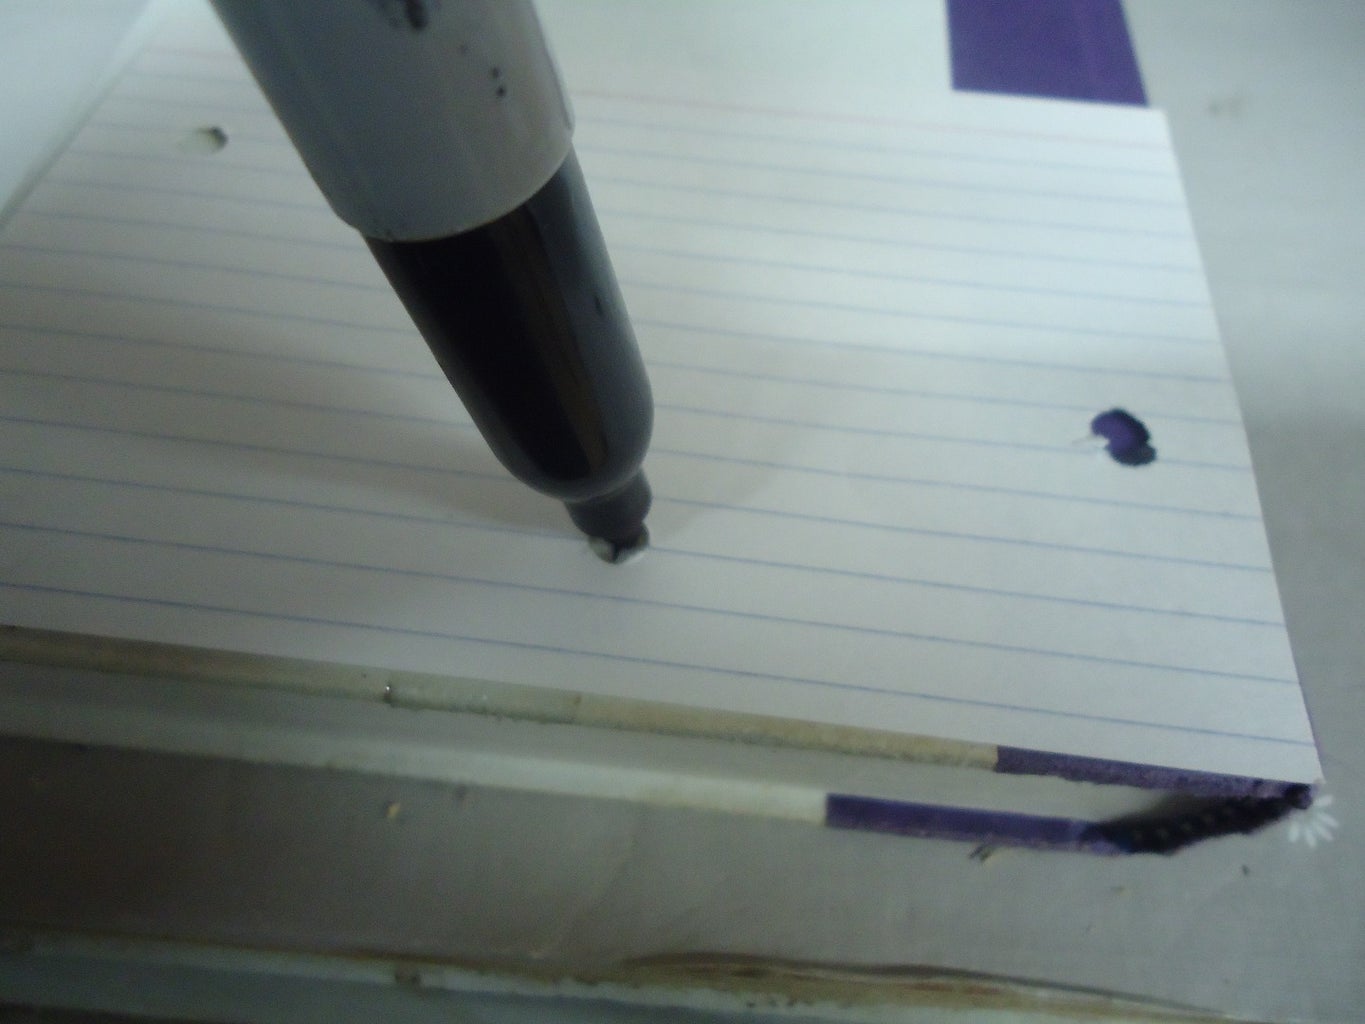
2. The drill points on the index card can be punched out with a pen or paper punch.
3. The marks on the card shown are 1-1/2" X 1/2" X 3" from the bottom of the 4" X 6" index card. The two outer marks are about 3/4" in from the edge of the card while the middle mark is a little of center toward the 1-1/2" mark as shown on picture.
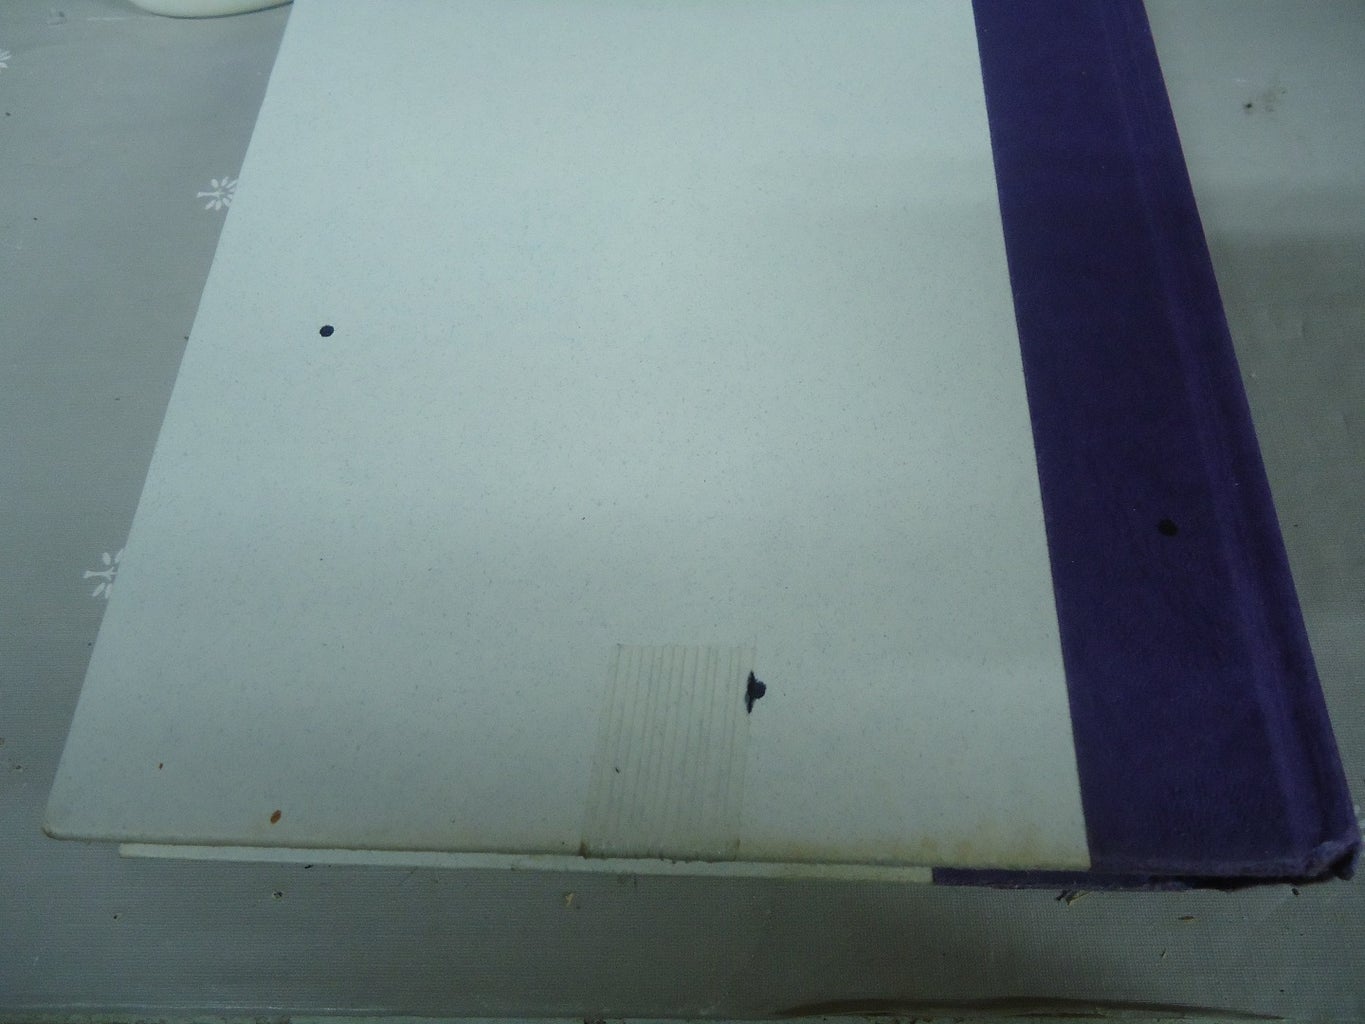
4. Place one of the books flat and place the index card on the bottom and back edge of one book and then the same on the other. Please note the index card will have to be flipped over to be used on the opposite (other book) side so the dowel rods are on the same end of each book.
Step 3: Drill Holes, Glue and Install Dowel Rods


1. Drill the holes on both books.
2. Poor glue into each hole making sure glue coats the bottom and side of the holes.
3. Install dowels rods.
4. A heavy object can be place on the end of the book rack with the book rack on its side.
5. Let glue dry.
6. Clean and trim outer holes with utility knife if desired.

Participated in the
Book It! Contest


