

Introduction: ARDUINO INTERNET CONTROLLED
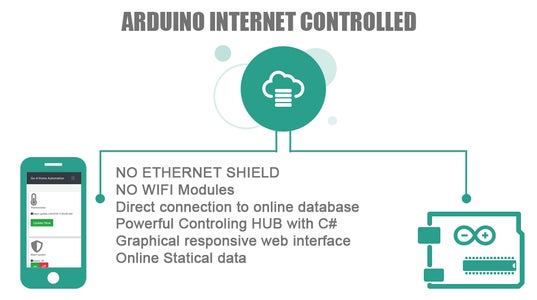


I thought a lot to find an inexpensive solution to connect my Arduino board to the internet without using any Ethernet shield or even any WIFI modules. after researching I found that the only way to talk to the Arduino board is talking to its serial port, so I created a simple C# window application to work as a (HUB) to deal with the serial port to send and receive data to my board.
This Application HUB is connected to the internet via your personal computer already and helps to send and receive data between your board the cloud database, beside storing the exchanged data from and to the Arduino and the online MySQL database, so you can make statistics as you wish.
Step 1: Arduino Code

First of all I had to begin with a small example that allow me to test applying the idea and its ability, so in this sample I didn't connect any sensor I only used the build in LED on Arduino so I can turn on and off the LED light in pin 13 by sending the letters "I" and "O" on serial port
Step 2: Create the Online Database


And to store data we have to use an online mediator to become like a bridge between the Arduino board and that Application Hub.
so I choose a free online database hosting website that will works to save my data received from the Arduino board in addition to sending the commands to it, I choose MySQL databases because it is free and commonly used. In the attached file you will find that it contains only two tables. first one is to store the commands then send it to the board, and the second table to receive the outputs of the Arduino board and restore it for later on use.
Free hosting Mysql database: https://www.freemysqlhosting.net/
Online PHP MyAdmin: http://phpmyadmin.co
Attachments

Step 3: Create C# Windows Form HUB


Then I built this hub that can be considered as a listener gate on PC to allow the data passing through it first then send it to Arduino board via serial port and vice versa.
The interface of this hub is very simple, it Contains two rich text boxes only that show the status of each transaction passes throw the hub (send and receive) data.
Note: this hub must be always run as long as you want to use your Arduino board throw the internet
Step 4: Create Web Interface


Here we came to the coolest part..
I created a web application based on Asp.net C# technology with a responsive interface that can work on any device, this web application is only dealing with the online database without any knowing what's the board in the backside.
Via this interface you can categories your electronic parts that plugged to Arduino .. and by clicking on and of you just store data online.
Example:
by clicking the green button (ON) in Hall Section, you sending an order through the internet to turn on the light at your house's Hall, so in the other side of world the hub receiving this order and handle it with your Arduino Electronic Circuit at home.
protected void BtnHallOn_Click(object sender, EventArgs e)
{
AddTempOrders("I"); // sending letter "I" to Arduino to open Hall light
}
Step 5: Download the Project

Its time to try it your self and make your own experience.
Hope you enjoy it ...


