

Introduction: Accelerometer Shield for Physics Class and Beyond


During a physics class we were preforming a physics experiment to measure the accleration due to graivty - 9.8m/s^2 and while we did not make any new physics discoveries I had an idea for improving the experiment. The way the experiment worked was to drop a NXT with an attached acclerometer off of a balcony and some one below would catch it. The problem was that if they missed it $200 would hit the ground and shatter. After some research I found that for $50 you can build an Arduino with an accelerometer that works just as well and has less signal noise.
A few benefits to the MMA7361 Acceleromter are that it can be set to detect +/- 1.5g or +/-6g. I also have a very low power consumption and its small size even with the breakout board makes it an ideal fit for any project. Not to mention the relatively low cost.
Step 1: Materials

1x Arduino Uno (a Mega will allow you to store more data, but it is also bigger and more expensive)
1x MMA7361 Acceleromter - Sparkfun has one with a breakout board
1x Proto shield/perf board
The every project extras:
Solder
Headers
Wire
LEDs
Push buttons
Resistors
On/Off switch
etc.
Step 2:


Depending on whether you are using a Proto board or perf board solder all the wires from the breakout board to the appropriate pin on the Arduino.
Sleep - 13
SelfTest/STP - 12
ZeroG/0G - 11
Gselect/GSel - 10
X axis - A0
Y axis - A1
Z axis - A2
VDD - 3.3 V
Next attach 2 buttons and 2 more LEDs on 4 other pins
Step 3: Programming
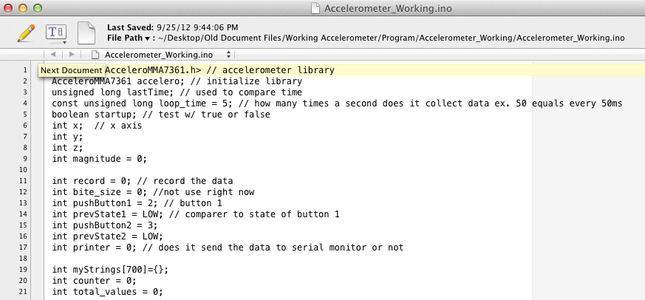
There are only a few variables that you need to change based on what you want to record. The code is relatively commented which I hope will help you. Below is the Readme fie in the zip file.
You will also need to add the accelerometer library. If you have not added a library before create a folder called "libraries" in your Arduino sketch folder and then drop the accelerometer folder inside of the attached libraries folder into your new "libraries" folder.
total_points - controls the number of recorded data points
const unsigned long loop_time - controls how often data is recorded ex. 5 corresponds to 5ms.
In order for the program to properly work the AcceleroMMA7361 library must be added to your Arduino library folder and the program restarted.
The maximum number of data points that can be collected on the Arduino SRAM is 700. Additional data points may be collected with a SD card or additional storage.
The scaling factor for the values found "x" is: ((x/100)-1)/acceleration due to gravity). Acceleration to gravity roughly equals 9.8 . The scaled values are in units of m/s^2.
To change how often data points are collected open the program file and change the constant integer loop_time to your desired time. This number is in milliseconds.
The LEDs correspond to each of the buttons and the following action. The button farthest from the accelerometer turns the green LED on and records values. The LED will turn off when pressed again and values will stop being collected. The red LED corresponds to the button closest to the accelerometer and lights up when values are being transmitted to the serial monitor.
The red LED will flash twice at the beginning to indicate that the start up loop and calibration has completed and data can now now be collected.
The most basic code for this to make sure everything is working is:
When rested flat on something the Z axis should read roughly 1 and the X and Y axis 0 each.
AcceleroMMA7361 accelero;
int x;
int y;
int z;
void setup()
{
Serial.begin(9600);
accelero.begin(13, 12, 11, 10, A0, A1, A2);
accelero.setARefVoltage(5); //sets the AREF voltage to 3.3V
accelero.setSensitivity(LOW); //sets the sensitivity to +/-6G
accelero.calibrate();
}
void loop()
{
x = accelero.getXAccel();
y = accelero.getYAccel();
z = accelero.getZAccel();
Serial.print("\nx: ");
Serial.print(x);
Serial.print(" \ty: ");
Serial.print(y);
Serial.print(" \tz: ");
Serial.print(z);
Serial.print("\tG*10^-2");
delay(500); //make it readable
}
Attachments

Step 4: Upload and Use


Now just open the Arduino program upload attached and open the serial monitor to see the data printed. Keep in mind that you have to subtract 1 or 100 * 10^-2 from the results because that is the constant force of gravity. That way when it is in free fall it will read -1 which * -9.8 = -9.8m/s^2 - the constant acceleration from gravity.
There are also several programs that came with the library which you can test and out modify yourself. I hope you enjoy this and please let me know your results!

Participated in the
Hack It! Contest

Participated in the
Hands-on Learning Contest

Participated in the
Make It Glow


