

Introduction: Add a YouTube Video to Your Blog Post


Adding a simple YouTube link to your post will only show the unattractive url. Brighten your blog up by adding the full video ready to click and play. It keeps people on your blog for longer too.
Step 1: Go to the Youtube Link You Want to Add
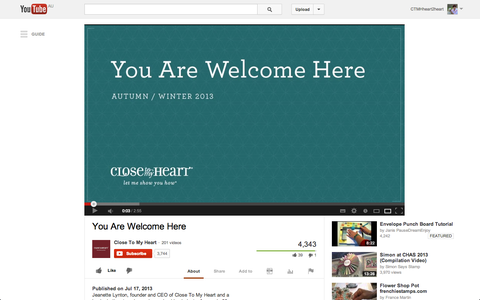
For this example, I am going to http://www.youtube.com/watch?v=s4Cv6hlUgII&feature=player_embedded
Step 2: Scroll Down Past the Video Till You Hit Where the Like Button Is and "About" "Share" "Add To". Click "Share"


Scroll and click "Share". This will open new sharing options that we will use in the next step.
Step 3: Click "Embed"

Click "Embed" to open the code box we will edit in the next step
Step 4: Edit the Size of the Video

To make the video the appropriate size for your blog, we have to change the pixel code. Usually about 500-600 pixles (px) wide will fit nicely in a post but if you find it's too wide or too small for your blog, just come back to this step and resize it accordingly.
Underneath the code is "Custom Size". Ignore the height (it will change automatically) and type in your width. For this example I have used 600px.
This will change the code in the box above (that we are using in the next steps).
Step 5: Copy the Code
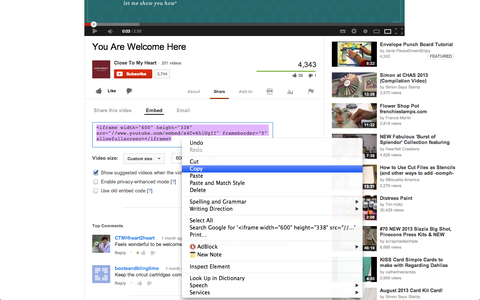
Highlight everything in the code box and right click copy or press CTRL/CMD+C
Step 6: Go to Your Blog Post and Click HTML

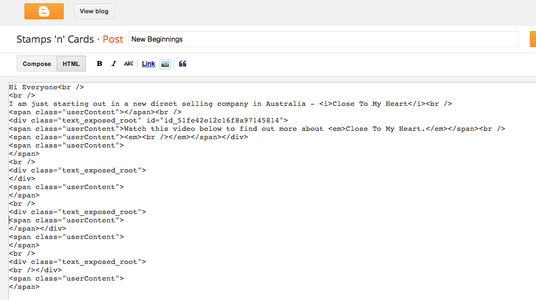
Go to your blogger and go to the post you want to add the video to.
Click HTML (top left). This shows the post as a code.
Step 7: Paste Your Video Code Into the Post, Click "Compose", and You're Done!


CTRL/CMD+V or right click paste the video code you copied from YouTube at the very end.
Click back to "Compose" (top left) to see the video in your post and finish editing/creating the post.


