

Introduction: Adjust LED Brightness Using Potentiometer


In the previous article, I showed you how to read the ADC value from a Potensometer using Arduino.
And this time I will take advantage of the reading from the ADC value.
That is adjusting the brightness of the LED.
Step 1: Required Components

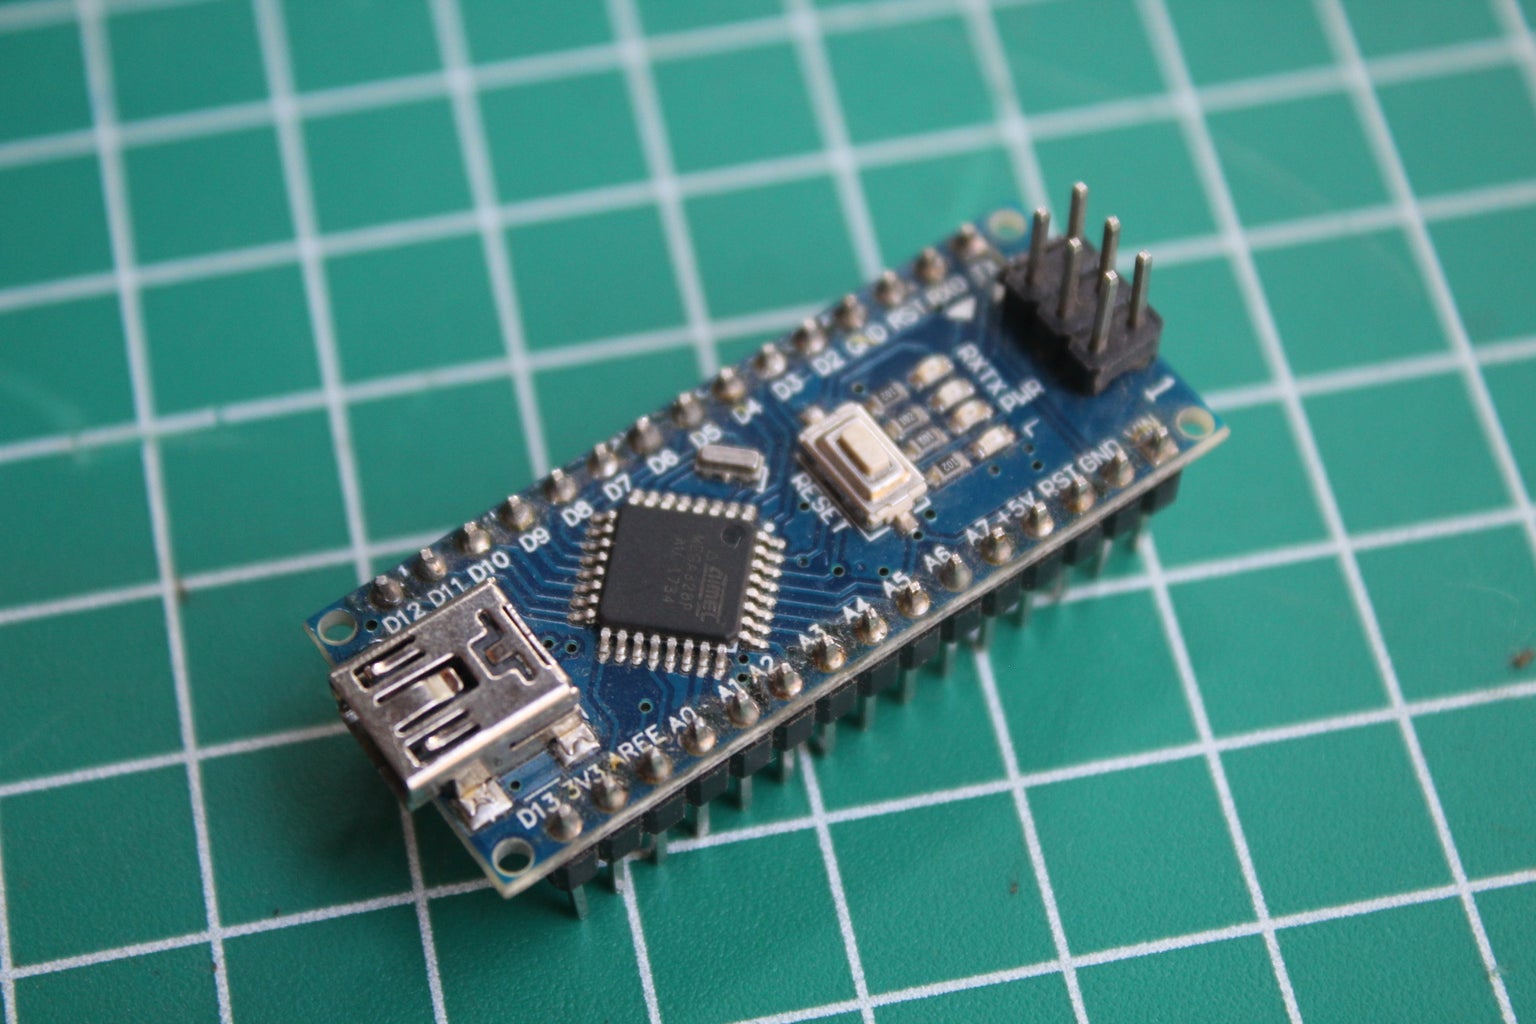
Components that need to be prepared :
Potentiometer
Resistor 1K
Blue LED
Project board
USB mini
Laptop
Step 2: Assemble All Components


See the picture above for the assembly guide,
Arduino to Component
A0 ==> 2. Potentiometer
GND ==> 1. Potentiometer & Katoda LED
+5V ==> 3. Potentiometer
D3 ==> Resistor series with leds
Step 3: Programming

Copy the code below to your sketch :
int LED = 3;
void setup() { pinMode(LED, OUTPUT); Serial.begin(9600);}
void loop() {
int sensorValue = analogRead(A0)/4; analogWrite(LED, sensorValue); }
sketch in the form of the original file, can be downloaded here:
Step 4: Result
See the video above to see the results.
When the potentiometer is rotated to the right, the led will be brighter.
When the potentiometer is rotated to the left, the LED will be dimmer.


