

Introduction: Fursuit Eyes You Can See Out Of!


Aim: to make some realistic-looking eyes that could be seen out of, but not into. One-way eyes. We wanted the clearest vision possible, while still preventing people from seeing through from the outside. We also wanted them to 'sparkle' a bit, if possible; but without the use of embedded lights. I've done a couple of i'bles involving lights, and I decided I'm over the darn things (lights), even though I still love them in a slightly obsessed way.
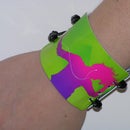
We're hoping to learn how to make a complete fursuit. We already bought the fur! We bunched it around the eye for the photo.
Things like mesh, pantyhose or thin fabric; they all seem to cause vision impairment when it comes to putting them over your eyes. Last year, we made a costume where we used pantyhose to cover the area that the wearer was supposed to 'see' out of, but his vision was still seriously restricted. So how were we going to make some 'eyes' that afforded 20/20 vision (or as close to it as possible)?
For starters, we eyeballed our cat. She eyeballed us back, suspiciously.
After eyeballing our cat, we’ve come up with these quick and easy, one-way see-through eyes that give the wearer pretty good vision. No fine mesh. No pantyhose balaclavas like last year's costume. Just colour filter, window/windscreen film, clear acrylic orbs, and not much else!
This amazing tutorial here, for Spiderman one-way eye lenses, helped me out a LOT, by putting the idea into my head about mirror tint as used on windows and cars.
Step 1: Tools and Supplies
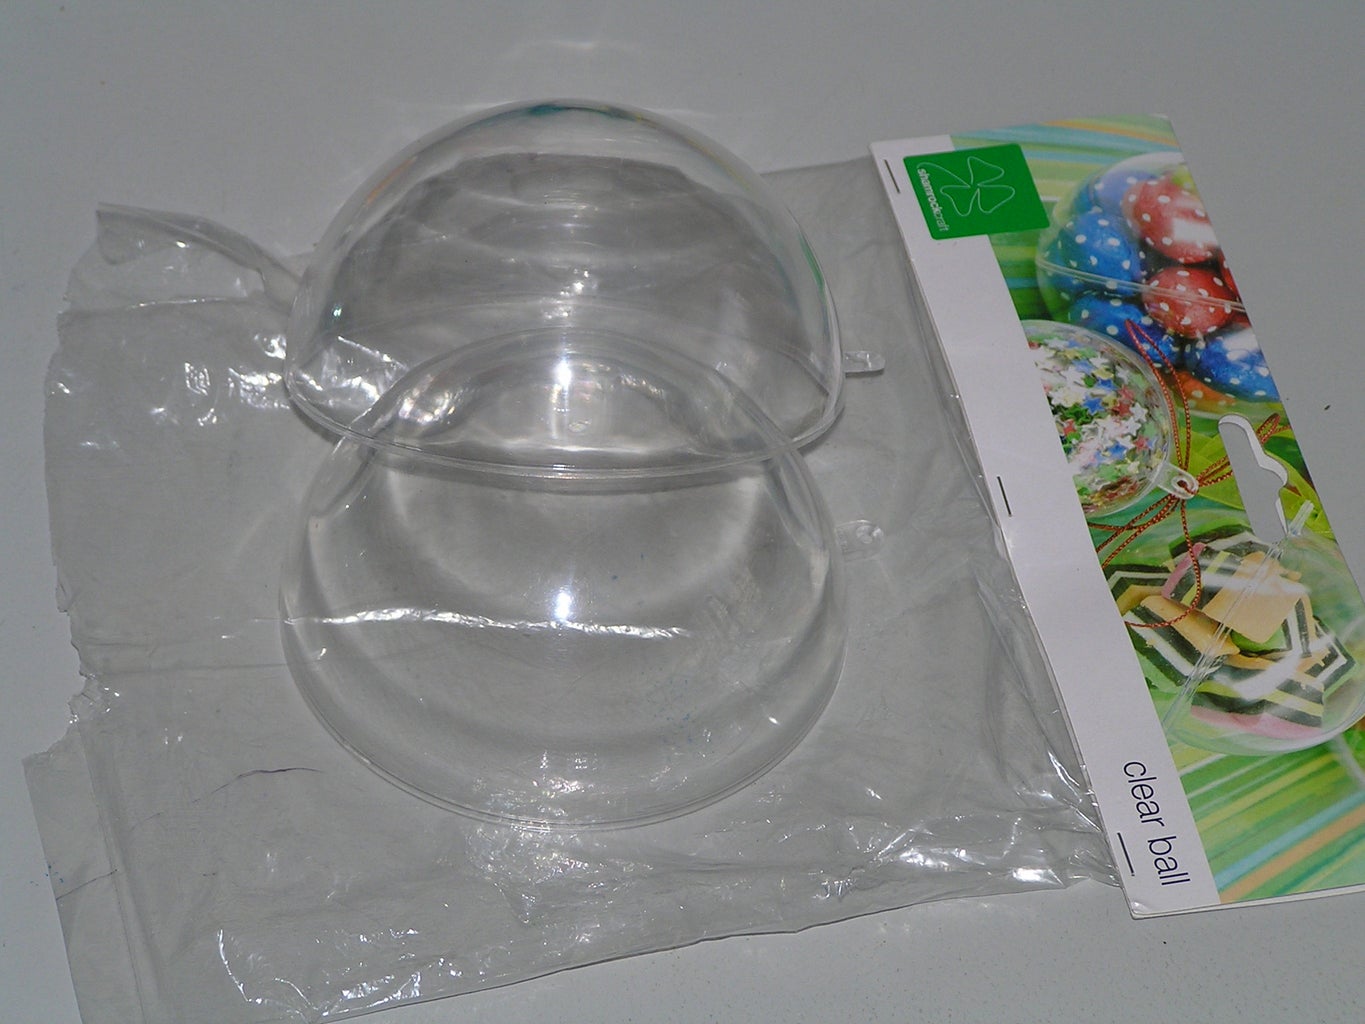


1 clear acrylic orb, 10cm (about 4 inches) in diameter.
1 sheet of colour filter (also known as COLOUR GEL), in the colour of your choice. We used ‘peacock blue’. Note: the colour tends to look a little darker, once the reflective/mirror tint backing is applied. If using offcuts, they need to be bigger than 32cm x 16cm.
**Colour filter/Colour Gel IMO is AMAZINGLY easy to see through. It's made for photographic work, so it HAS to be.
Tested and rejected: I tried to use tinted cellophane, and then tinted adhesive book cover, but neither worked. The cellophane is hard to see through, and crumples too much. And the cloudy adhesive on the tinted book cover makes it almost impossible to see through.
Not tested: some kind of translucent paint or tinted varnish, or something similar. But I don't think that paint or coloured varnish would allow such good visibility as colour filter/colour gel does.** Anyway, back to the list of supplies:
1 sheet of silver reflective window tint, a.k.a. mirror tint. If using offcuts, they need to be bigger than 20cm x 10cm.
(A note about the window tint: it's also available in gold, red, and blue. The gold is reflective. I'm not sure if the red and blue are also reflective. Anyway, these three colours are harder to find, but they're out there. I feel that they are stronger colours, and if used they may change the hue of the colour filter - although red or blue mirror tint would probably work great as a backing for red or blue eyes!
Anyway, I'm sticking with the silver mirror tint for now. It's a pretty neutral colour, it's a bit cheaper and easier to find; and it seems to work nicely with all shades of colour filter.)
Offcuts of self-adhesive window/windscreen tint, black. We had bought a whole sheet, but only a small amount is needed.
1 whiteboard marker.
1 hot glue gun and a glue stick.
Scissors.
Non-stick cooking paper (small amount).
How much to pay (not including the last 4 items, which are usually lying around the place already):
Total cost should be less than $40. If using free or cheap offcuts, total cost could be less than $10!
Where to Buy:
We bought half a metre of reflective/mirror window tint and black windscreen tint from an internet retailer for about $10 each. The maker of the Spiderman lenses (see the link in the intro) suggests trying one of those automotive window tinting shops for free or cheap offcuts.
The colour filter/colour gel can be expensive. We got half a metre for $12 from a stage lighting store. Again, it’s possible to get cheap offcuts. But we couldn’t find any in the colour we wanted.
At 10cm in diameter, the plastic/acrylic orbs we’re using may seem oversized, but they’re suitable for the largish head that we’re making. And anyway, part of the eye is hidden under fur or ‘skin’ – just as in real animal or human eyes. They are about $5 each, and available at hobby/craft stores.
Step 2: Making the Iris


Using the whiteboard marker, draw a circle on the colour filter. The circle should be about 16cm in diameter.
Draw 4 lines across the middle of the circle, so that it’s divided evenly into 8 'pie wedges'.
Draw another circle in the centre, about 5cm in diameter.
Note: I guess we're those "why use purpose-built mathematical instruments when you can use crockery and glassware" types of hicks people. A compass could be used for drawing the 2 circles. Either cover the sharp point with something, or stick some easypeel tape where the point makes contact with the colour filter - you don't want to mess up the pretty iris. Peel the tape off later.
Step 3: Finishing the Iris, & Adding the Pupil


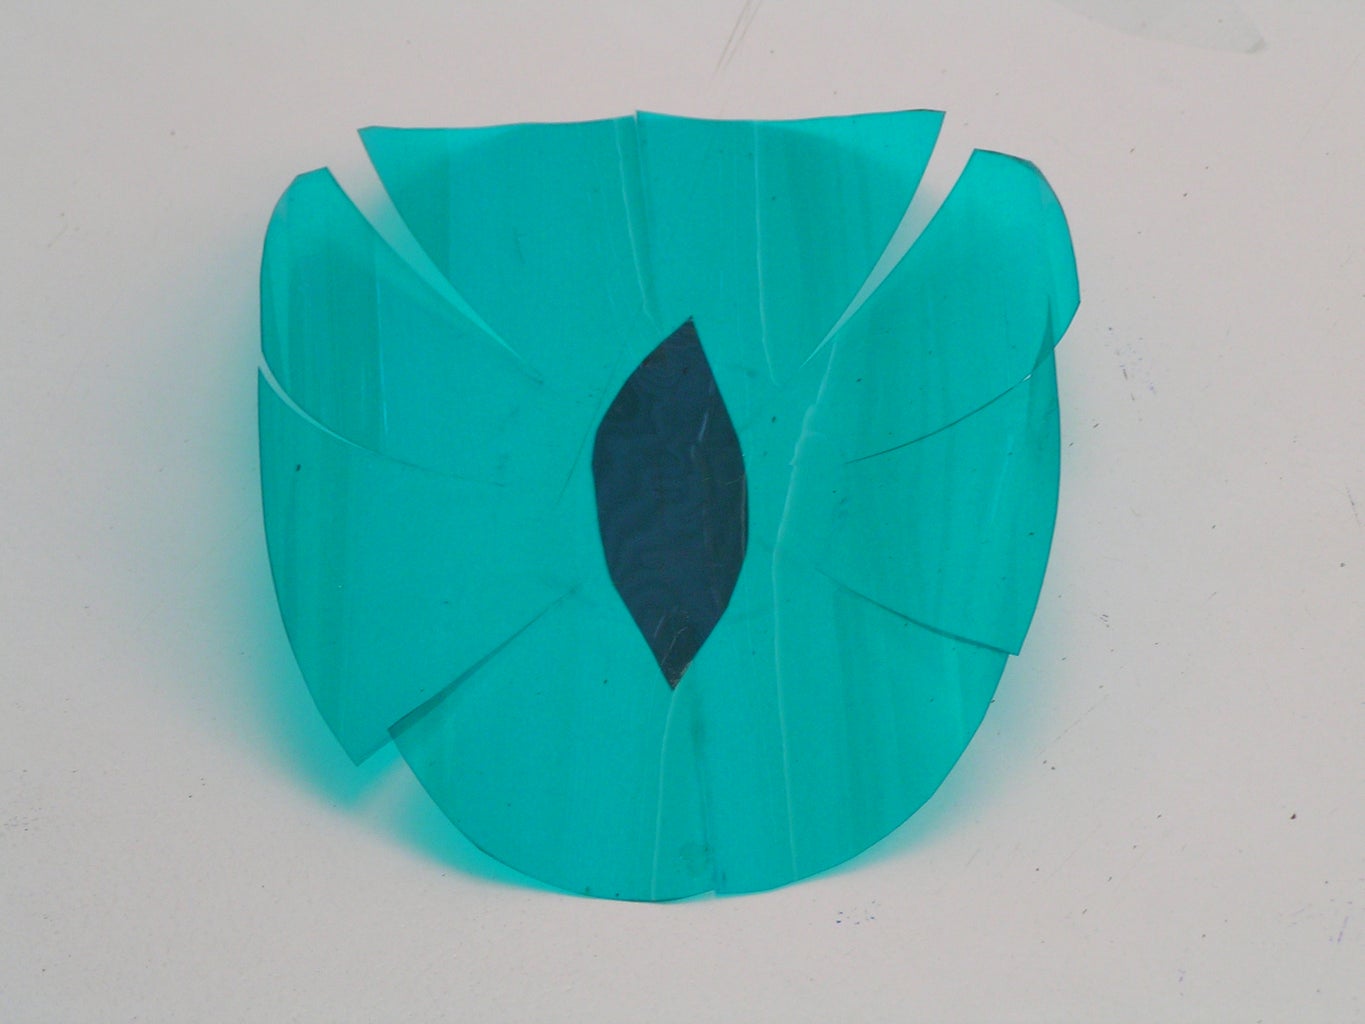
Cut out the large circle. Then cut carefully along the 8 lines, stopping at the inner circle. This awesome stuff then forms itself into a bowl shape, which is exactly what you want it to do. (Maybe it's because it's been stored in a roll...I don't know. But I'm not complaining!)
Use the whiteboard marker to draw a pupil on a piece of black window tint. Or, just cut it out without using the marker. Ours is going to be a cat's pupil. It's about 5 or 6cm long. Width? The pupil can be wide or narrow - whatever is required for accuracy or appearance.
The black window tint is shown in the 3rd photo along - it's darker than it looks in the photo.
On your circle of colour filter, wipe off the whiteboard lines which are inside the inner circle. Wipe off part of the inner circle - the part where the pupil is going to be fitted. Rest the pupil here, where the bits of whiteboard marker have been wiped off, and check that it looks ok and the size is good. If it looks too big, trim it up. If it looks too small, throw it out and make another one :-)
Try to get the pupil exactly in the centre - use what's left of the whiteboard lines and the central circle as a guide.
Attaching the Pupil: You could follow the instructions that come with the black window tint...or you could do the following:
I had no clue which side was the clear peel-off side, so I took a damp cloth and wiped it over both sides of the pupil. I flipped the pupil over a couple of times, wiping it each time with the damp cloth, until I noticed something was happening - the clear peel-off side was starting to lift and peel off by itself. I peeled it off with tweezers and discarded it. Easy!
Place the remaining piece sticky side down in the centre of the colour filter 'iris', where the circle and lines have been wiped off. Smooth the pupil onto the colour filter with a soft cloth, and use an itunes or credit card (something with an edge) to remove any air bubbles. Wrap the card in a soft cloth or piece of kitchen towel to avoid damaging the window tint 'pupil'.
Wipe off any remaining whiteboard marker.
Step 4: Attaching the Iris


Plug the hotglue gun in and let it heat up.
Put the iris into the orb to get the feel of it and the look of it, before hotglueing. Here's why:
If the circle of colour filter isn't pressed down far enough, and you end up with a big empty space between the colour filter and the centre of the plastic orb, the wearer's vision will be distorted slightly around the edges of that centre part. Something to do with refraction; or even astigmatism! XD
But if it's forced down TOO far, the colour filter sometimes bends/buckles/caves in/forms the odd crease or dimple, instead of a nice even shape in the centre.
There should definitely BE an empty space between the centre of the 'iris' and the centre of the orb. It gives an amazingly realistic look to the eye that I don't know the name of. 'Depth of field', or something like that? I've attached a pic of a cat's eye to try and show what I'm useless at explaining.
OK, here we go:
Take one half of the acrylic orb.
Squirt a squiggly line of hotmelt glue all around the inside edge. Keep it reasonably near the edge.
Press the circle of colour filter into the orb. Straighten it up quickly (before the glue hardens too much) if it goes in lopsided.
The one in the photos could have been pressed into the orb a little further, and a little straighter. I was on my own for these photos, and haven't quite mastered the art of juggling a camera and hot gluegun at the same time.
Put a circle of non-stick cooking paper into the orb, followed by a rolled-up cheesecloth or other soft cloth.
The cooking paper is to prevent any wayward bits of glue sticking to the cloth; and the cloth is to help the glue around the edge adhere to the colour filter.
Don’t push the cloth in too firmly, or (same as above) it could force the colour filter to bend and buckle inside the centre part of the orb, and spoil the look of it.
If you are feeling brave, you could replace the rolled-up cheesecloth with the other half of the plastic orb. I tried it on one of the eyes, and it worked perfectly for pressing the outside edges of the colour filter into the glue...but I was too rough, and it caused the middle part of the iris to bend and buckle - and it stayed that way :-( I guess a very CAREFUL touch is needed.
Once dry, remove the rolled-up cloth and cooking paper.
Trim off the excess colour filter as close as possible to the edge.
Step 5: Applying the Reflective Backing


Put the ‘eyeball’ on a piece of silver reflective window tint, and draw around it. Remove eyeball.
Run a line of hotglue on, or just a fraction inside, the marked circle on the window tint.
Press and hold the eyeball on the circle.
When fully dry, cut the excess window tint from around the eyeball.
That’s it! All done. Hold them up to your eyes and they should be pretty easy to see out of.
See those ugly standout squiggly lines of glue around the edges of the plastic orbs, in the final photo? If you can make those squiggly lines of hotglue more squigglier, they will look like natural markings on the iris. Even if you can't, they'll be well hidden, once the eyes are fitted into the facial contours and general furriness of a fursuit head.


