

Introduction: Arduino Automated Garage Door System

Our TEJ Class was given the challenge to build something that is either original or and improvement to something that already exists and must somehow implement "Arduino"
This Instructable will allow for you to create a garage door equipped with a sensor to sense when a car is in presence, an LED and a piezo buzzer warning system to indicate the operation of the garage door.
For most of us the task of having to use a key to open the garage door or trying to find the car keys and or even the keyless wireless garage door remote is a task that we all don't want to do especially when we're short on time hence our innovation, a sensor activated garage door.
How it works:
When a car rolls up to the painted line located on the driveway, it will disrupt the follow of light that was originally being received by the sensor, this will then lift the garage door for 5 seconds wait for 5 seconds to allow for the car to enter the garage then lower the garage door. Now this project is cheap, effective, and able to be easily implemented in the real world.
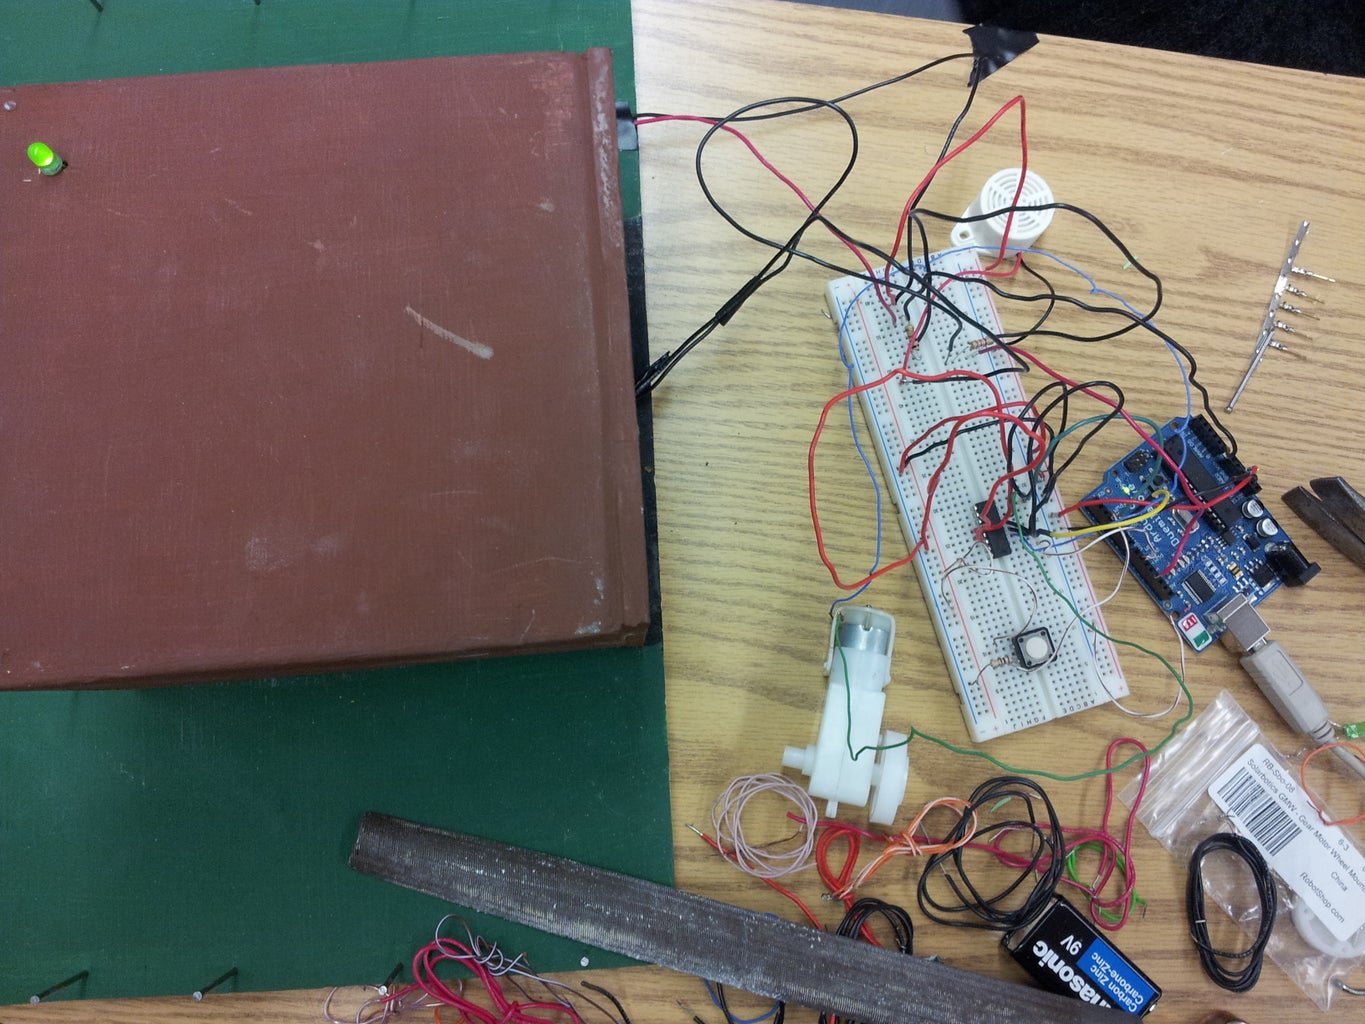
Step 1: Materials
The materials required for the project are:
-Wood
-Paint (For aesthetic purposes)
-Hinges (For the movement of the garage door)
-Wires (To hookup the electronics)
-Breadboard (To hold all the wires down)
-Motor (To lift motor)
-Arduino (To program the electronics)
-Half H driver (To allow for the motor to change direction)
-Resistors
Step 2: The Program & Wiring


The programming used here is Arduino:
The arduino program can be downloaded from: http://arduino.cc/en/Main/Software
The program for the garage door is located in the image
The wiring is locatedin the image as well
int switchPin = 2; // switch input
int motor1Pin1 = 3; // pin 2 on L293D
int motor1Pin2 = 4; // pin 7 on L293D
int enablePin = 9; // pin 1 on L293D
int photocellPin = 0;
int photocellReading;
int speakerOut = 12;
void setup(void) {
// set the switch as an input:
pinMode(switchPin, INPUT);
pinMode(12,OUTPUT);
// set all the other pins you're using as outputs:
pinMode(motor1Pin1, OUTPUT);
pinMode(motor1Pin2, OUTPUT);
pinMode(enablePin, OUTPUT);
Serial.begin(9600);
// set enablePin high so that motor can turn on:
digitalWrite(enablePin, HIGH);
}
void loop(void) {
photocellReading = analogRead(photocellPin);
// if the switch is high, motor will turn on one direction:
if (analogRead(photocellPin) <= 900 ) {
digitalWrite(motor1Pin1, LOW); // set pin 2 on L293D low
digitalWrite(motor1Pin2, HIGH); // set pin 7 on L293D high
digitalWrite(speakerOut,HIGH);
delayMicroseconds(956);
delay(3000);
digitalWrite(motor1Pin1, LOW)
; // set pin 2 on L293D low
digitalWrite(motor1Pin2, LOW); // set pin 7 on L293D high
digitalWrite(speakerOut,HIGH);
delayMicroseconds(956);
delay(4000);
digitalWrite(motor1Pin1, HIGH); // set pin 2 on L293D low
digitalWrite(motor1Pin2, LOW); // set pin 7 on L293D high
digitalWrite(speakerOut,HIGH);
delayMicroseconds(956);
delay(1500);
digitalWrite(speakerOut,LOW);
delayMicroseconds(956);
}
// if the switch is low, motor will turn in the opposite direction:
else {
digitalWrite(motor1Pin1, LOW); // set pin 2 on L293D high
digitalWrite(motor1Pin2, LOW); // set pin 7 on L293D low
digitalWrite(speakerOut,LOW);
delayMicroseconds(956);
}
}
Step 3: Assembling the Model


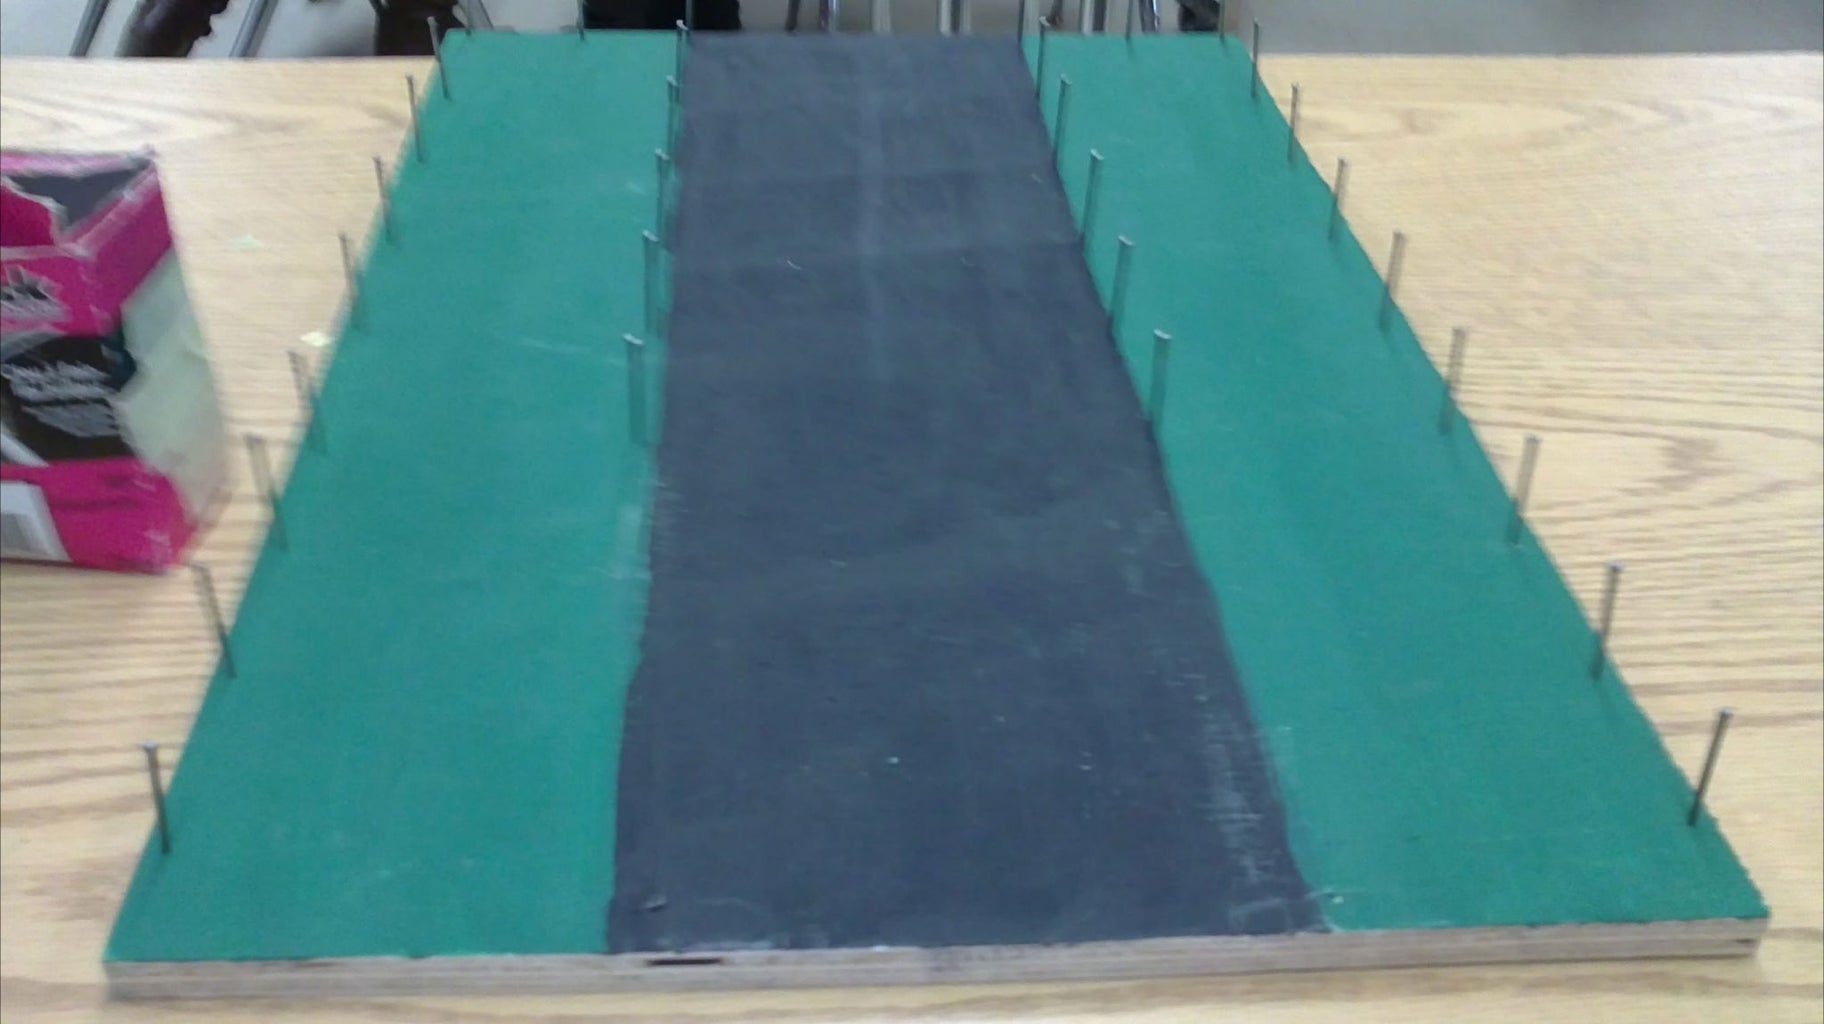


Step 1.) Build a garage and hinged door and paint it to your liking
Step 2.) Scout out a reasonable sized base that will have the garage mounted on
Step 3.) Paint the base to your liking and add any extra touches for aesthetic purposes
Step 4.) Add string to the middle, bottom, of the garage door
Step 5.) To be used to pull the door open and close it back shut
Step 6.) Mount the LED to the top of the garage door and wire it through the inside of the garage and out the back
Step 7.) Place the piezo buzzer in the garage door *DO NOT GLUE, SCREW, OR HOLD THE PIEZO BUZZER DOWN*
Step 8.) Place the L.D.R. in the driveway


