

Introduction: Arduino Based Lightsaber With Light and Sound Effects


Hello jedi! This instructable is about making a lightsaber, that looks, sounds and performs like one in the movie! The only difference - it can't cut metal :(
This device is based on Arduino platform, and I give it a lot of features and functions, it was a very big job and I used all of my programming skills, but it was worth it!
So, let's talk about features! Also you can watch a short review in my video, in which I show all effects and functions of GyverSaber system and also there are two professional jedi fighting with my lightsabers in the end of video!
Features:
- Smooth turning on/off with lightsaber-like sound effect
- Randomly pulsing color (you can turn it off)
- Sounds:
- MODE 1: generated hum. Frequency depends on angle velocity of blade
- MODE 2: hum sound from SD card
- Slow swing - long hum sound (randomly from 4 sounds)
- Fast swing - short hum sound (randomly from 5 sounds)
- Bright white flash when hitting
- Play one of 16 hit sounds, when hit:
- Weak hit - short sound
- Hard hit - long "bzzzghghhdh" sound
- After power on blade shows current battery level from 0 to 100 percent
Battery safe mode
- Battery is drain BEFORE TURNING ON: GyverSaber will not turn on, button LED will PULSE a couple of times
- Battery is drain AFTER TURNING ON: GyverSaber will be turned off automatically
Control button:
- HOLD - turn on / turn off GyverSaber
- TRIPLE CLICK - change color (red - green - blue - yellow - pink - ice blue)
- QUINARY CLICK - change sound mode (hum generation - hum playing)
- Selected color and sound mode stored in EEPROM (non-volatile memory)
Step 1: Materials and Components

I always buy electronic staff on Aliexpress, but you can find same modules on Amazon, eBay, etc.
Electronic components:
- Arduino NANO http://ali.pub/20o35g http://ali.pub/20o36t
- Addressable LED strip. WS2811, 12V. Take white PCB, IP30, 60 LEDs per meter http://ali.pub/23csyd http://ali.pub/23cszc http://ali.pub/23csyd
- Button with LED. Take 5V version http://ali.pub/23ct29
- MPU6050 http://ali.pub/23mryw http://ali.pub/23mst1
- Cheap MicroSD http://ali.pub/23msne http://ali.pub/23msqp
- MicroSD module mini http://ali.pub/23ms27 http://ali.pub/23ms5b
- Or this http://ali.pub/23ms11
- Batteries 18650 with protection http://ali.pub/23moiu http://ali.pub/23moke http://ali.pub/23moiu
- DCDC Step Down http://ali.pub/23mpex http://ali.pub/23mpfi http://ali.pub/23mpex
- Amplifier http://ali.pub/23mp6d http://ali.pub/23mp75 http://ali.pub/23mp6d
- Speaker http://ali.pub/23mq8h http://ali.pub/23mq9g http://ali.pub/23mq8h
- Resistors KIT http://ali.pub/23mqei http://ali.pub/23mqfo
- Power button http://ali.pub/23mtiw
- Charging port http://ali.pub/23mtf0 http://ali.pub/23mt69
- CC CV charger for 3 cells http://ali.pub/23mt8s http://ali.pub/23mt9d http://ali.pub/23mt8s
- Prototype board http://ali.pub/23mrwy
Materials and instruments:
- Polycarbonate tube (light diffusion, 32mm)
- 2 stubs for this tube
- Some tubes for hilt (I used PVC sewage pipe and tubings: 40mm for hilt, 32mm for PC tube mount)
- Steel wire
- Common instruments for soldering and cutting plastic
Step 2: Wiring


I decided to make this project on prototybe board, 3x7cm, you can see all schematics and some ugly-looking-wiring =)
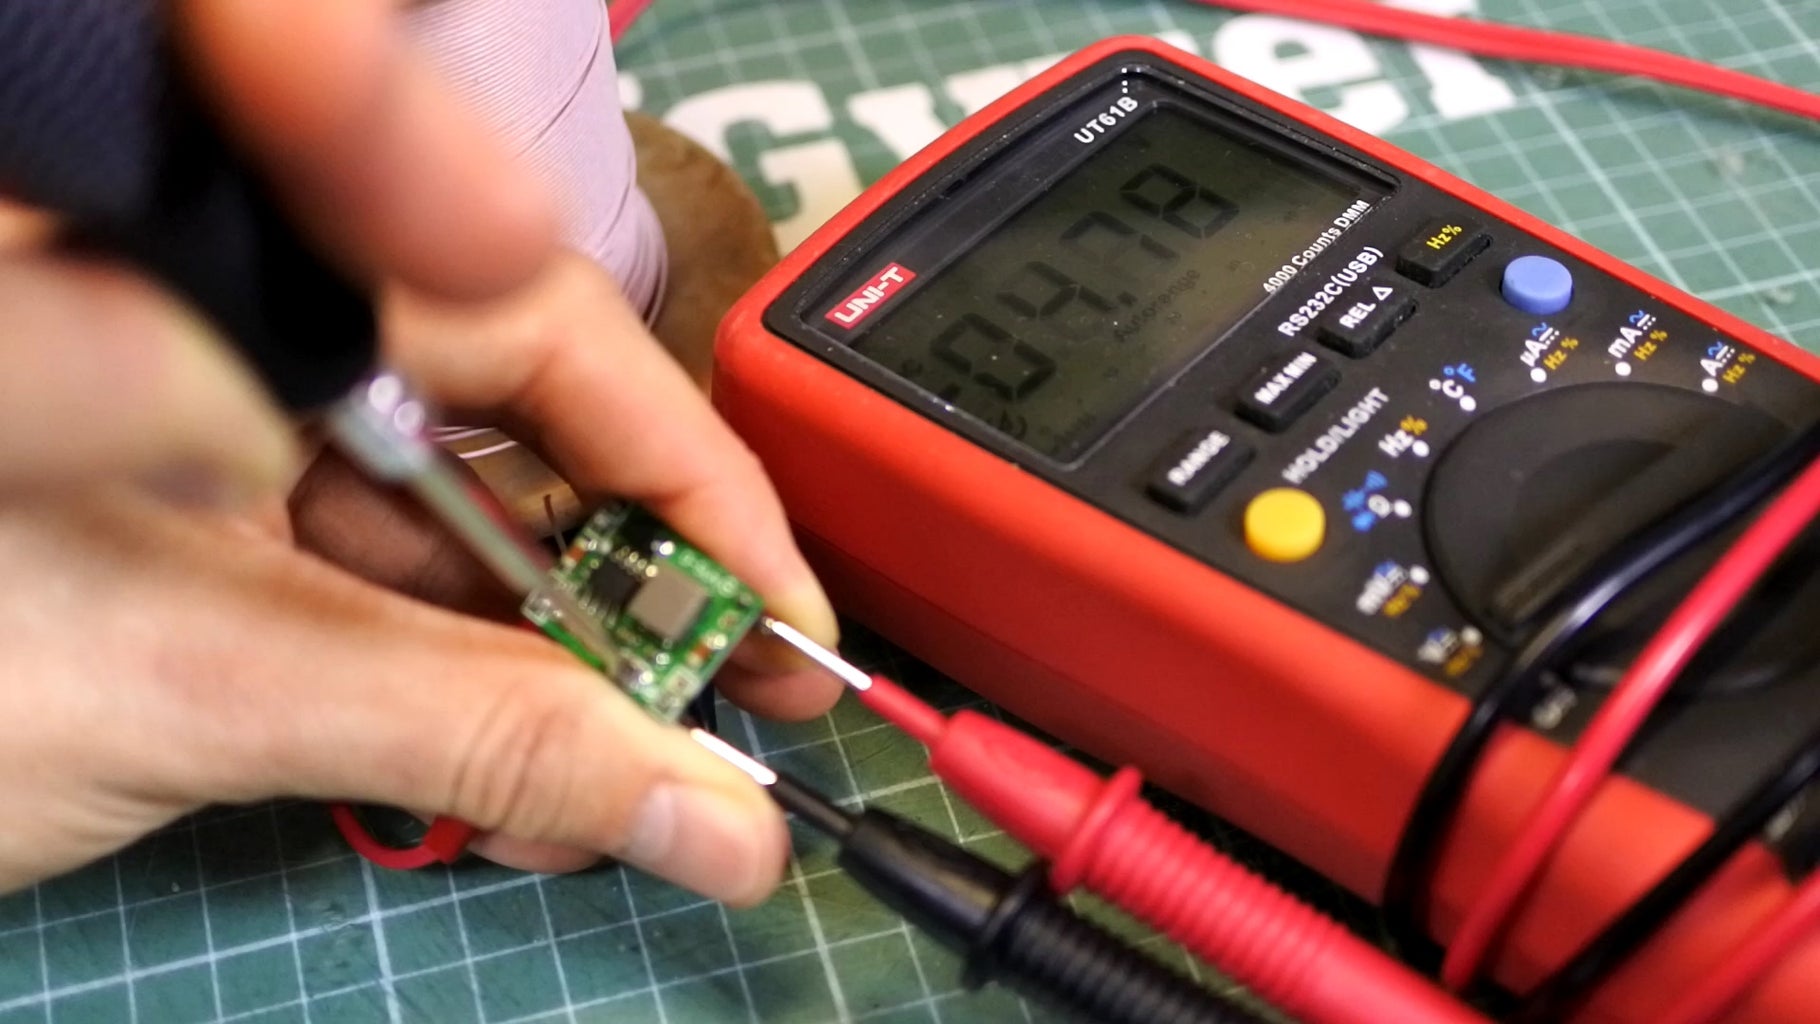
IMPORTANT! Before wiring, connect DCDC step down converter to 12V DC power source and adjust output voltage to 4.5V!
Step 3: Hilt


I use sewage pipes for hilt, but these are russians sewage pipes, so I think you need to improvise.
Step 4: Batteries


I use 3 lithium batteries (ordinary 18650 from laptop battery). At first we need to put them inside 40mm tube (hilt), and we need to heat the tube for it. But at first we need fix batteries together by tape and thicken them with 2 layers of paper.
So heat the tube, put batteries inside and cool down the tube as fast as you can! Lithium batteries very don't like high temperature. Then pull them off and you will see perfect battery case.
Step 5: Soldering Batteries


As I said, lithium batteries don't like high temperature. So use flux and powerful soldering iron (100W) to solder batteries very quickly. So, connect them in serial.
Step 6: Blade and LED Strip


I have 75cm blade, so I cut 75+75=150cm piece of strip. LED strip will be folded twice around wire, so use double-side tape to fix all, and you will get double side LED strip with wire inside.
Strip needs some supports along the blade tube, I used 3 supports made of nail in thermal shrink tubes, and attach them to strip with thread and super glue.
Drill a holes in stubs for wire, wire will be strained between two stubs and fixed by 3mm screw, but not right now.
Step 7: MPU6050


I connected MPU6050 using old IDE flex wire, because it is good idea to place MPU as close to blade as possible. And I just glue it in low stub of PC tube :)
Step 8: Hilt Buttons


Make some holes for buttons and charging port, and a few holes in bottom for speaker. Also I painted hilt with black paint.
Step 9: Final Wiring


So, connect batteries, pull off wires for switch and charge, solder it all and fix in their holes. Also, solder speaker wires too.
Step 10: Speaker Fixing


I fixed speaker using a ring of 40mm tube and some nails =) It is brutal and very strongly.
Step 11: Programming
You can find Arduino sketch, libraries, SD sound files and a lot of instructions in project page on GitHub, but I attached sketch and archive with all project files here, in Instructables.
Simple guide:
- Open GyverSaber.ino and tune:
- Number of microcircuits WS2811 on LED strip (note: one WS2811 controls 3 LEDs!)
- Turn on or turn off blade pulsation
- Hardly recommend measure real resistance of voltage divider resistors
- System can work without battery monitoring, just deactivate BATTERY_SAFE. BUT IT IS NOT RECOMMENDED
- Flash arduino
- Upload audio files to SD card
- Enjoy!
MicroSD info:
- Size < 4G
- Format to FAT
- Copy audiofiles in the root
If you want add your own sounds, convert them to .WAV:
- 8 bit
- 16-32 kHz
- Mono
- Use online converters or Total Audio Converter
WARNING! If you are flashing assembled scheme, you must power up it! Arduino will not work correct with connected DCDC converter!
Attachments

Step 12: Tuning

I made GyverSaber fully customiseable so you can build your own saber with different blade length and other parameters, just take a look on sketch settings.
Step 13: Final Screw


So, lightsaber is almost done! Just one last screw, which fix blade to tube. I made some drawing with all saber body construction.
Step 14: Results


So, DIY lightsaber is ready to fight! You can watch some tests with spins, swings, object hits, chandelier crash (oops!) and also two real Jedi, fighting with GyverSabers (yes, I made 2 of them!!!) in my video review on this DIY lightsaber and it's functions and features.
Sincerely, MadGyver.

Runner Up in the
Arduino Contest 2017


