

Introduction: Arduino Button Box


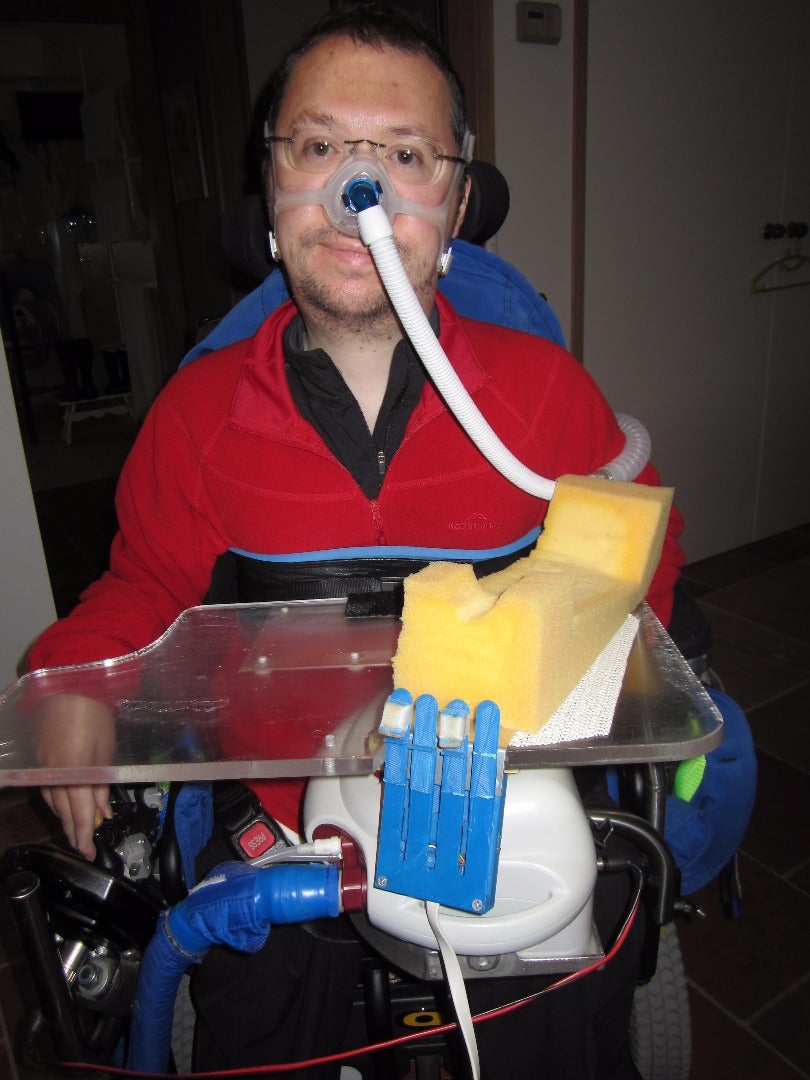


You might be wondering what is a button box. It is a simple device consisting of four light touch switches, which can be used as input for a computer. The switches sit under each finger so they can be pushed with the tiniest effort and without moving your arm. Perfect for someone a physical disability such as muscular dystrophy.
An Arduino Leonardo is used to input the button presses to the computer, meaning each button can be programmed to do whatever you like. From keystrokes to mouse commands and joystick commands.
You will need
1. Arduino Leonardo or Micro (The Leonardo and Micro Arduino boards can emulate keyboards and mouse commands, Uno and other boards can't.)
2. 4 light touch microswitches
3. micro USB lead
4. 2.5mm welding wire
5. about 1 meter of six core wire
6. soldering iron
7. 4 10k resisters
8. 72mm x 200mm x 1.5mm aluminium sheet
9. access to a 3-D printer.
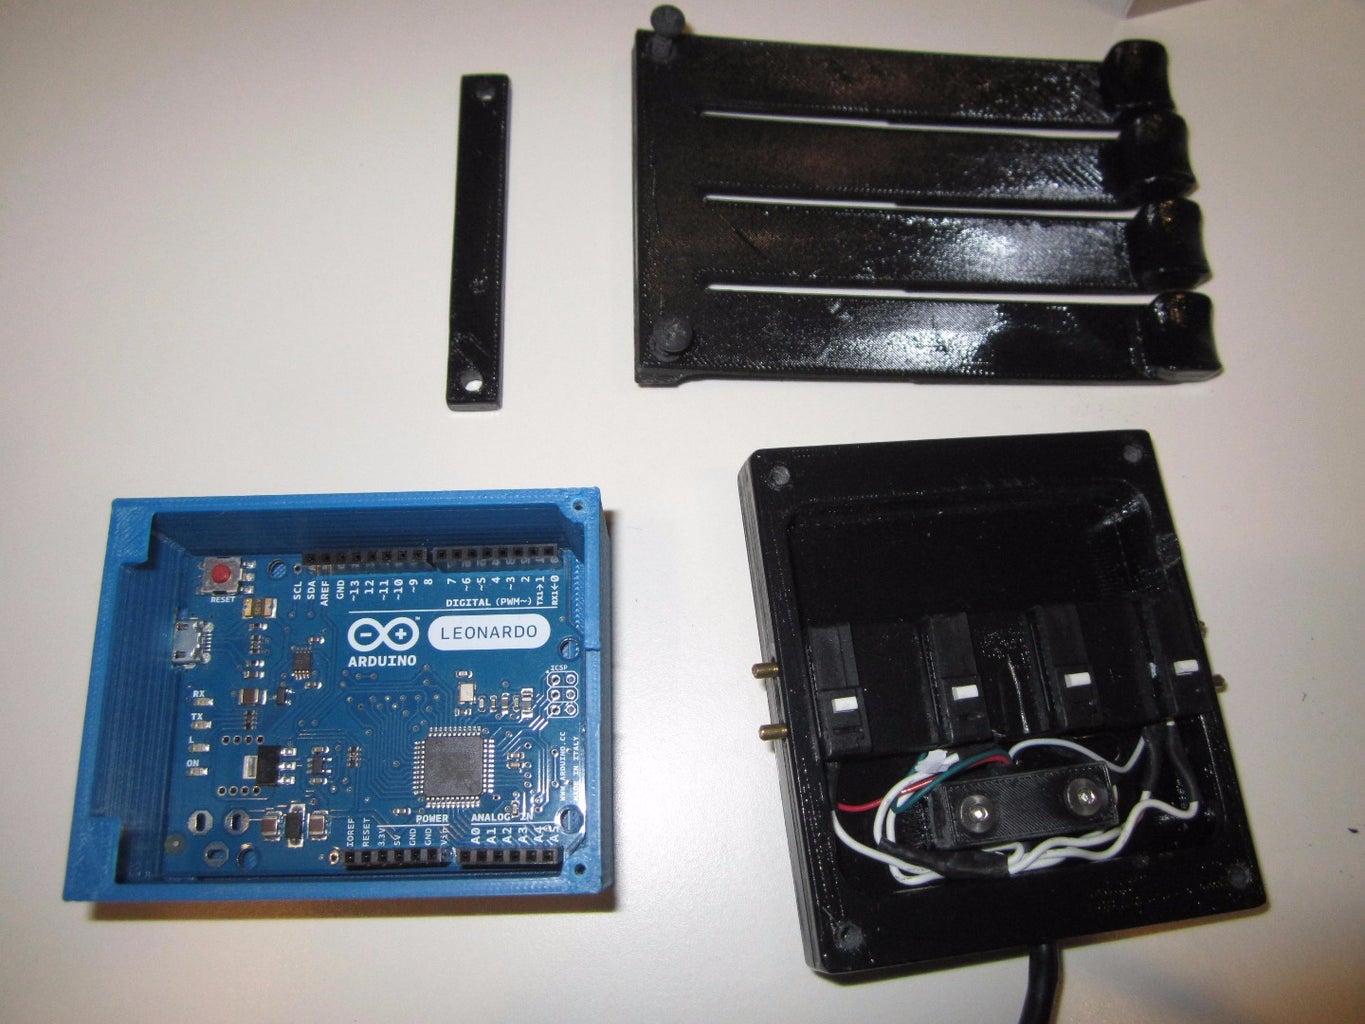
Step 1: 3d Print Buttons and Case.
First step is 3-D printing the buttons and cases for the button box.
There are 7 STL files you will need. Print one of each.
Attachments


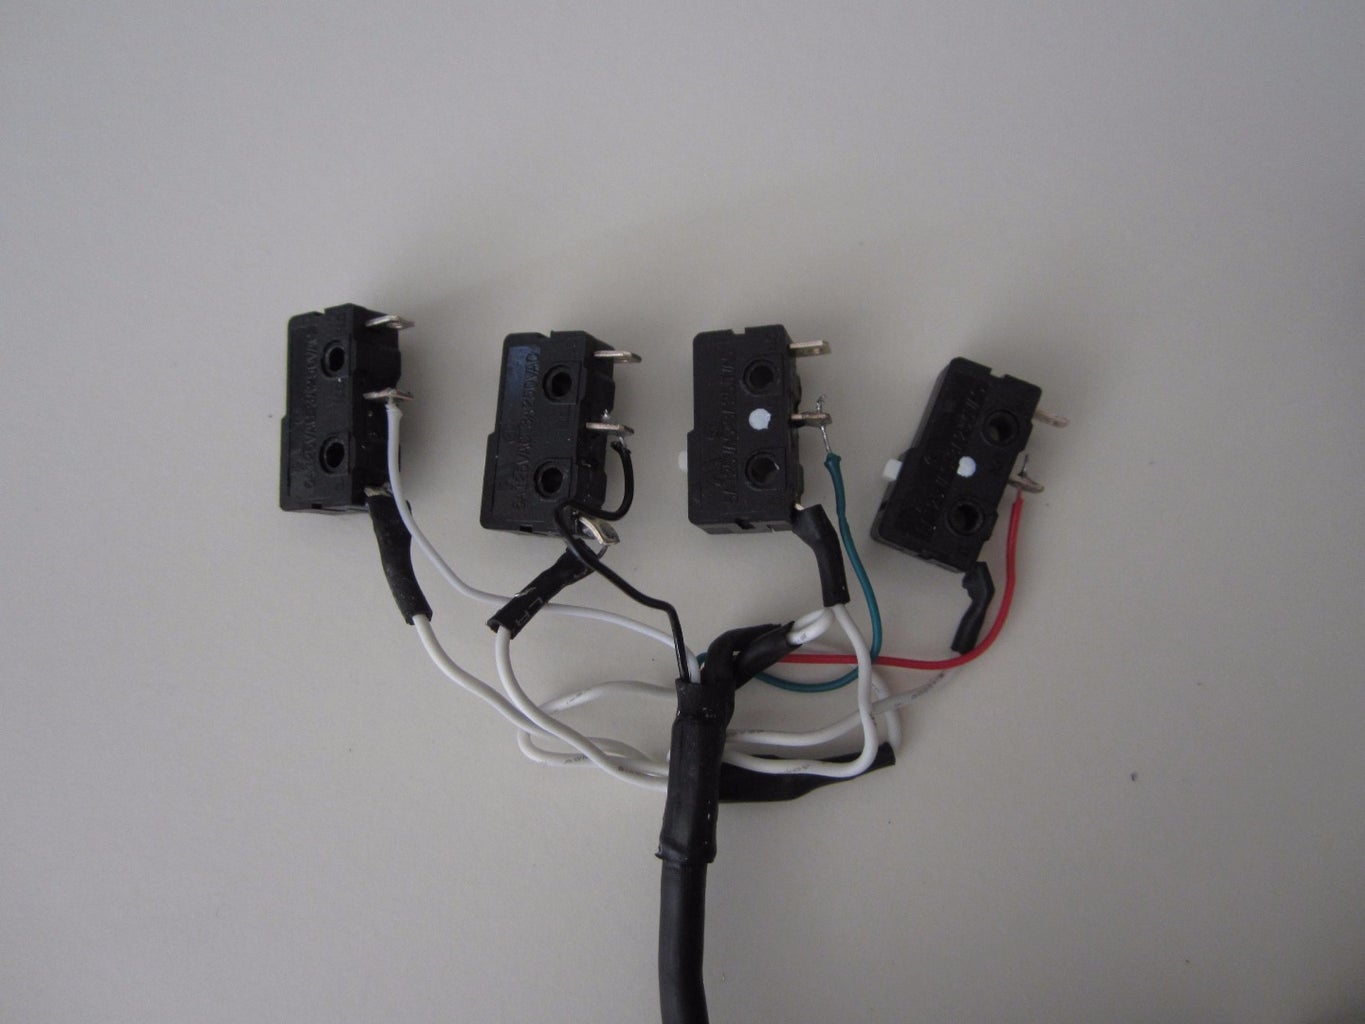
Step 2: Assembling the Electronics!


The electronics is very simple, it consists of four micro switches, four 10k resisters, a meter or so of six core wire. When one of the micro switches is clicked it will send 5 V to a digital pin on the Arduino Leonardo. When that switch is released the 10k resistor is there to make sure to digital pin returns back to ground.
(If you don’t have the resistor weird stuff can happen like that button not releasing properly.)
We just soldered the resisters from the ground pin to the digital pins we are going to use. A bit rough but it works :)
You will need to strip back the 6 core wire a fair bit to give you enough length to work with. One wire is used to supply the 5 V to each switch, four wires also go to each switch. There will be a sixth wire we don’t use, best to keep it as spare so if one of the wires breaks you could replace it easily.
Step 3: Assemble Button Box

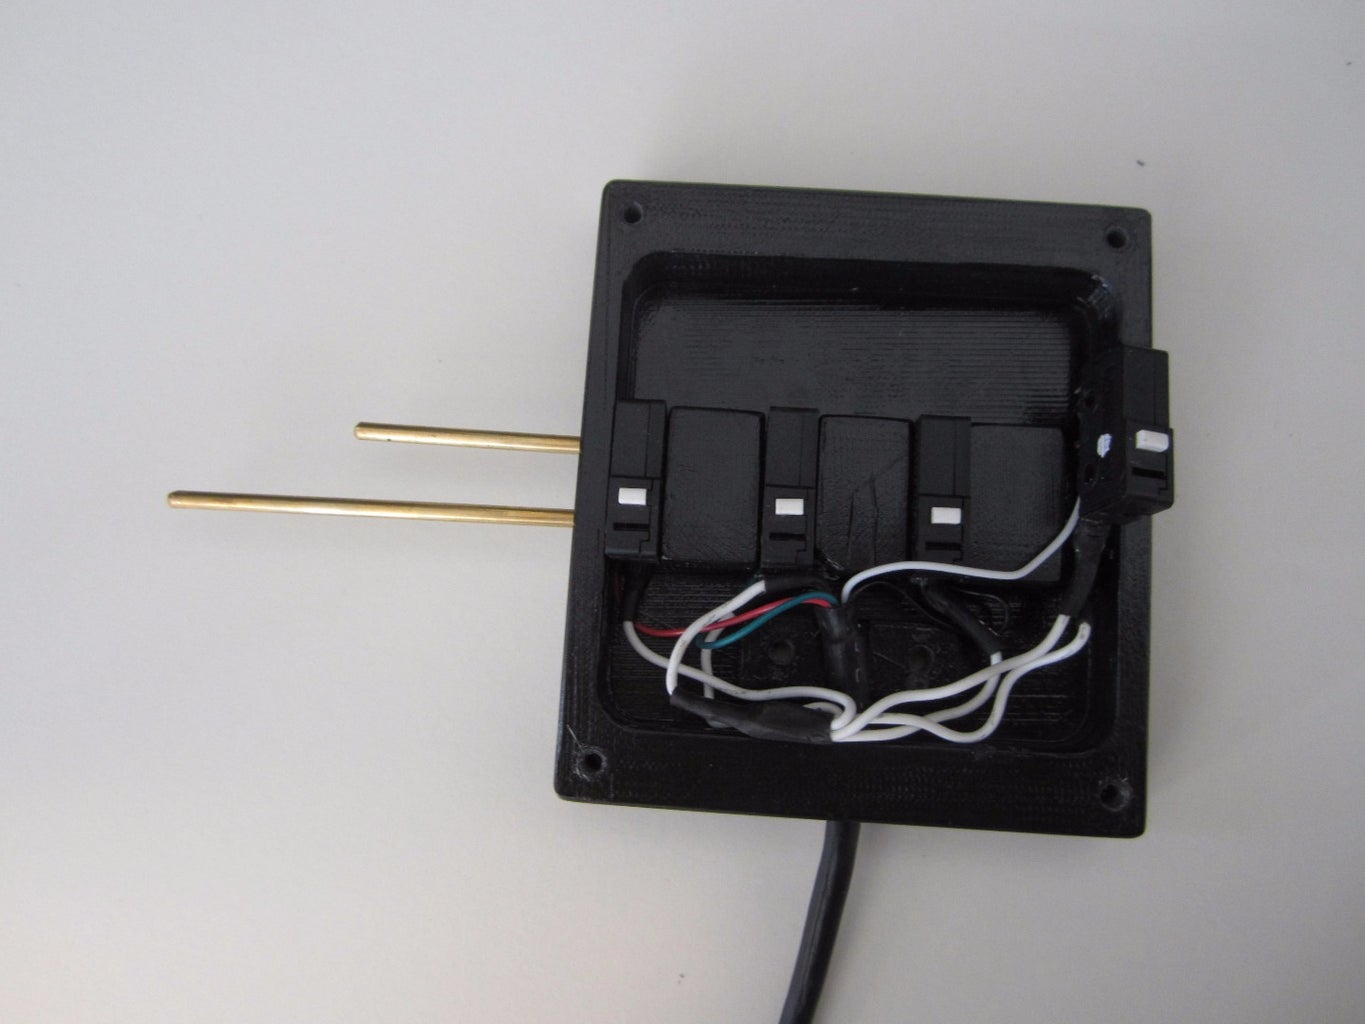

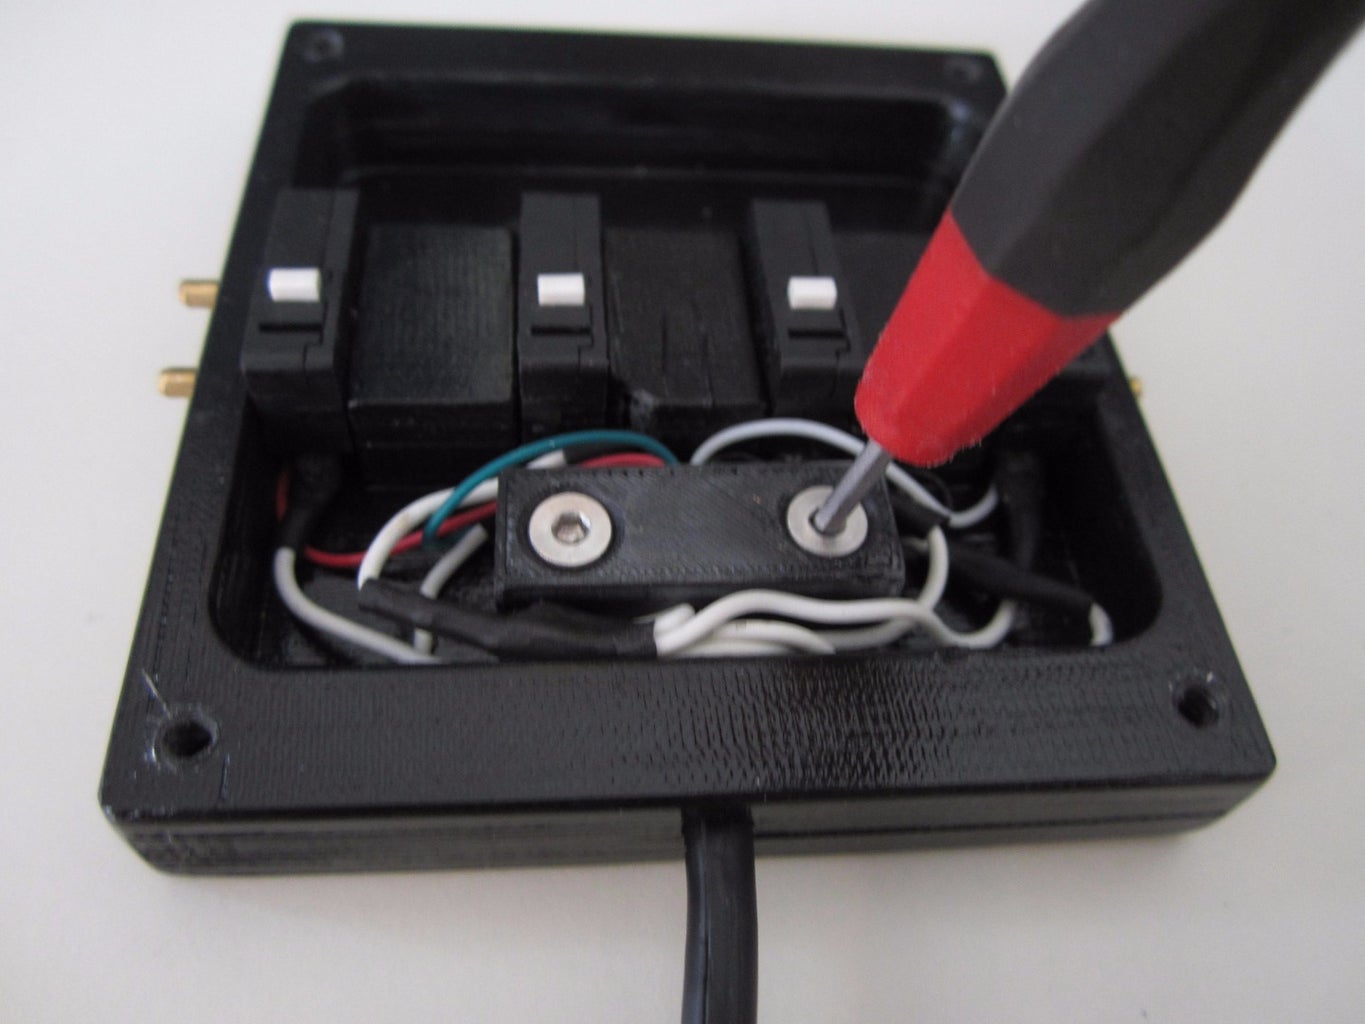

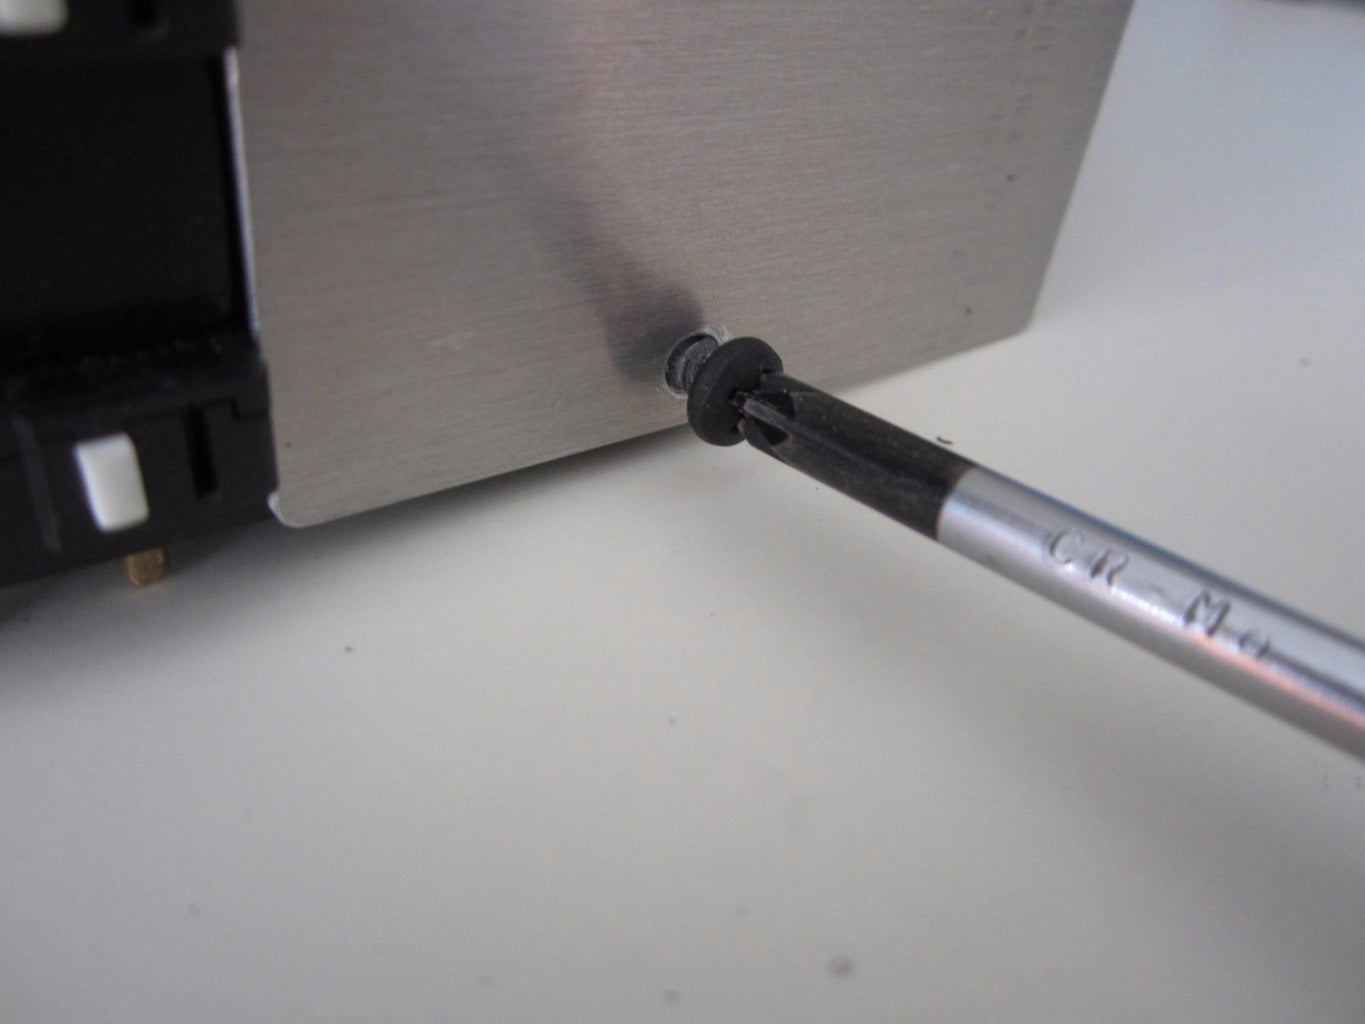


Assembling the button box is pretty straightforward. I have included a exploded view so you can see exactly how it goes together.
Step 4: Upload Arduino Code.
Upload Arduino code. Please note this will only work for the Arduino Leonardo and Micro.
buttonbox_up_down_left_right.ino this is for pressing the arrow keys.
Caution make sure the keyboard press matches the keyboard release.
ie this
if (buttonState1 == HIGH){
Keyboard.press(KEY_LEFT_ARROW);
}
must have its counterpart
if (buttonState1 == LOW){
Keyboard.release(KEY_LEFT_ARROW);
}
if you mess this up you can brick your Arduino
Arduino Keyboard, Mouse, Joystick libraries
If you have any problems don't hesitate to email me on
webmaster0zero@gmail.com


