

Introduction: Arduino Catapult

For this project, I began with a tutorial I found here on Instructables: Arduino-Controlled Catapult . This was a great instructable to start with as I am not familiar with Arduino projects and this is my first attempt. The instructable includes some good quality pictures, a short video of the catapult's performance, a detailed list of parts, techniques, a copy of the circuit layout, and the program that runs the Arduino. These tools were very helpful in providing a starting point and helping to create this awesome project.
To be clear, I'm still working out many of the kinks in this project. It has the potential to grow and become a more refined piece, but this is mostly a work-in-progress.
Here is a video of my first attempt at using the catapult in its prototype phase.
Step 1: The Arduino


For my project, I used the Arduino Uno. You can find this item at Radioshack or at Arduino.cc along with a USB cord you can use to program and power the board. I also needed an external power source, so I used an AC/DC adapter that allowed me to draw power from a wall outlet.
The program for placing commands on the board is available for free downloading at Arduino's website.
I would recommend before getting started that you play with your Arduino's programming. There are several simple commands that come with the Arduino software that can be easily programmed and tested without springing for any expensive parts. This is the best way to begin to understand how it works if you are unfamiliar with programming. As an added bonus, you'll feel excitement at the prospect of making those tiny lights blink on and off!
Step 2: Buying Those Small Electronic Things...


The parts list can be intimidating. You want to make sure that you're investing in the right product before assembling it so that you don't end up with parts that inhibit or ruin your project (as I did). Most of these parts can be ordered online very inexpensively in bulk or are conveniently located at your local Radioshack. I would order them in more quantities than you actually need so that, if necessary, you can build multiple prototypes.
You will need:
- 3 Standard Servos (I used the Futaba S3004)
- 2 Potentiometers
- 2-3 Switches
- 1 0.1uf Ceramic Capacitor
- 1 1000uf 16v Capacitor
- 2 10k Resistors
- 1 LM 7805 Voltage Regulator
- Multiple colors of wire
- 1 prototype circuit board
- 1 9 volt battery
- 1 9 volt battery connector
Step 3: Building Your Circuit


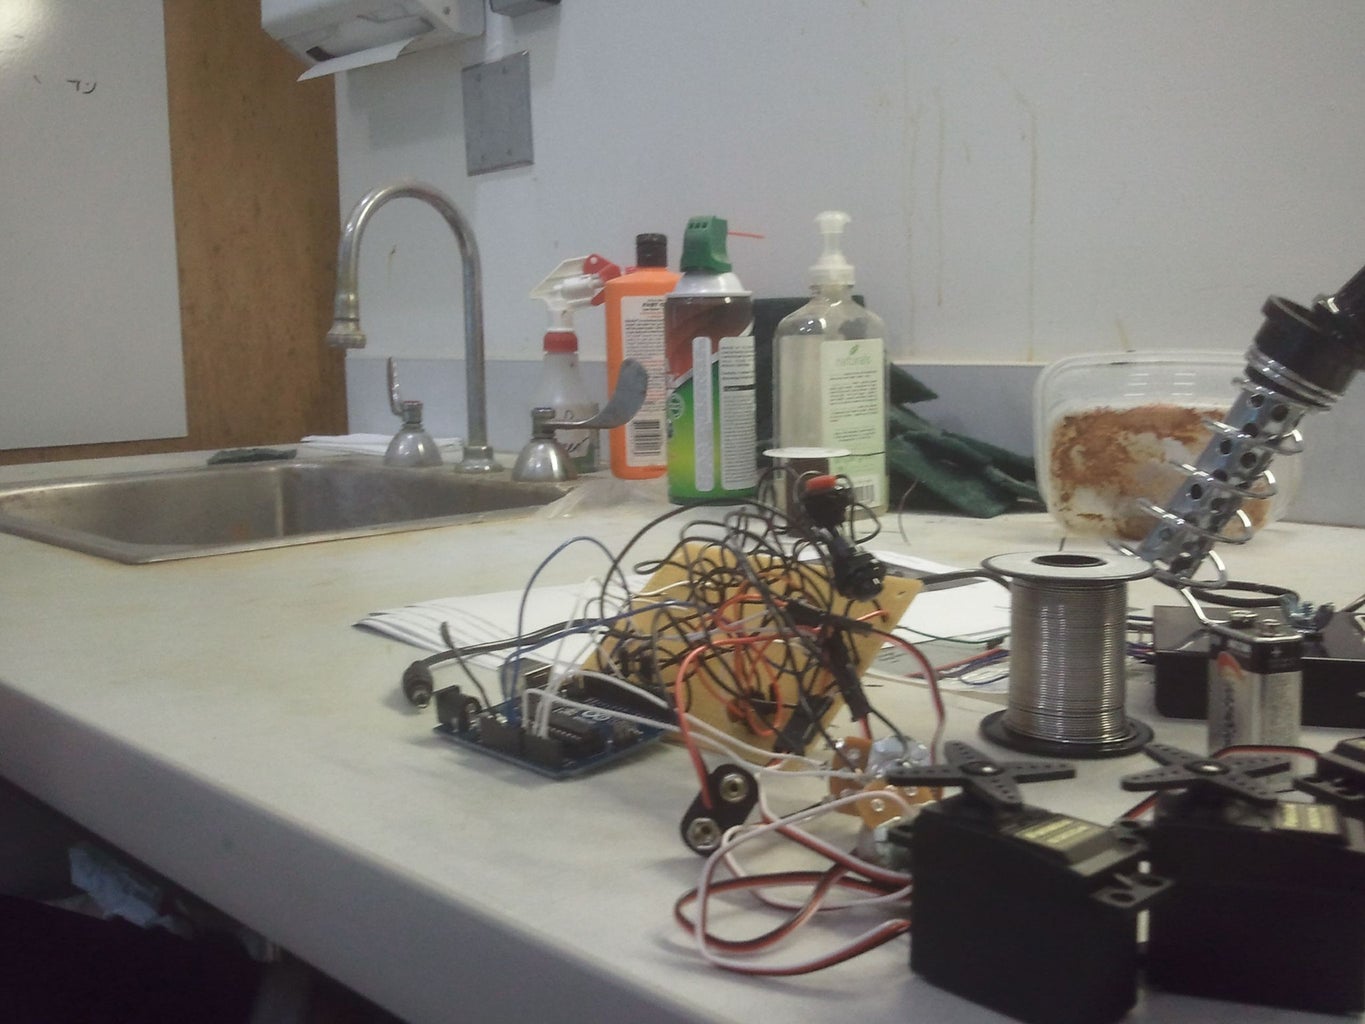

For this step, I used a schematic provided in my model instructable. I made many attempts to correctly hook this project together (and I experienced some burning failures), but I'm now fairly confident in my work.
You will need some solder and a soldering iron for the prototyping board, also. You may also at this point want to program your Arduino so that it can execute your catapult functions. UnusualTravis's project included a zip file containing the program, which I have attached here. The program is easy to alter and could use some tweaks, but works fairly well as it exists now.
I encountered some interesting problems (of which I had no previous experience) during this exercise:
1. The middle point of the potentiometer uses a signal wire. Don't place the ground or power on this point.
2. There are only 3 Arduino ground pins and several ground connections. Try to consolidate them.
3. The servos behave according to the pin they're inserted in. Pin 9 controls tension, pin 6 controls angle, and pin 5 controls the fire servo.
Attachments

Step 4: Building a Catapult


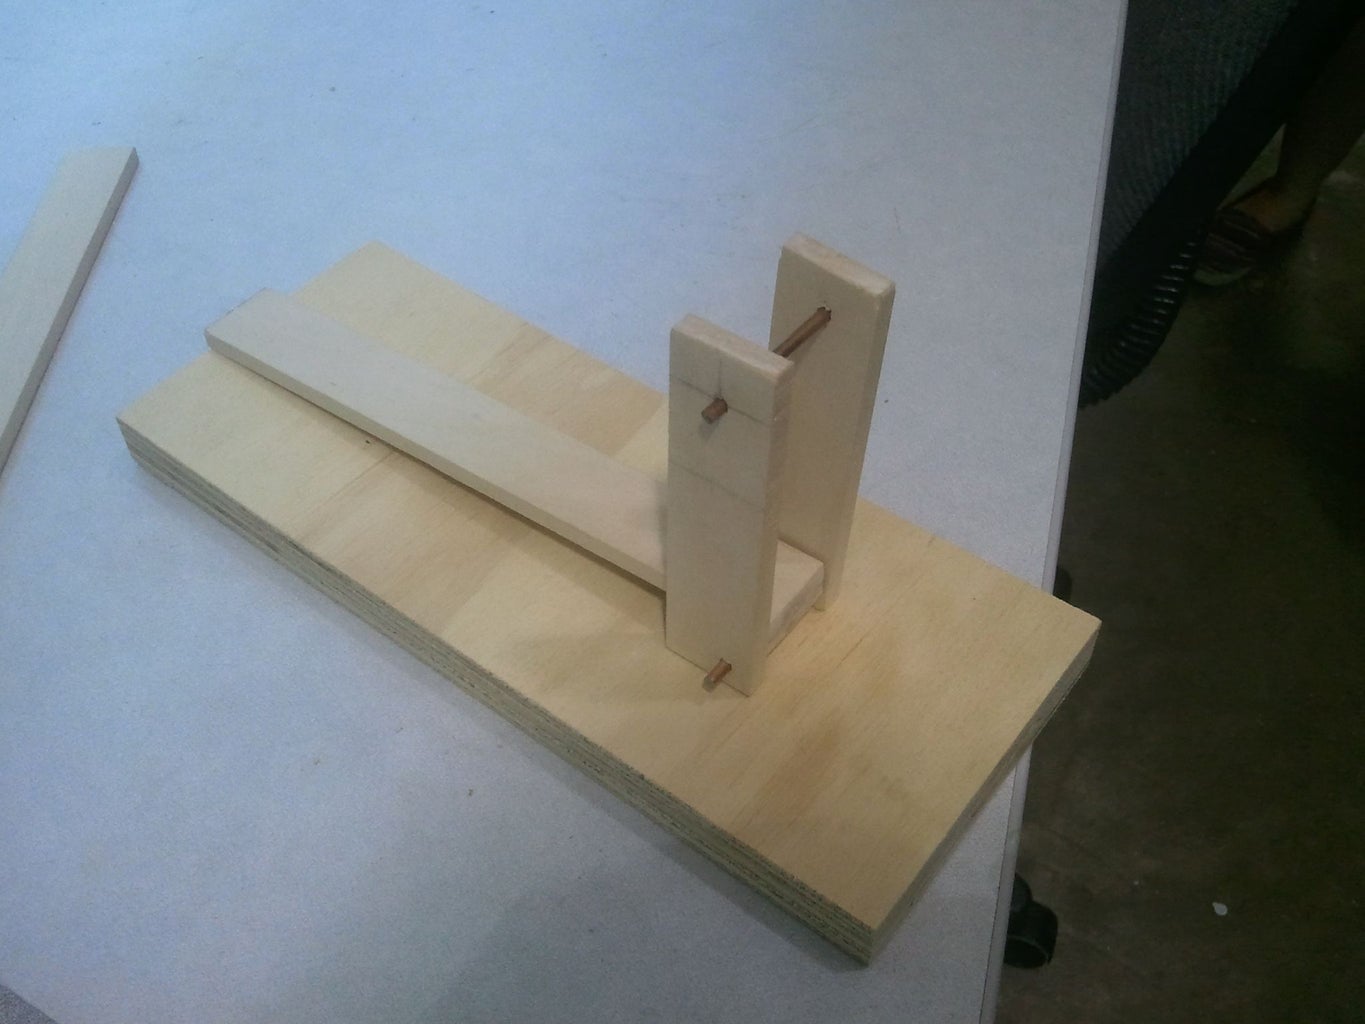

Once you have a working prototype (and by 'working' I mean 'moving'), you should begin considering how to build your catapult. After reviewing my inspiration model, I created a 3D sketch to work from. For the prototype, I invested in some cheap craft wood and a small piece of cheap MDF. For the final product, each piece was bolted to the board after some trial configurations.
Its also important to note that the servos can only handle so much torque. It is therefore necessary to test the strength of your springs and be sure that the weight will not overpower the servos. I did this by attaching the springs to a luggage weight measure and pulling them to the approximate distance I was going to require and recording my findings. After these tests, I bought servos that I knew could handle X amount of weight per inch.
Step 5: Trial and Error and Error Some More


This is the first attempt at using the catapult that showed some pretty promising results.
Although the project is by no means completed, it is, at this phase, a working catapult ready to fire at your desktop enemies and incite fear in your school/office from any wandering trespassers.


