

Introduction: Arduino Controlled LED Chair and Gaming System

The goal of this project was to learn how to use power tools and implement software with that. This was split up into three main parts: The LED Strip controlled by an Arduino, the Rasberry PI system connected to a monitor, and the building of the chair to which the LEDs were attached.
Step 1: LED Strip Controlled by Arduino
The materials you will need are show as a whole in the pdf file. You will need an Arduino, Arduino USB connection cable, jumper wires, an IR receiver, an IR emitter, a computer to process the program, a pack of RGB LED strips, and resistors (not really).
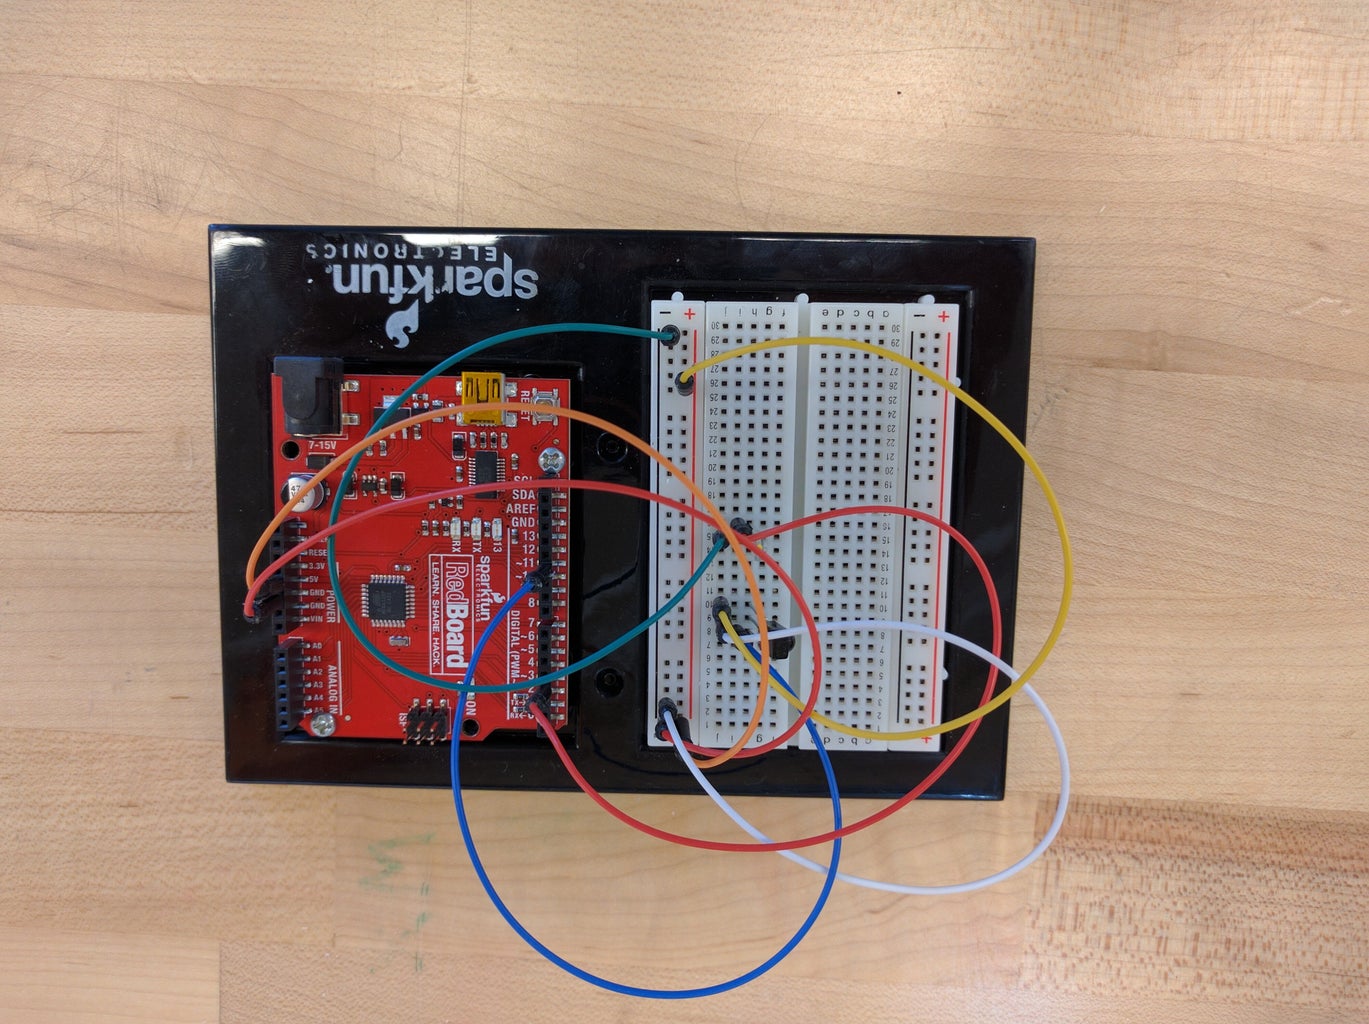
Once that is set up, create a circuit on the Arduino with the IR Receiver and emitter. See the picture of the breadboard and Arduino.
Then, you will need to map out what key is what RAW value on your remote. Open the example ReceiveDump file on the examples in the library. You can use that or other example files to map out what button is what RAW value.
Once that is done, see the attached code. Change the variables and RAW values stored to what you need. Be aware that if you use the key map like I did, you may run into the issue that the memory is taken up too much. In that case, you will be limited to how many commands you can use. Another option is to use multiple Arduinos.
That's it for this part!


Step 2: Rasberry PI Setup to Surf the Web and Play Pre-loaded Games.

The materials you will need for this part are a monitor, a laptop, an SD card, a mouse and keyboard, Rasberry PI 3, and the instruction book.
First, plug everything into the PI 3, such as the mouse, keyboard, and connect the monitor via HDMI. Then, using the laptop, you need to follow the instructions in the instruction book with the PI and download the Rasbian software onto the SD card.
Once that is done, stick it in the PI 3, boot it up, and you're done!
Step 3: Building a Chair


You will need 2 long planks (3 x 3 x 41in) for the back legs, and two shorter ones (3 x 3 x 18) for the front legs. Additionally, you will need a seat sized piece of wood for the seat, and a piece of Plexiglas for the back rest. You need paint in the color of your choice (we used a glossy white).
Cut the planks to the specified length using a chop saw, then drill two holes using a 7/64 drill bit through each leg that continue through the side of the seat. Attach the legs using wood screws.
Cut two more planks to make the front legs. Position them under the seat and drill 2 holes through the seat and top of the plank. Attach using wood screws.
Fill holes with wood filler, wait 4-6 hours to let the filler dry, then sand down. Paint the chair with the color of your choice.
Take the Plexiglas sheet and drill through the Plexiglas and top of back leg. Attach using screws.


