

Introduction: Arduino Drag Race Light Tree


I'm new to Arduino so I was excited to try this out. I also Drag race 1/24 scale slotcars. I built a homemade 24' drag strip to practice. I need the tree to be the same as the race track so my reaction time might improve. I'm not sure if I have the timing right, but it's getting close. See the video below.
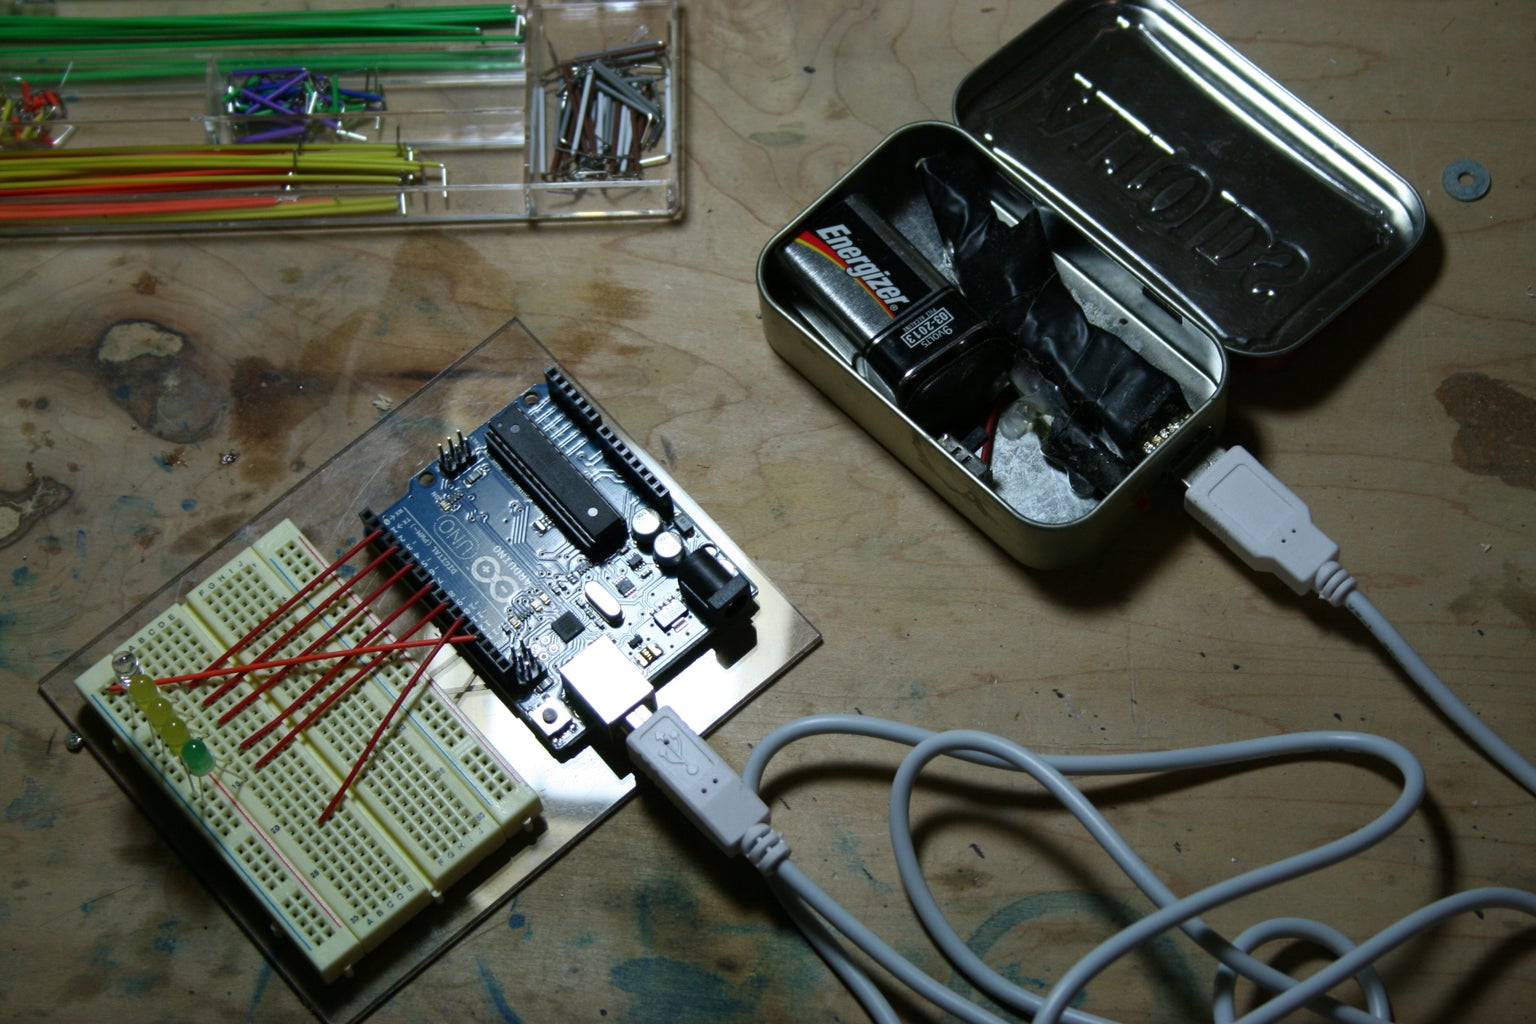
The Arduino = Arduino UNO purchased at Radio Shack
The Breadboard= Radio Shack (not necessary, but I already made the prototyping stand. https://www.instructables.com/id/Acrylic-Arduino-Prototyping-Stand/)
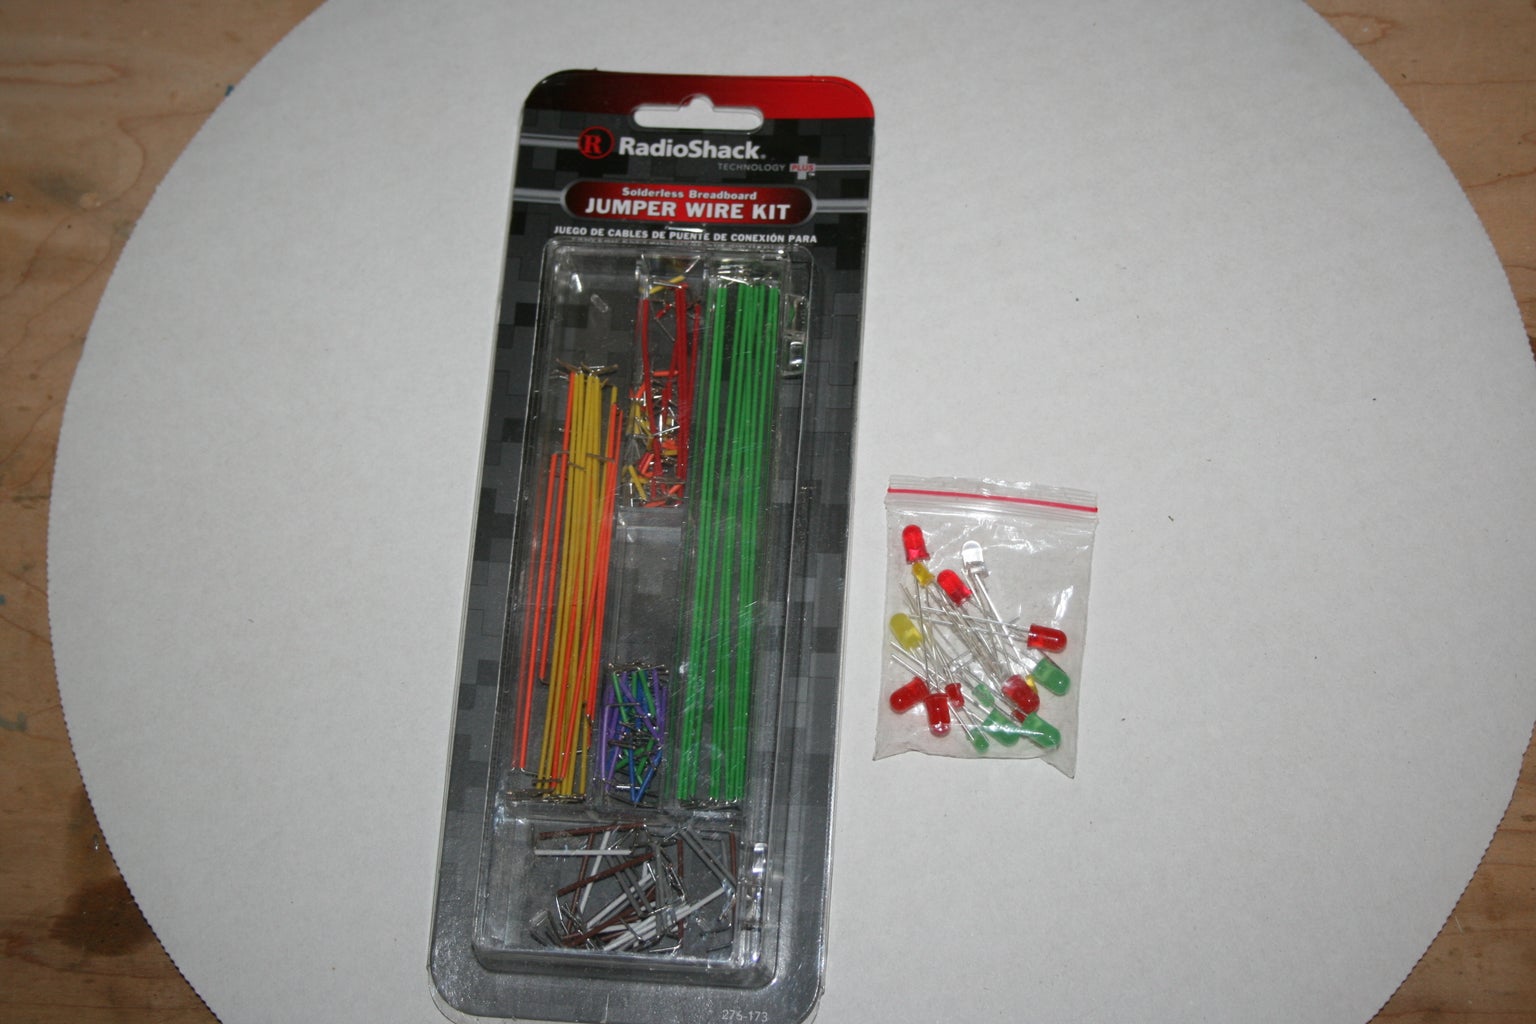
LEDs and jumper wires = you guessed it... Radio Shack
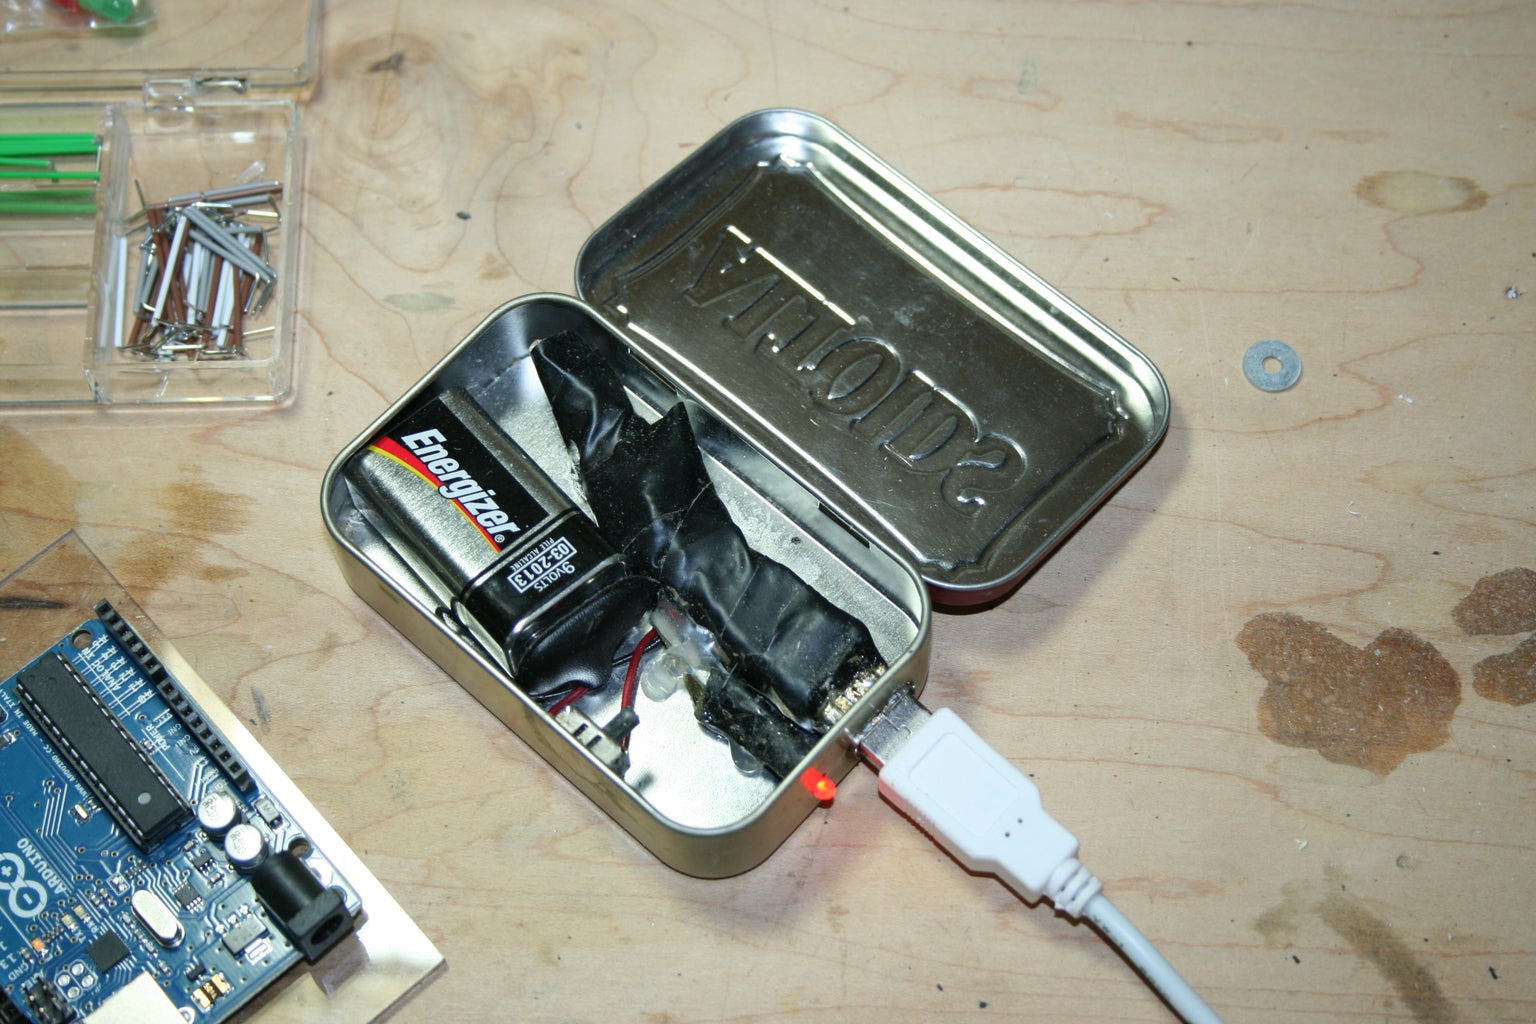
The power source is Altoids charger that supply's 5v to the Arduino board ( https://www.instructables.com/id/Another-Altoids-Ipod-Charger/)
You can also use a 9v battery with resistors that are appropriate or use usb from laptop or desk top computer.
The software I used I downloaded from http://arduino.cc/en/Main/Software
I understand there are many ways one can do this. I chose to build it this way because this is what I had.
I connected the jumper wires to the #2,4,6,8,10 pins found on the Arduino board and the long leg of the Led are placed in line with the end of the red jumper wires on the breadboard.
.
The ground pin is located above the #13 pin (GND) on the Arduino board.
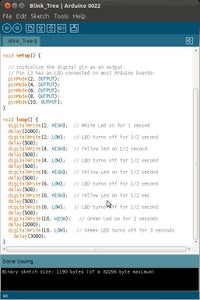
The Code I wrote is a modified version of the blink example:
/*
Blink
Turns on an LED on for 1 second, then off for 1 second.
This example code is in the public domain.
*/
void setup() {
// initialize the digital pin as an output.
// Pin 13 has an LED connected on most Arduino boards:
pinMode(2, OUTPUT);
pinMode(4, OUTPUT);
pinMode(6, OUTPUT);
pinMode(8, OUTPUT);
pinMode(10, OUTPUT);
}
void loop() {
digitalWrite(2, HIGH); // White Led on for 1 second
delay(1000);
digitalWrite(2, LOW); // LED turns off for 1/2 second
delay(500);
digitalWrite(4, HIGH); // Yellow led on 1/2 second
delay(500);
digitalWrite(4, LOW); // LED turns off for 1/2 second
delay(500);
digitalWrite(6, HIGH); // Yellow Led on for 1/2 second
delay(500);
digitalWrite(6, LOW); // LED turns off for 1/2 second
delay(500);
digitalWrite(8, HIGH); // Yellow Led on for 1/2 sec
delay(500);
digitalWrite(8, LOW); // LED turns off for 1/2 second
delay(500);
digitalWrite(10, HIGH); // Green Led on for 2 seconds
delay(2000);
digitalWrite(10, LOW); // Green LED turns off for 3 seconds
delay(3000);
}
The Arduino = Arduino UNO purchased at Radio Shack
The Breadboard= Radio Shack (not necessary, but I already made the prototyping stand. https://www.instructables.com/id/Acrylic-Arduino-Prototyping-Stand/)
LEDs and jumper wires = you guessed it... Radio Shack
The power source is Altoids charger that supply's 5v to the Arduino board ( https://www.instructables.com/id/Another-Altoids-Ipod-Charger/)
You can also use a 9v battery with resistors that are appropriate or use usb from laptop or desk top computer.
The software I used I downloaded from http://arduino.cc/en/Main/Software
I understand there are many ways one can do this. I chose to build it this way because this is what I had.
I connected the jumper wires to the #2,4,6,8,10 pins found on the Arduino board and the long leg of the Led are placed in line with the end of the red jumper wires on the breadboard.
.
The ground pin is located above the #13 pin (GND) on the Arduino board.
The Code I wrote is a modified version of the blink example:
/*
Blink
Turns on an LED on for 1 second, then off for 1 second.
This example code is in the public domain.
*/
void setup() {
// initialize the digital pin as an output.
// Pin 13 has an LED connected on most Arduino boards:
pinMode(2, OUTPUT);
pinMode(4, OUTPUT);
pinMode(6, OUTPUT);
pinMode(8, OUTPUT);
pinMode(10, OUTPUT);
}
void loop() {
digitalWrite(2, HIGH); // White Led on for 1 second
delay(1000);
digitalWrite(2, LOW); // LED turns off for 1/2 second
delay(500);
digitalWrite(4, HIGH); // Yellow led on 1/2 second
delay(500);
digitalWrite(4, LOW); // LED turns off for 1/2 second
delay(500);
digitalWrite(6, HIGH); // Yellow Led on for 1/2 second
delay(500);
digitalWrite(6, LOW); // LED turns off for 1/2 second
delay(500);
digitalWrite(8, HIGH); // Yellow Led on for 1/2 sec
delay(500);
digitalWrite(8, LOW); // LED turns off for 1/2 second
delay(500);
digitalWrite(10, HIGH); // Green Led on for 2 seconds
delay(2000);
digitalWrite(10, LOW); // Green LED turns off for 3 seconds
delay(3000);
}

Participated in the
Arduino Challenge


