

Introduction: Arduino GRANDE the Huge Microcontroller


We love Arduino! But the boards are so tiny that they can be difficult to hug. And not so easy to see, either, if you're a student sitting at the back of a classroom. So why not solve both problems by building a really huge, fully-functioning Arduino that's six* times larger than real life?
This guide will show you how to build your own, using laser cut acrylic, a few LEDs and buttons, some wiring and connectors, and a puny little actual sized Arduino Uno as its brain.
*5.6x to be exact.
Step 1: Parts and Materials You'll Need

Here's what you'll need:
- 2 ea. 16"x12" 5mm thick blue/green acrylic sheet
- 7"x4" 6mm thick white acrylic sheet
- 2 ea. 12"x12" 6mm thick black acrylic cheet
- White acrylic craft paint
- Black acrylic craft paint
- Arduino Uno
- ScrewShield for Arduino
- 28 ea. banana jacks
- Banana plugs
- Stranded wire
- Panel mount USB A to B plug
- AAAx4 battery holder, batteries, and switch
- Doorbell or other momentary switch button with 58mm spacing mounting holes
- 4 ea. rectangular panel mount LEDs 7.75mm x 5.3mm, three yellow (L, TX, & RX), one green (ON)
- 4-40 screws (1", 3/4", and 1/2") and nuts
- Loctite thread locker
- Soldering iron and solder
- laser cutter
Note: The drawings in the next step are designed to fit these exact parts, so you may need to measure and redraft some screw mounting holes if you source different parts.
Step 2: Model Files

The first step I took in building this was to build a 3D model in Rhino. I based it on the Arduino Uno dimensions, and then started creating the parts based upon my real-world materials and scale. (Since I'm using an Epilog Zing 16 laser cutter with a bed size of 16" x 12", my maximum dimensions were dictated for me. So, this is actually a 5.6x larger-than-real-life Arduino.)
After building the 3D model, I extracted the curves and laid them out flat for laser cutting. Those files are attached here in .ai and .dxf formats. In the Illustrator document there are different layers for 6mm cutting, 5mm cutting, and etching.

Step 3: Prototype With Plywood


Not an essential step, but I chose to do a test on baltic birch plywood. It smells much better than acrylic.
Step 4: Laser Cut USB Jack, Power Jack, Atmega 328p


The chip is just for show, but the power jack will eventually hide the batteries, and the USB port will be made functional by the addition of a panel mount USB jack.
Again, I prototyped first with some white acrylic before moving on to my final versions in black.
Also cut the header block parts and assorted chips, crystal, and capacitors found in the files.
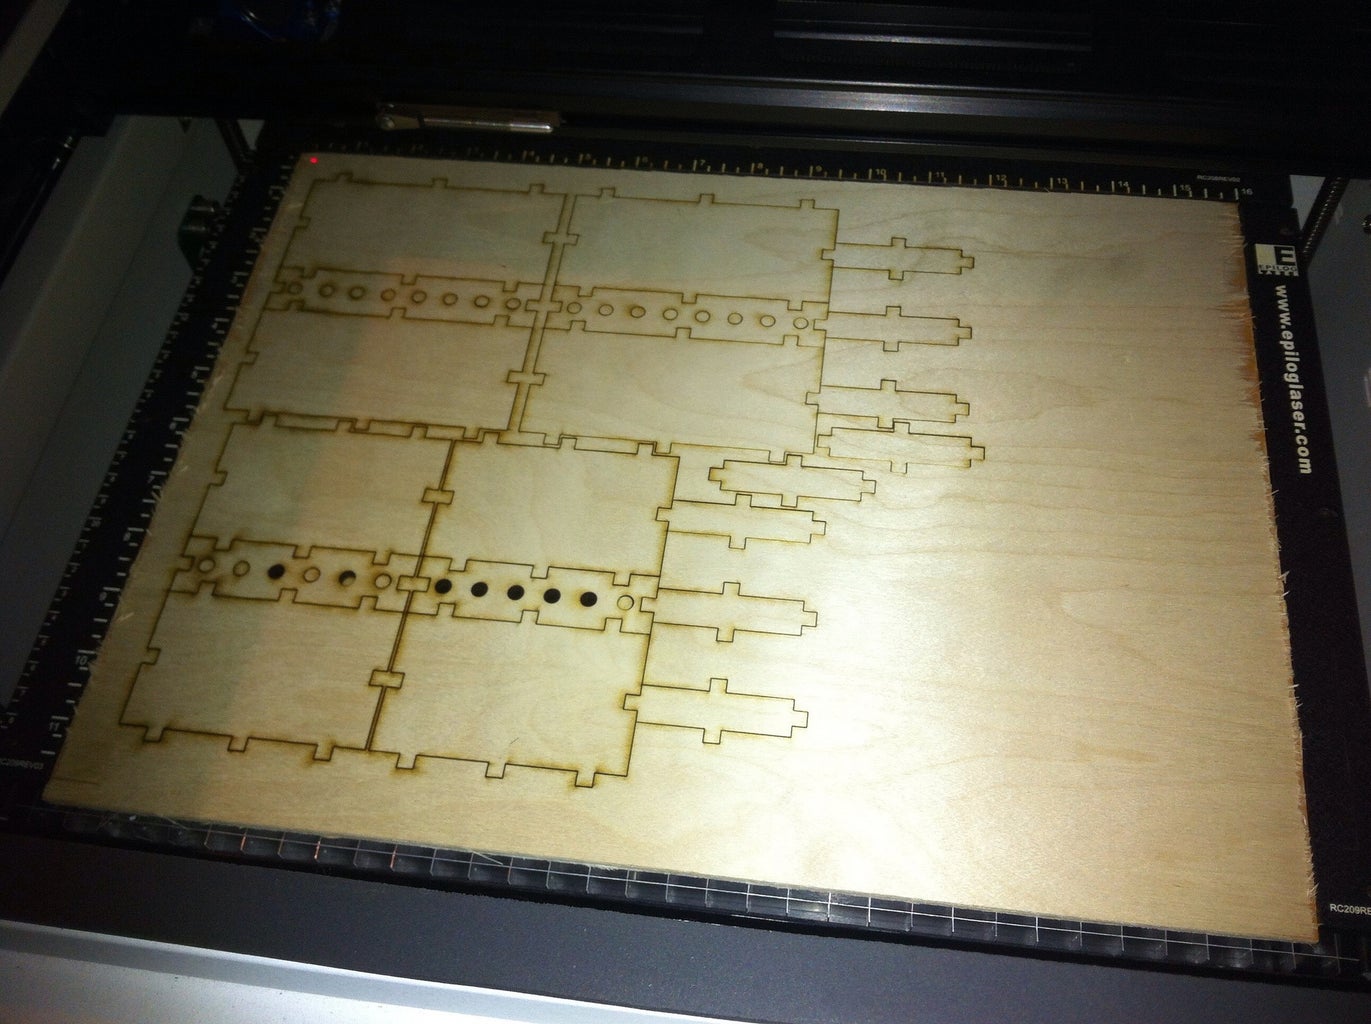
Step 5: Laser Etch and Cut the Main "PCB" Board


Here the etching is used to create a relief that will eventually be painted white for a high-contrast PCB silkscreened look. Please make sure you've got good filtration and ventilation when cutting acrylic -- as Tod Kurt once said, it smells like you're burning frozen gasoline.
You can also dry-fit the other components to make sure everything fits nicely before moving on. Here's a look at the board with temporary white components in place.
Step 6: Paint the Etched Parts


The laser etching stands out fairly well on black acrylic, less so on the blue/green, and not at all on any white parts. You can improve the etching greatly with a little paint. This is a great trick I learned from Mark and Andy of Spikenzie Labs. You cover the etching with acrylic paint and then immediately wipe it off with a squeegee or cloth. The paint comes right off the smooth, unetched portion of the surface, but adheres nicely to the rough, etched parts. A little isopropyl alcohol on a cotton swab is useful for cleaning up any stubborn bits.
Step 7: Wire the Headers

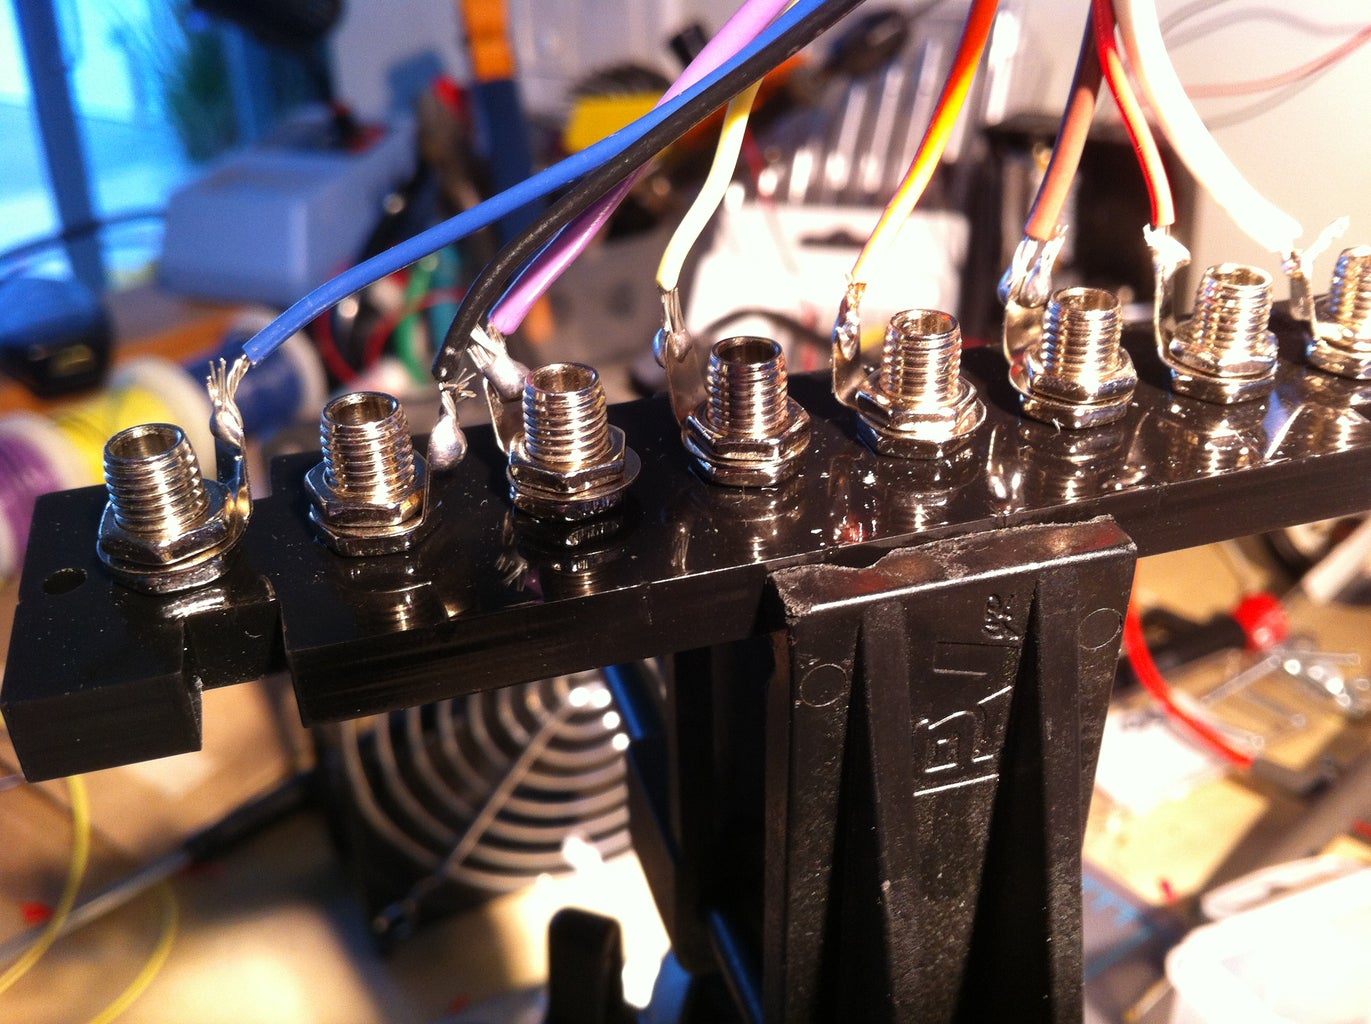


Next, you'll insert the banana jacks into the female header blocks and then thread the nuts on to hold them in place. A dab of Loctite will prevent them from loosening up later.
On each banana jack, solder a length of wire sufficient to route through the board to the real Arduino. Push the wires through to the underside of the board at the header location, then insert and assemble the header blocks with screws and nuts which will be held captive in the acrylic t-slots.
Step 8: Assemble the Board


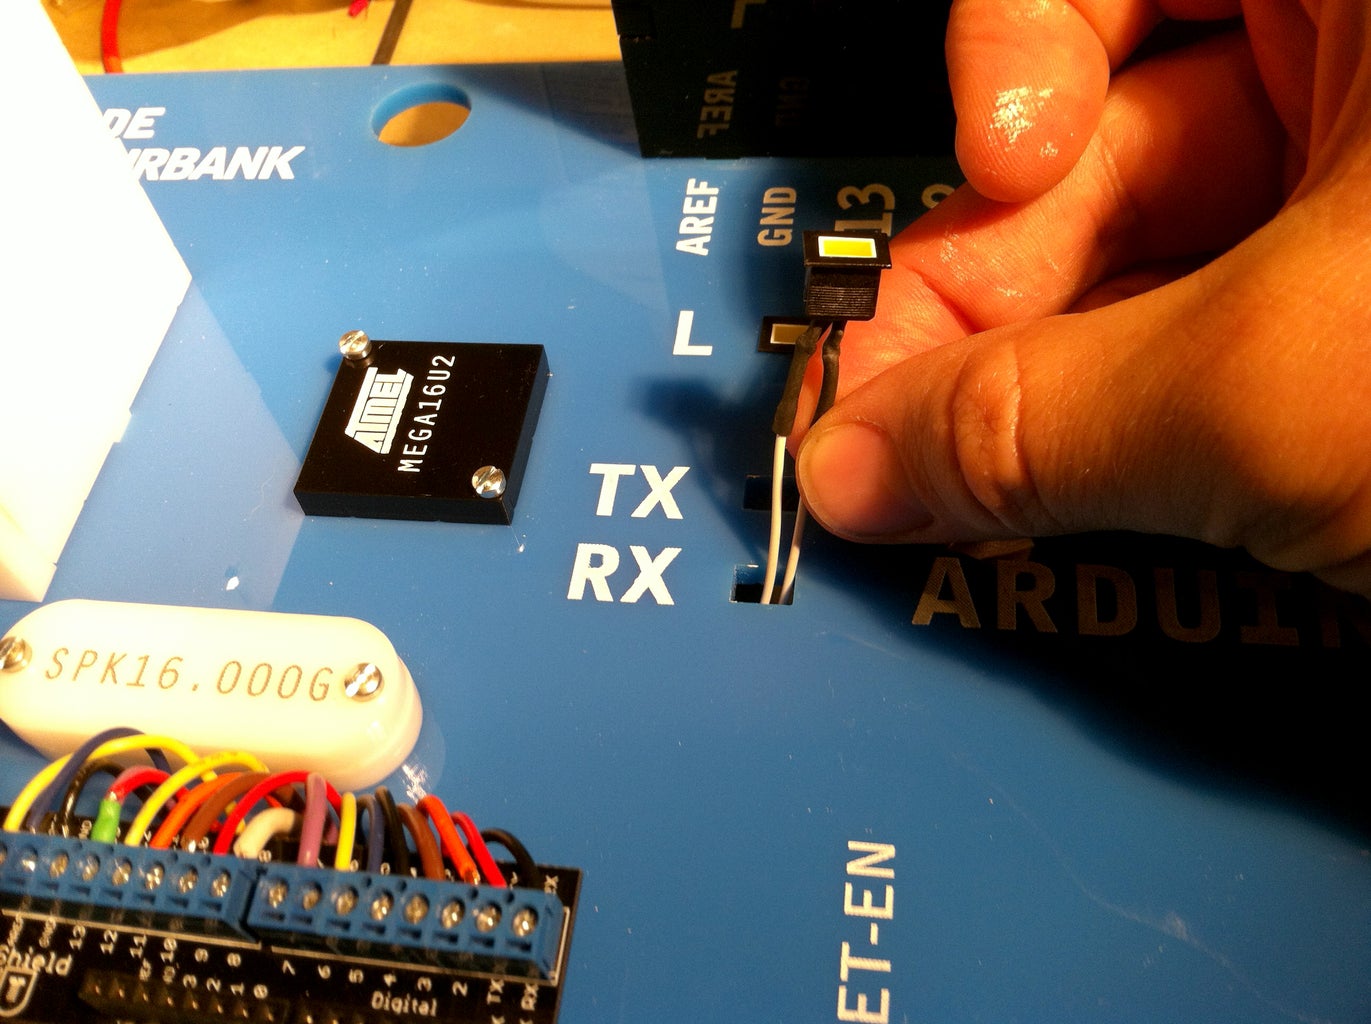
The reset button (originally sold as a doorbell) needs to have two long lengths of wire soldered to it, which are then fed through the board to route to the real Arduino. The same goes for the panel mount rectangular LEDs.
Insert and screw down all of the remaining components.
Step 9: Hook Up the Brains


Attach a real Arduino Uno to the board, and then run all of the header, reset, and LED wiring to it, and plug in the USB cable. You can use a ScrewShield -- available at Adafruit, SparkFun, Seeed, and other electronics resellers -- to prevent wires from falling out. Full disclosure, I'm one of the creators of the ScrewShield and will make a little bit of money if you buy one.
Tuck the unsightly wiring away under the protective bottom board. You can adhere rubber feet to the bottom for stability.
Step 10: Artisinally Craft a Beautiful Barrel Plug From Cardboard Tubing and Paint


There are surely better ways to do this -- 3D printing, or heating and bending ABS plastic both come to mind -- but this was what I did and it worked out for now.
Hide a 4xAAA battery pack inside the barrel plug, and then run it through a switch to GND and Vin on the Uno to power the Arduino GRANDE.
You can now upload a test sketch and try things out! I wired banana plugs to resistors, 10mm LEDs, potentiometers, speakers, buzzers, servo motors, and other typical components to plug into the GRANDE.
Step 11: Enjoy and Share Your Arduino GRANDE

Now, you can upload any Arduino sketch of your liking, and wire standard components to banana plugs in order to insert and use with great effect on the GRANDE.
Carry your GRANDE everywhere you go to make a scene! At Bay Area Maker Faire, my friend (and Arduino creator) Massimo Banzi gave the GRANDE a big thumbs-up.
You can use yours to teach beginning Arduino classes in an interactive, hands-on way, carry it around like a boom box while playing chiptunes, or even extend the idea with GRANDE scale shields.


