

Introduction: Arduino - Make a Flex Sensor for Robotic Hand (Cheap and Simple)


In this tutorial, we will learn how to make and use a flex sensor.
We will control servo motor with a flex sensor.
Flex sensors are passive resistive devices that can be used to detect bending or flexing. The flex sensor shown in this tutorial is a flex sensor that decreases its resistance in proportion to the amount it is bent in either direction.You can easily make a sensor wider and longer depending upon your project.
Step 1: Required Materials


- Paper
- Flexible Cardboard or Plastic
- Pencil
- Aluminum Foil or Aluminum Tape
- Wires
- Hot Silicone or Solder
A 2.2 inch flex sensor can range in price from $ 10 to $ 50.
If we think that at least 5 flex sensors are used in a robotic hand project, the cost will be quite high.
$ 20 * 5 flex = $ 100
Step 2: Creating a Flex Sensor


- I do it according to the size of my own hand fingers
- I cut paper according to these dimensions
- With a pencil, the front and back of the paper are drawn in such a way that there is no space left.
- The greater the density, the better the resistance value we will have.
- The value of resistance, which varies with the curl of the paper, will give us the amount of flexibility.
- We cut two pieces of cardboard according to the size of our paper.
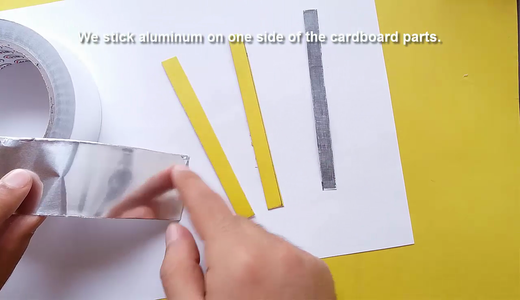
- We stick aluminum on one side of the cardboard parts.
- Connect wires to the aluminum strips to get value from the sensor.
- Two aluminum strips should not touch each other.
- The same goes for Wires!
- For a robotic hand we make five in this way.
- I used silicone on the surface to prevent damage.
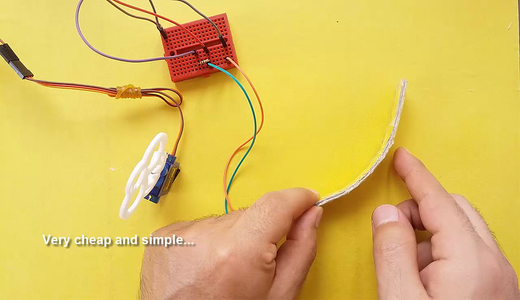
Step 3: Connection and Circuit Diagram


With this circuit diagram we will read the value from the sensor and turn the sevo.
Every sensor we make will show resistance at different values.
Step 4: Code


- With this sample code we will read the value from the sensor.
- Every sensor we make will show resistance at different values.
- By testing between 0 and 1023 we will find the output value of the sensor.
- We are moving the sensor ... When the sensor is at 1023, the Servo position will be 90 degrees.
- The sensor has a minimum value between 1018 and 1020.
- We make the sensor range from a minimum of 1020 to a maximum of 1023
- Thus, between these two values we can move the servo motor 0 to 90 degrees.
- 0 degrees at 1020 - 90 degrees at 1023 As you can see, we can get 1018 value.
- We can make the minimum value of the sensor 1018.
- We found the range of values for all the sensors we did this way.

Participated in the
Arduino Contest 2016


