

Introduction: Arduino Mechanical Keypad

Hello! My name is Adriano and I'm 16.
I live in Italy and before that this 'guide' starts i want to say sorry for my pooooor english :3
Step 1: What ?
I decided to build a Keypad with Arduino while I was looking for a Razer Tartarus.
I thought that I had to build something that was nice to play with..
I'm a Moba / simulation game player and I fell in love with Cherry MX keys that sound like old keyboard and are nice to press!
Step 2: Arduino Leonardo
To simulate the keyboard I used an Arduino Leonardo that fits perfectly my needs except that for the number of pin that were a bit less then what I was aiming for (but at the end were okay).
Step 3: Problems
First thing I had to solve was the program.
Nothing of special but anyway I had to code for a long time to be satisfied.
The multikey function were a bit trickful to solve, I set up an Array that load all the states of the keys and then press all the keys that has changed state.
The stick works like an 8 direction digital input plus a click function (that i will probably swap for a state led).
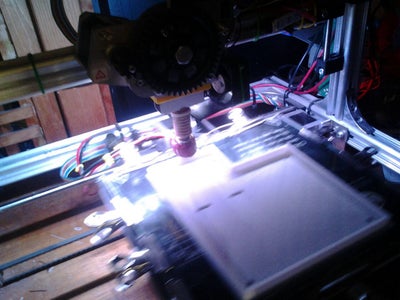
Another thing I had to deal with is that the Cherry MX have to be mounted on a plate of 1.5 mm, cut 14 holes of 14 mm on a plate of 1.5 mm isn't an easy job, the great thing is that I have a friend that has a 3D printer so I did the case with him.
Step 4: Build It


The Case is 3D printed and the project was made with CAD and a program to export for 3D printing..
The Key Hole has to be 14x14 mm but with the Keycap the key fill a 18x18 mm square.
The best thing to do is find someone that can print you the case or just the top plate because cut it manually is hard..
Mine Case is very high because I had to leave a lot of space to wire the project and I didn't calculate properly the space but it feels good anyway..
Step 5: Solder It
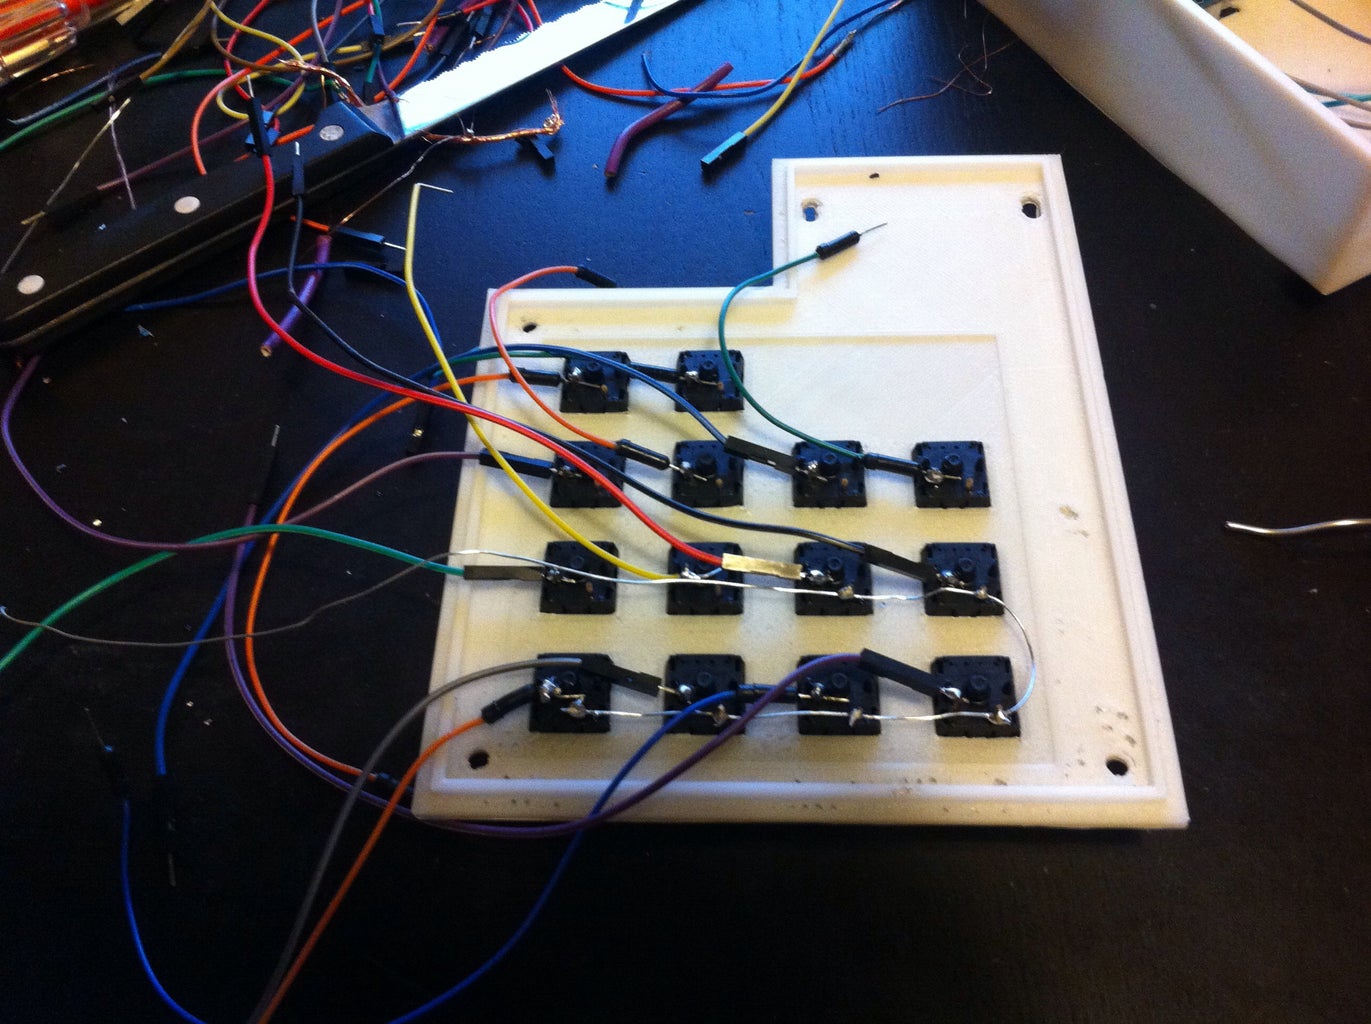
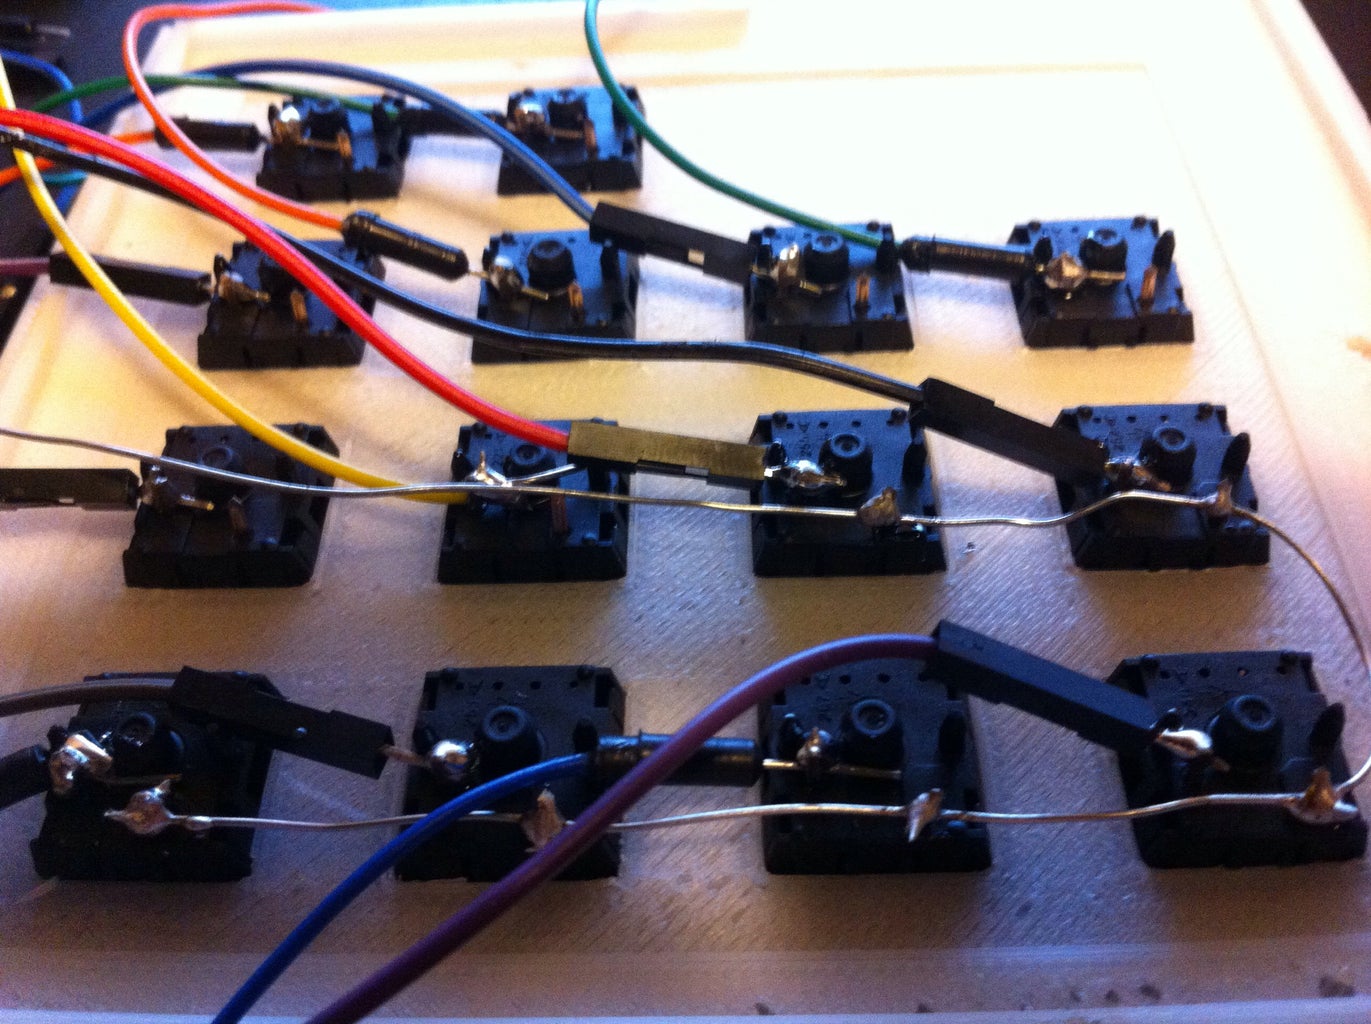
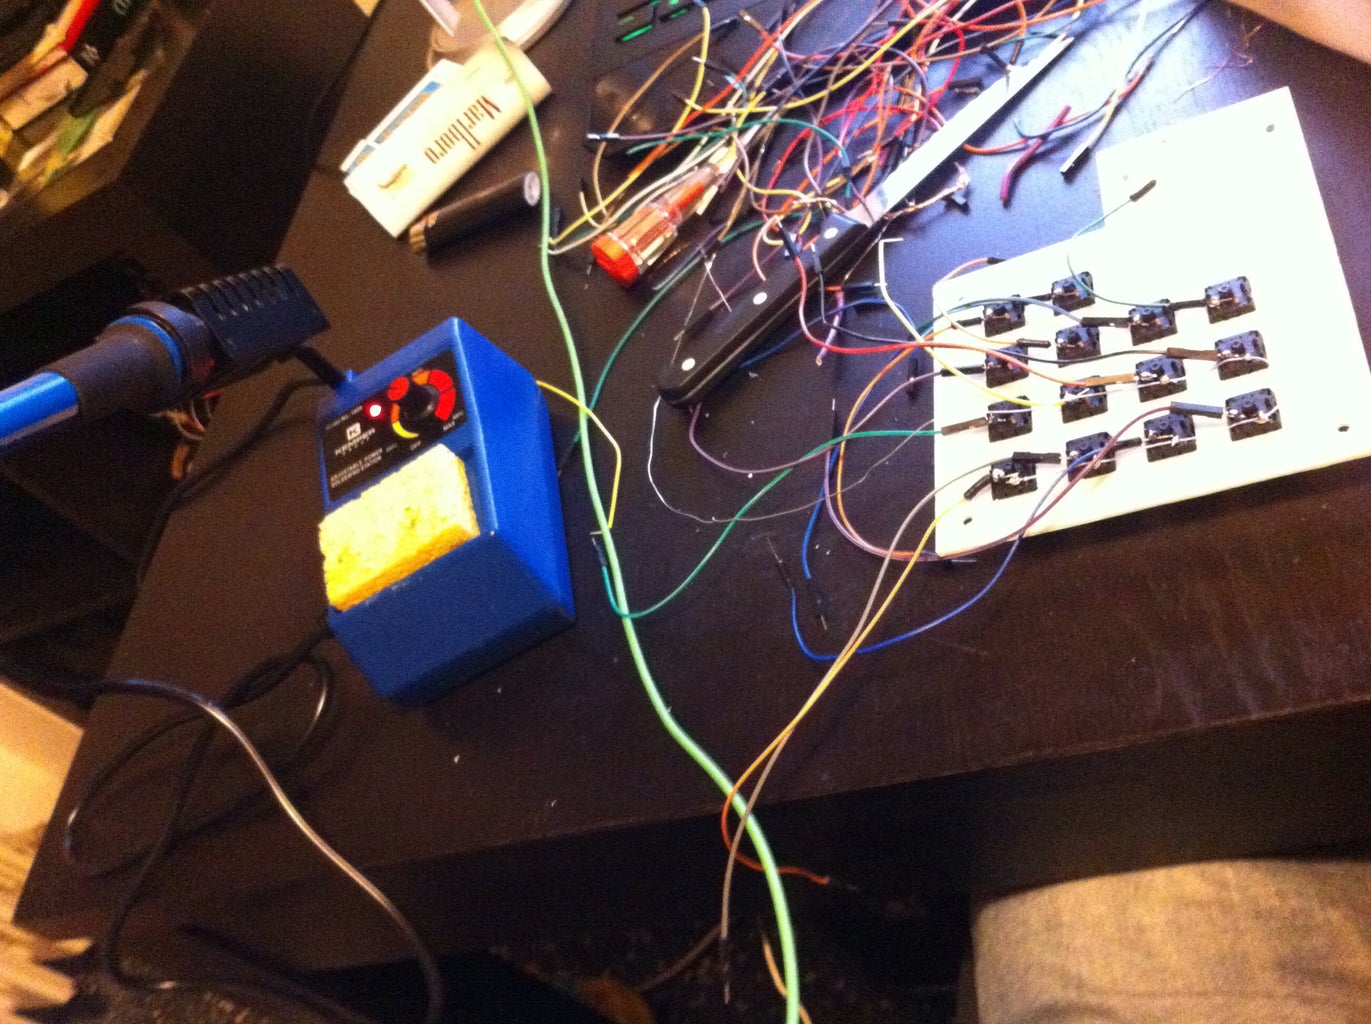
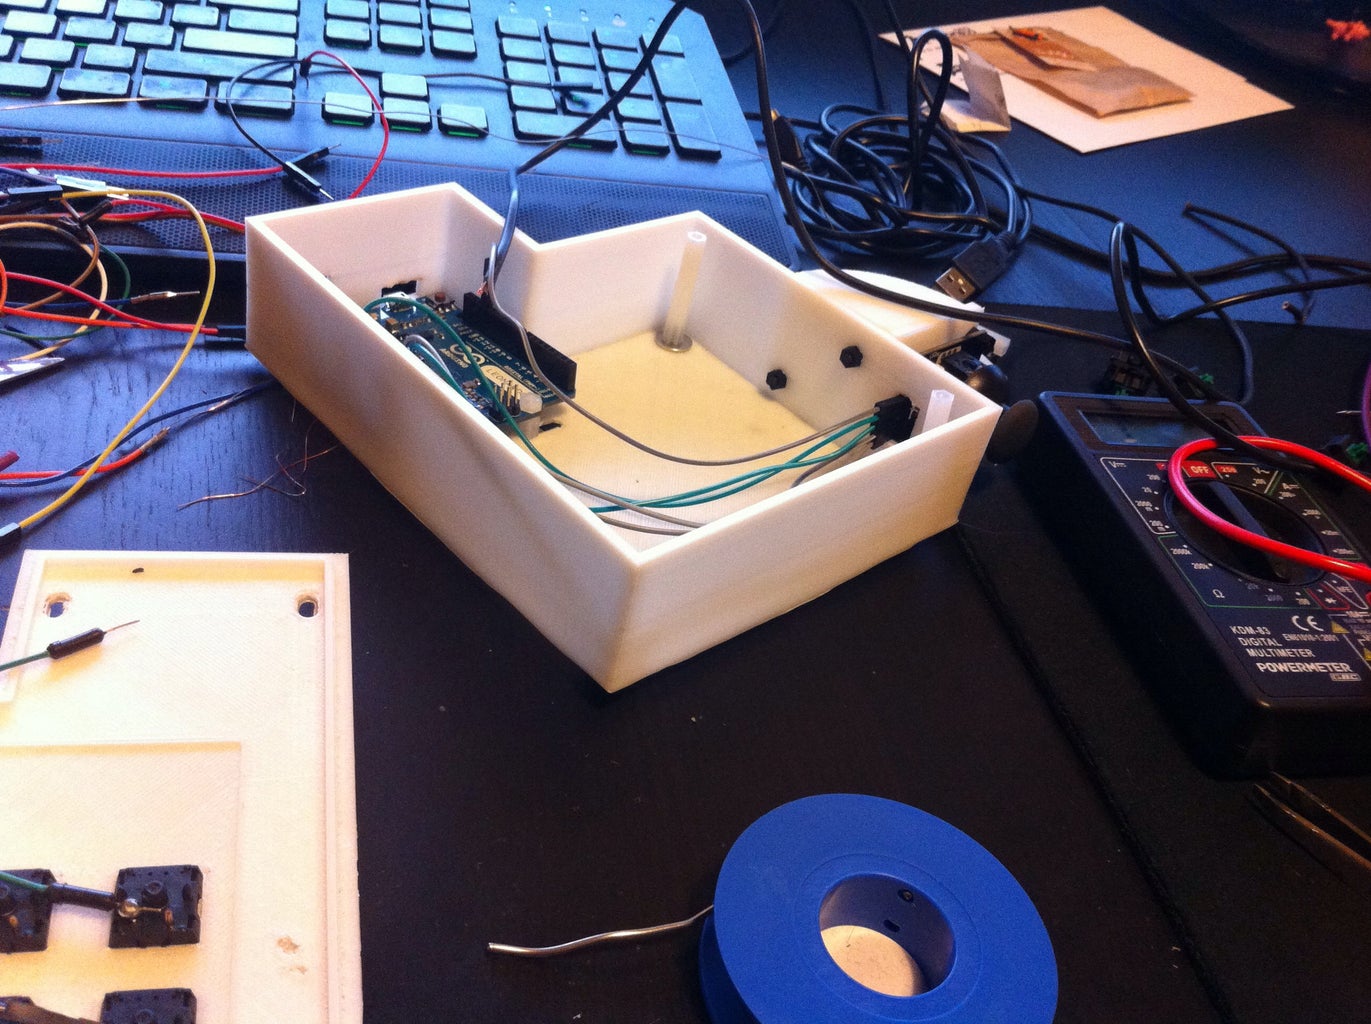
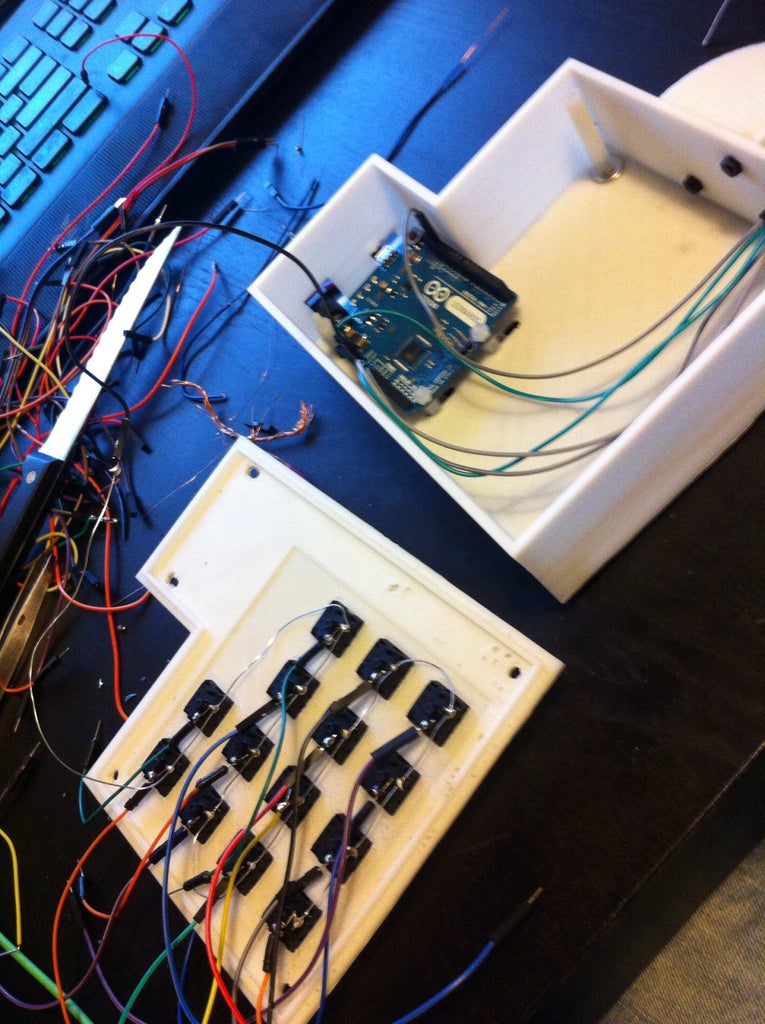
You have to solder 1 of the 2 pin of every key and connect them to the GND of the Arduino.
I used a tiny cable for the gnd and a insulated cable for all the digital input.
The solder time took me like 2 hours but I'm a beginner so was fine!
Step 6: Connect It
Connect the top plate to the arduino and then just program the Array with keys to change the keys.
Step 7: Done
Have fun, hope you understood every thing, i will add soon datasheet and link, have fun with Arduino, best wishes,
Bye, Adriano


