

Introduction: Arduino Mini Breadboard FTDI Adapter


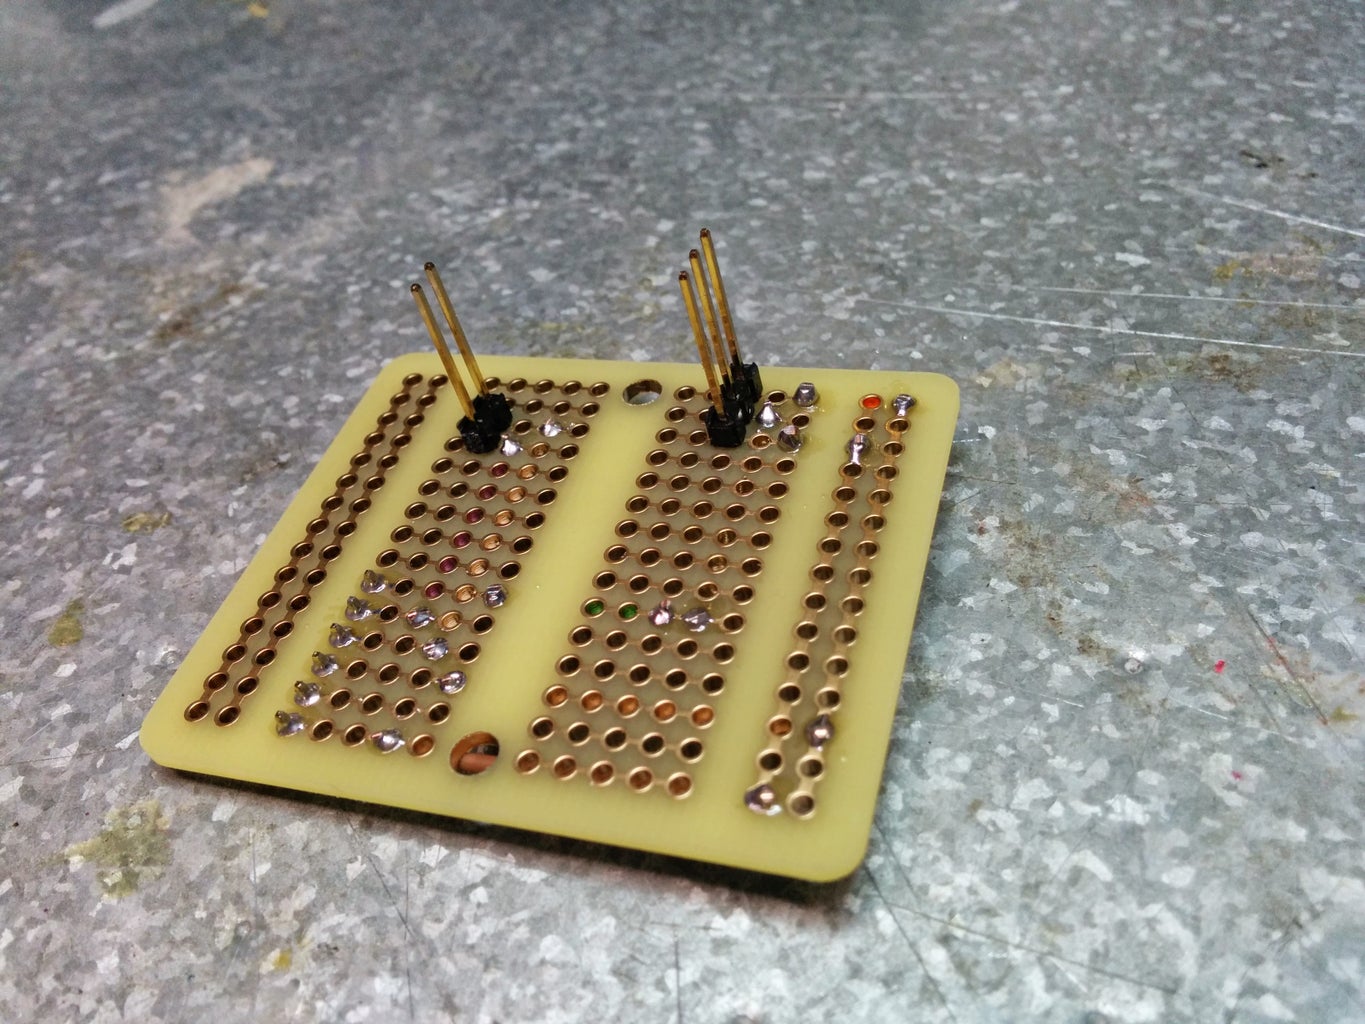
I wanted to be able to program an Arduino Mini (v5) in place on a breadboard. The instructions are easy to find on the Arduino site (Guide to the Arduino Mini) but then the wires would get in the way of my project. I use an FTDI TTL-232 cable, so I decided to make an adapter to make my life easier. The wiring is basically the same as on the Arduino site (but I flipped the pin order). For reset there is a 0.1uF capacitor. I used right-angle header pins for the FTDI cable. Although the wires to ground and (+) make cable alignment fairly obvious, I've written "BK" and "G" as reminders.
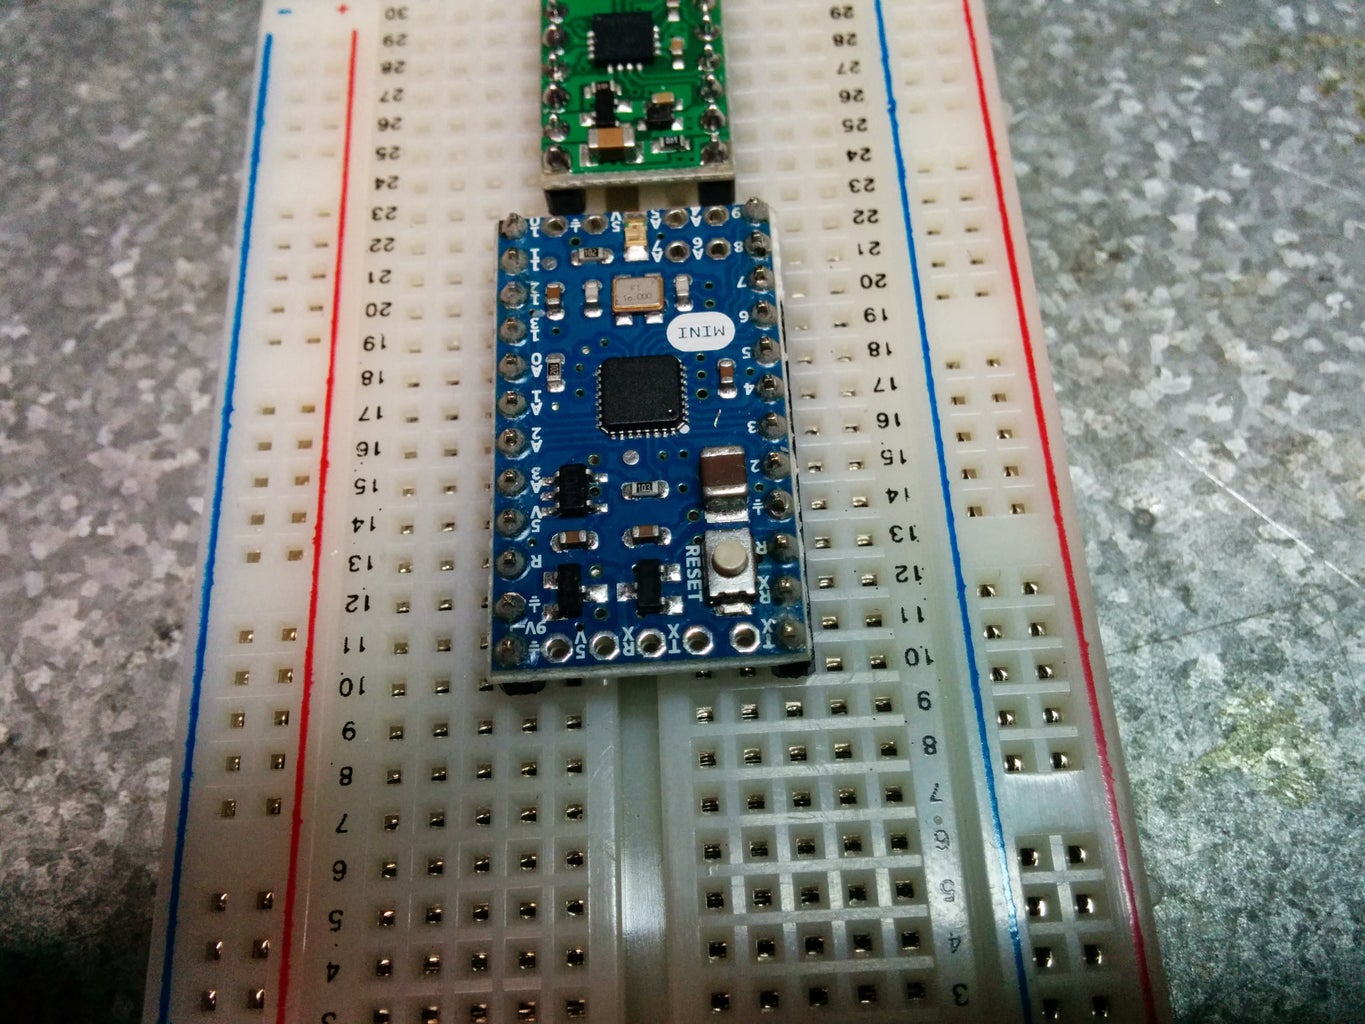
Step 1: Pin Clearance
To clear the reset button I took long header pins then pushed them through the plastic collars until just a bare minimum for soldering stuck through. A little care needs to be taken to align the adapter to the correct holes. On the side shown there is one pin on the Arduino that is skipped, but on the other side it aligns with the two right-most (on this image) pins.
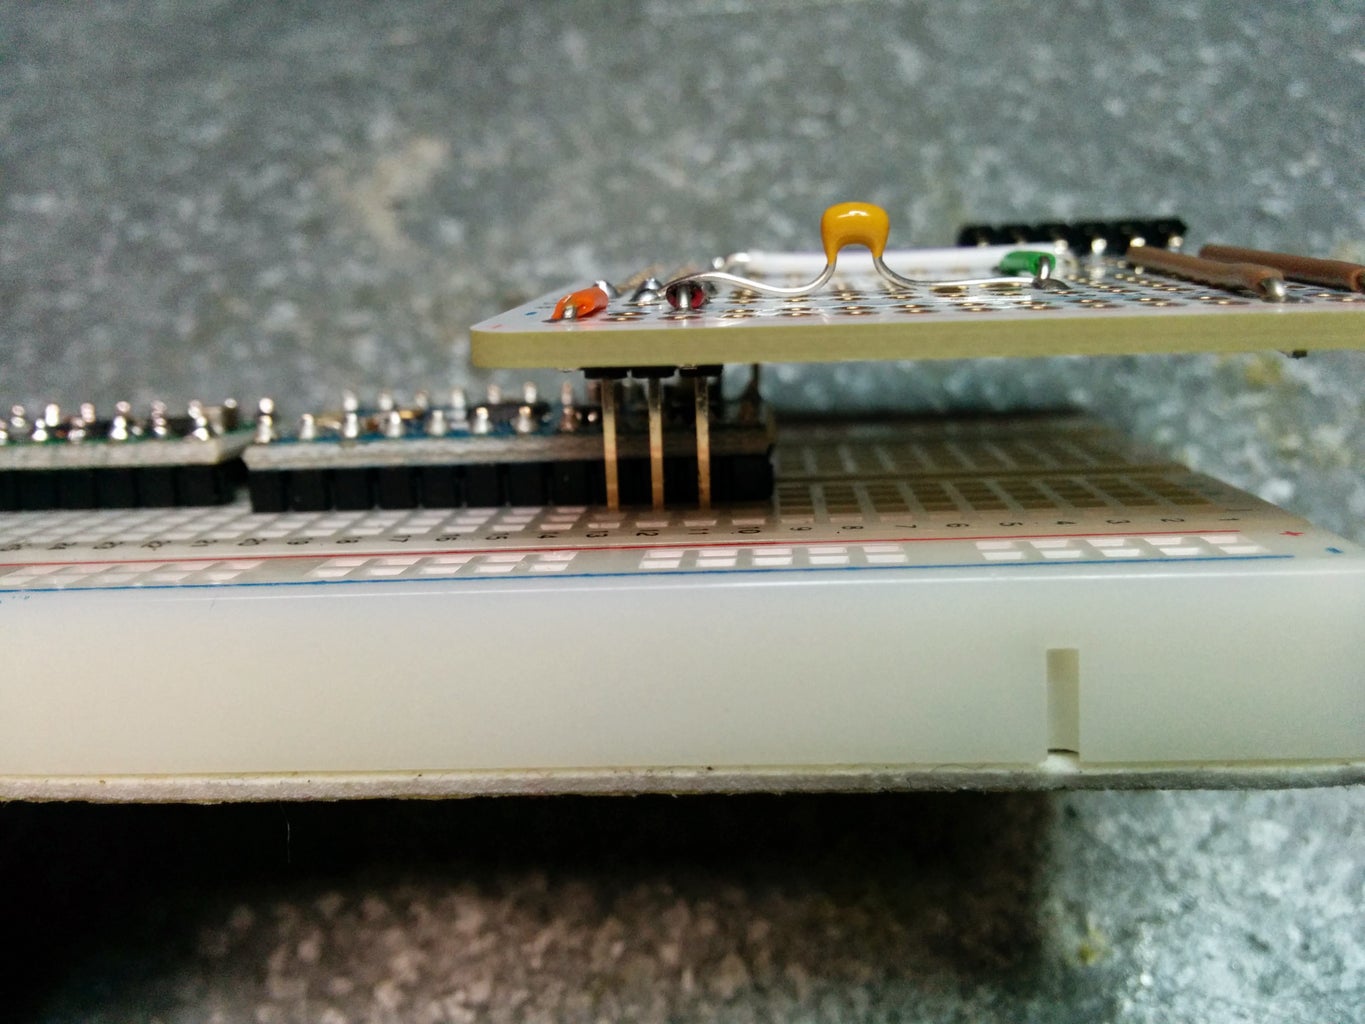
Step 2: Program the Arduino Mini

Once the pins are aligned, it's easy to program the mini. The adapter won't interfere with wiring on the breadboard as long as the holes closest to the Arduino are free.

Participated in the
Arduino Contest


