

Introduction: Arduino Morse Code Game

This is an instructables on how to make an Arduino morse code game. I was working on a project where I got inspired to make a code-based game. This idea didn't make the final cut, so I decided to make a small Arduino project instead.
Step 1: Getting the Right Materials

For this project you will need the following materials:
- an Arduino (I used the Arduino Uno)
- A solderless breadboard
- A small LED lightbulb (I used a blue one but the color is up to you)
- A buzzer or speaker (I used a buzzer but a speaker might produce a louder sound)
- Around 4 wires of variying length
- A cardboard box or some other container
Most of these items can be found in the Arduino kit.
Optional additions:
- a notebook to keep track of the dots and dashes
-a chart to see which letter is whoch in morse code
With these additions you can play a game where you can guess secret codewords to score points.
Step 2: The Code
In order for your morse code machine to work properly, you will need to enter the following code:
int LED = 2;
int buzzerPin = 3;
int dot = 250;
char* morseLetters[] = {".-", "-...", "-.-.", "-..", ".", "..-.", "--.", "....", "..",".---", "-.-", ".-..", "--", "-.", "---", ".--.", "--.-", ".-.","...", "-", "..-", "...-", ".--", "-..-", "-.--", "--.." }; //The morse codes for all the letters in the alphabet
char* morseNumbers[] = {"-----", ".----", "..---", "...--", "....-", ".....", "-....", "--...", "---..", "----."}; //The morse code for all the numbers 0-9
void setup()
{ pinMode(LED, OUTPUT); pinMode(buzzerPin, OUTPUT); Serial.begin(9600); }
void loop()
{ char info; if (Serial.available() > 0)
{ info = Serial.read();
if (info >= 'a' && info <= 'z') {
letterId(morseLetters[info - 'a']); }
else if(info >= 'A' && info <= 'Z') {
letterId(morseLetters[info - 'A']); }
else if(info >= 0 && info <= 9) {
letterId(morseNumbers[info - 0]); }
else if(info == ' ') { delay(dot * 18); } } }
void letterId(char* character)
{ int i = 0; while(character[i] != '\0')
{ output(character[i]); i++; }
delay(dot * 15); } //Alter the delay to give yourself more or less time between letters and words
void output(char ID) {
digitalWrite(LED,HIGH);
digitalWrite(buzzerPin,HIGH);
if (ID == '.') { delay(dot); }
else { delay(dot * 10); } //Alter the delay to give yourself more or less time between letters and words
digitalWrite(LED,LOW);
digitalWrite(buzzerPin,LOW);
delay(dot); } //Alter the delay to give yourself more or less time between letters and words
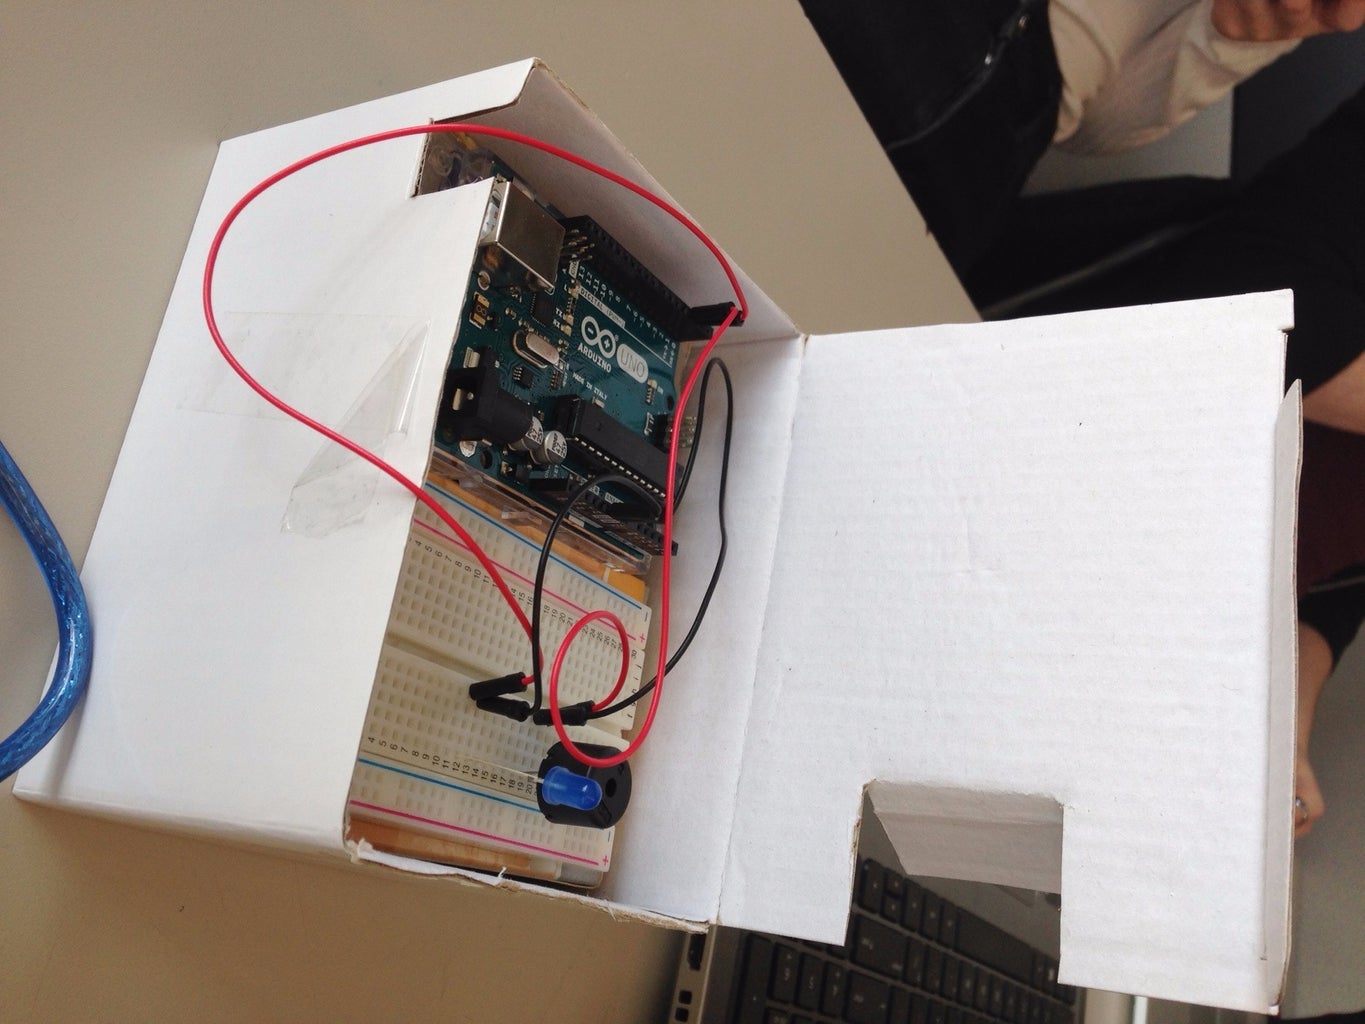
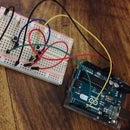
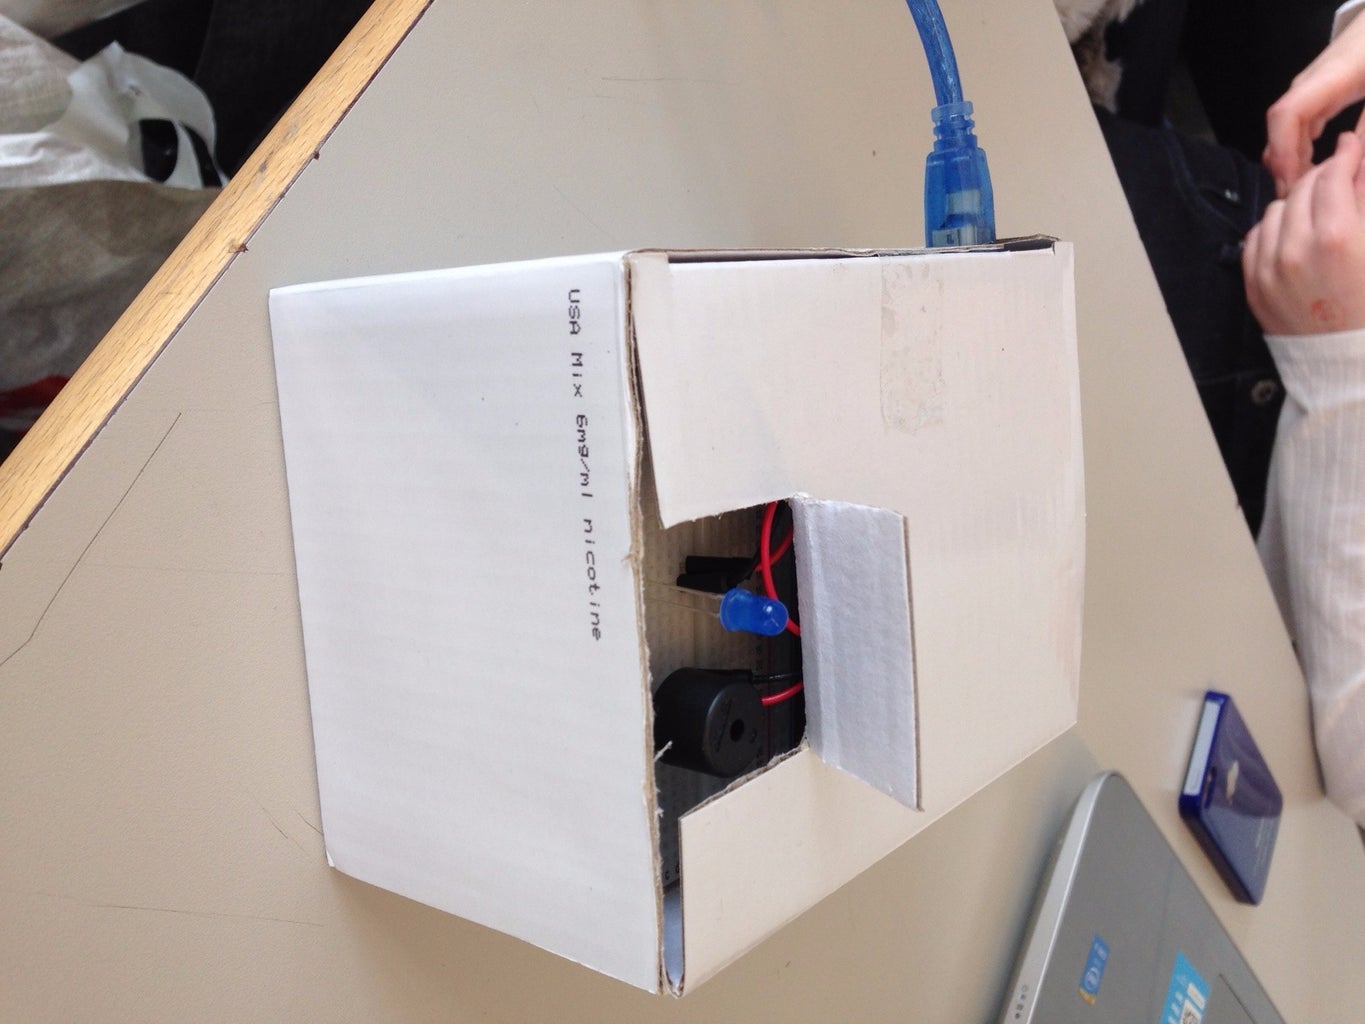
Step 3: Assemble the Morse Code Machine
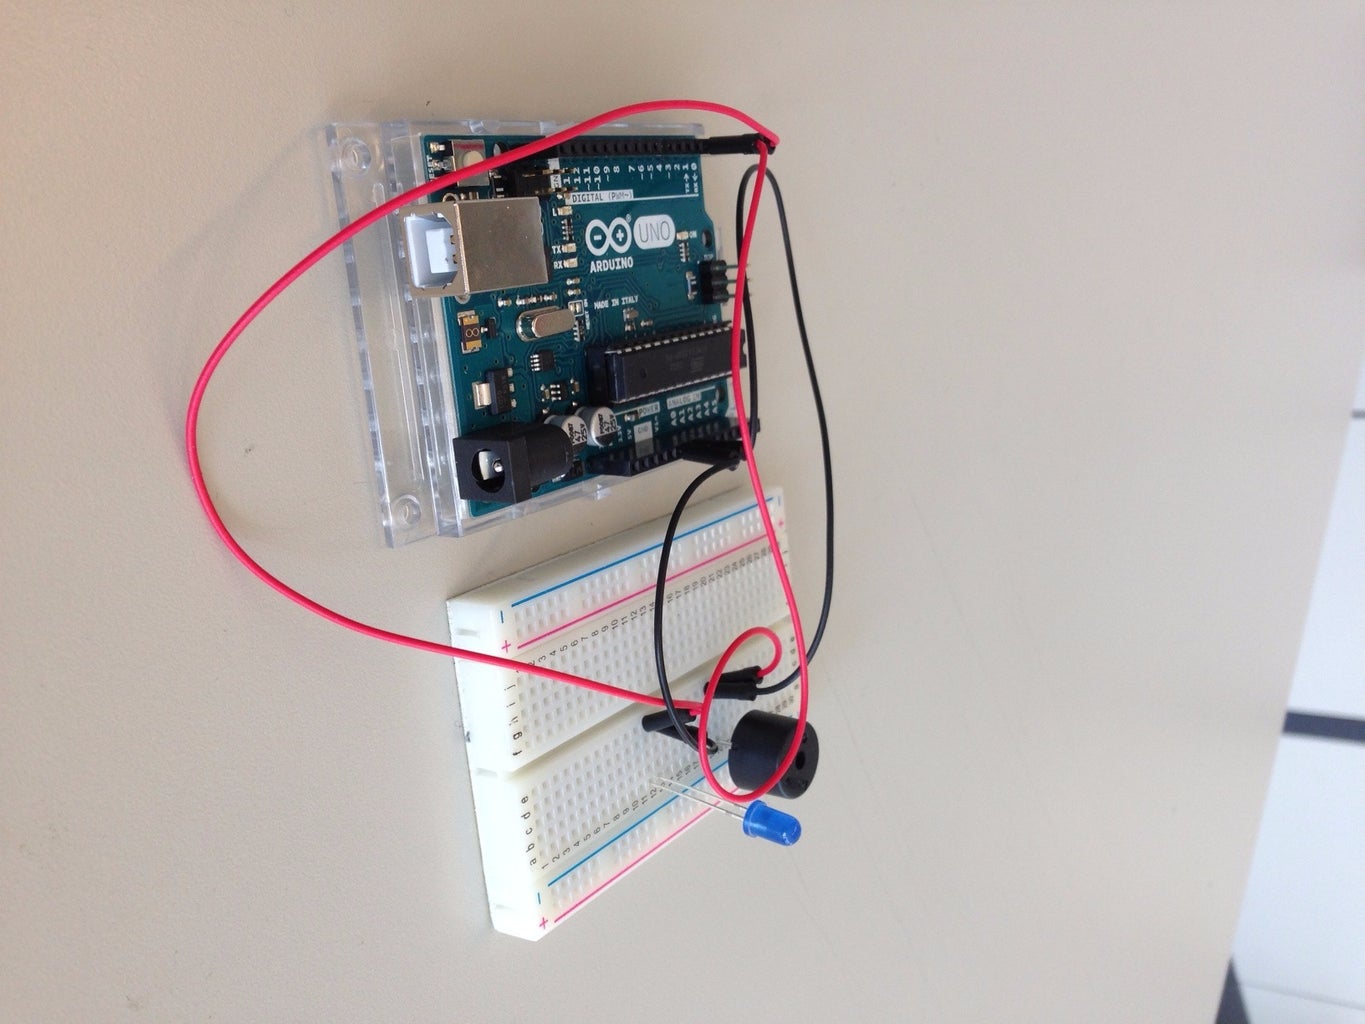
The morse code machine should be assembled as pictured above. The machine gets its power from the Arduino power cable, so make sure to keep it plugged in while you use the machine. Use different coloured wires to not get confused.
For the box you can used whatever looks good. You will need to cut at least two holes, one to show the speaker and the LED light and one in the back so you can plug in the Arduino cable, as it needs to be connected to get the power necessary to work.


