

Introduction: Arduino Multi Boot Project


An Arduino based project for easy and quick deployment of your own project....
Selecting a specific arduino program to be run and use without the use of programmer as long as it is save in your SD CARD FAT32 format...
A number of IO are still free to use like 2xSerial Port, I2C, Analog Port and Digital Port....
Adding other devices like Wifi or Bluetooth or more.....
This is still at early stage more improvement and enhancement be made......
Step 1: Initial Prototype:: Test Run and Operation
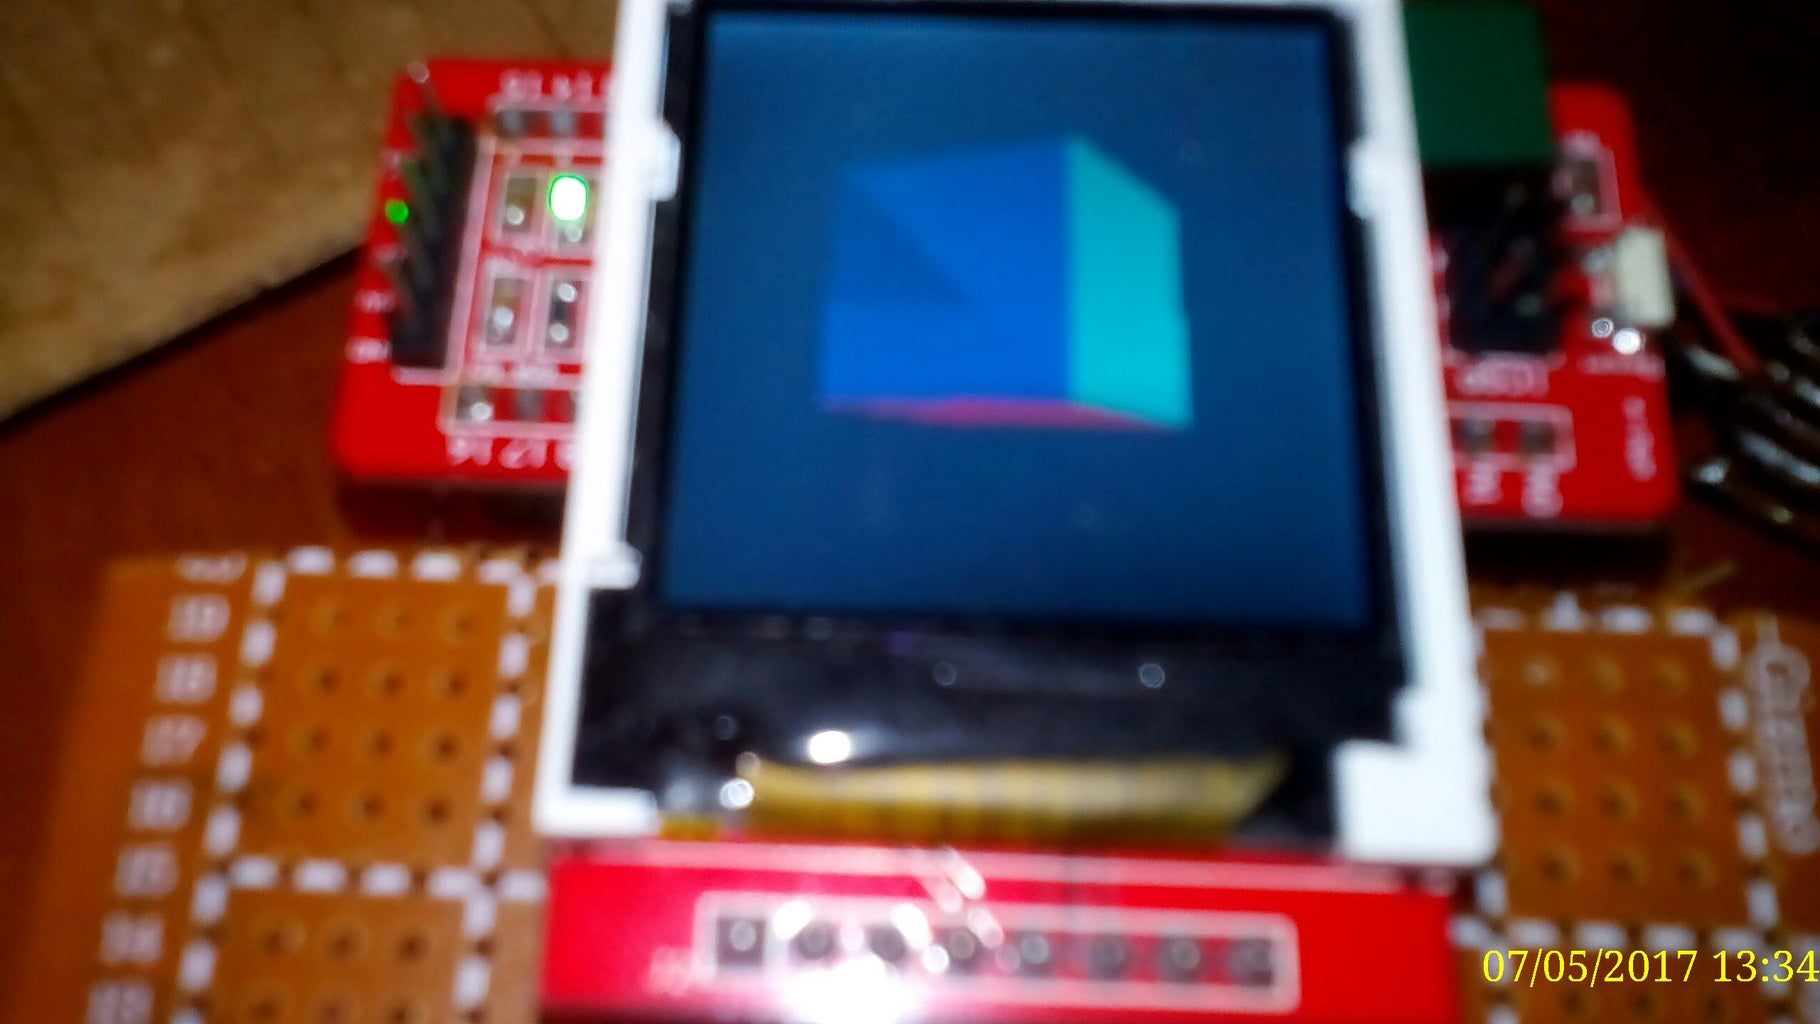
Able to run a few compiled Arduino project by selecting from a SD card by simple interface and single press....
A modified Arduboy and Arduboy2 library used in 2 this example show a result as expected it is slow since it needs a number of SPI passes... I used the Adafruit GFX library+Sumotoy and the Ucglib....
Ucglib handle the LCD display better compared to Adafruit GFX library+Sumotoy becaused of problem of offset in Adafruit GFX library+Sumotoy....
Adafruit GFX library+Sumotoy is much more faster compared to Ucglib and the code is better organized than Uclib....
Step 2: Materials


Gizduino+ 324/644
http://www.e-gizmo.com/oc/index.php?route=product/...
http://www.e-gizmo.com/oc/index.php?route=product/...
TFT Display 128x128 for arduino ILI9163
https://www.lazada.com.ph/tft-display-128x128-for-...
Micro SD Card Module
https://www.lazada.com.ph/micro-sd-card-module-min...
Breadboard Power Supply 2-Way 5v-3.3v
Step 3: Library Needed
MightyCore
Bootloader and ........
https://github.com/MCUdude/MightyCore/
https://github.com/reltkaine/bino_boot
Copy the "bino_boot" folder loader to Arduino "harware" folder
Burn bootloader thru your arduino the available board is the MightyCore Standar 644/324 at 16/20 Mhz clock only
copy the spicific bino loader "RUVICSAB.BIN" to your SD card according to your board and clock select from the "bino_loader" folder 324/644 - 16/20
to compile your own project just used the MightyCore Board......
Click "Sketch" and Click "Export compiled binary" OR Hit "" Ctrl + Alt + S ""
To locate the "HEX" files Click "Sketch" and Click "Show Sketch Folder" OR Hit "" Ctrl + K ""
To convert Hex to Bin
Use the "HEX" files without bootloader...... avr-objcopy -I ihex -O binary "YOUR PROJECT".hex "NEW PROJECT NAME".BIN "NEW PROJECT NAME" must be at most 9 CHARACTER ONLY!!!!!!!!
SD Card Format is FAT32.... Copy the files to your SD Card....
Step 4: Update : Interchangeable Display (ILI9163 || SSD1306)
By pressing either B button for ILI9163 or A button for SSD1306 to use a loader for specific display...
There is no changes to the hardware instead create a PCB to wire it up for the SSD1306 display...
2 sample arduboy games being tested
Step 5: Further Imrovement
Ill update the project from time to time maybe in a weekly basis......
From Hardware to Software........
Step 6: Next Hardare Changes::
Used the same LCD similar to Arduboy since it is much more simplier and to add more fun to this device....

Participated in the
Invention Challenge 2017


