

Introduction: Arduino PWM Music LED Light


On my 2 week vacation between summer classes and school of my 5th year I decided to have some fun with my 1W led's that i've never used even though I've had them forever.
This was used to deck out my house so we had something different than generic black lights or no light.... in case we ever have a party
So here goes with my project I hope you like it (Out of sight project so it isn't too pretty but your not supposed to see it)
Materials:
Arduino (30$)
Adafruit 9V battery pack (4$)
http://adafruit.com/products/67
1W led's with star heatsinks (10$?)
2 poor mans buck drivers (https://www.instructables.com/id/Poormans-Buck/ 30$)
1 Laptop charger (3$)
Electrical Tape
Wire
4 Banana plugs (1.50$)
Stereo Y adaptor (can use mono but you cant get left right audio changing) (7$)
2 Sided tape
Switch
10K resistor.
Glue
Basic prototyping and building tools
Step 1: Proof of Concept
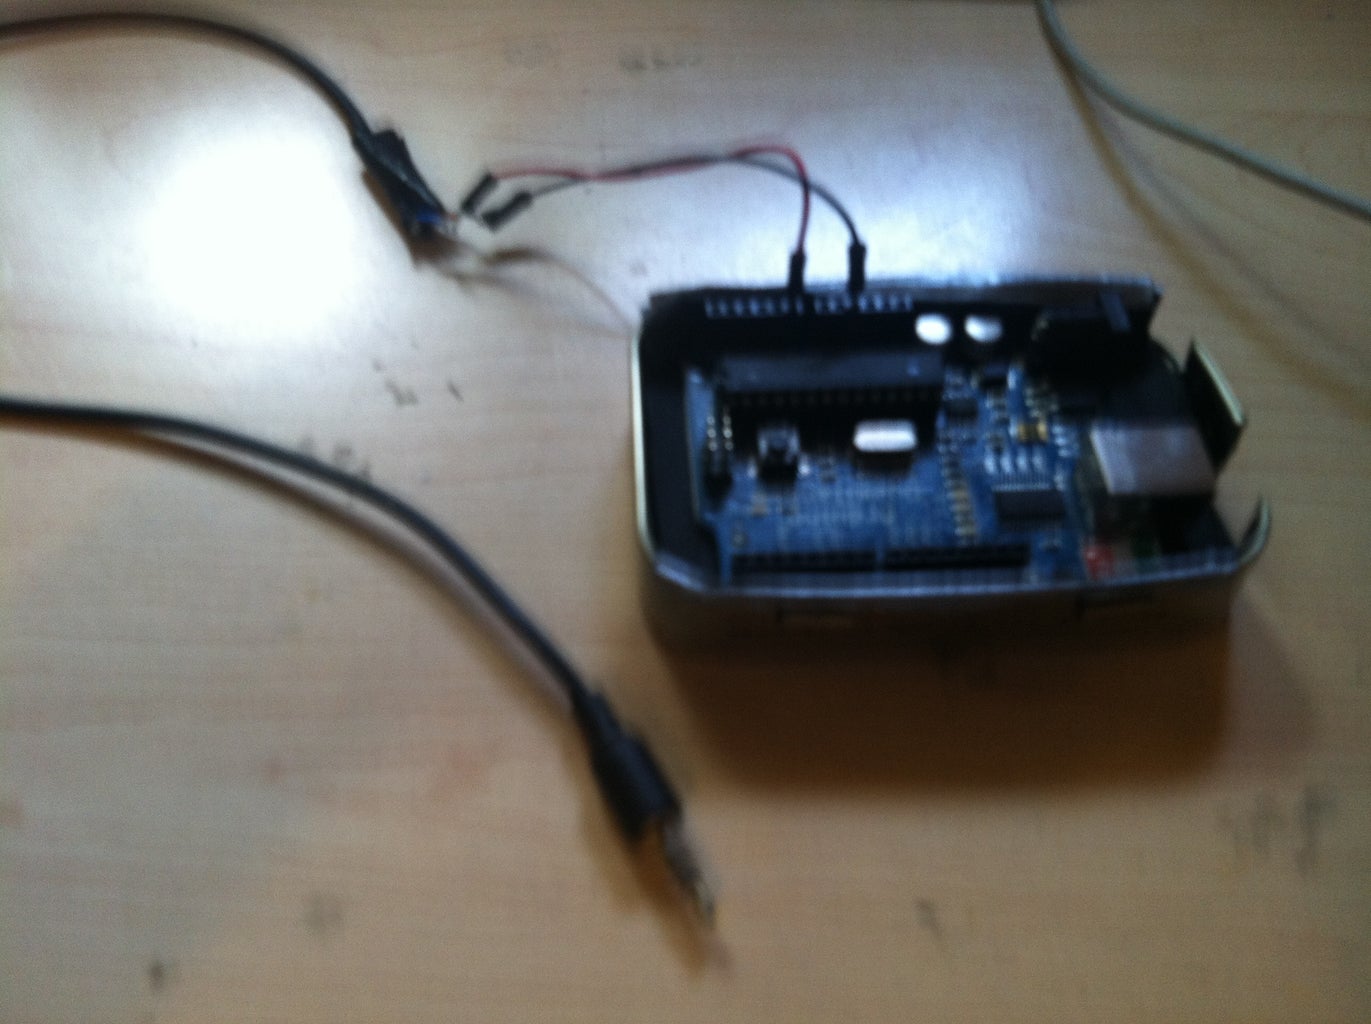
Had to start here by proving to myself that I could use the headphone jack on the arduino to do an analog read and see the serial output for the values
int Musicread=0;
void setup()
{
Serial.begin(9600);
}
void loop()
{
Musicvals = analogRead(Musicread);
Serial.println(Musicvals);
delay(10);
}
That's the code just the analog serial reading, so It did work
Next was to use the analog values and put it into PWM pins to adjust brightness according to music values, different from making them blink on and off but they change brightness instead!
int Music = 0;
int Musicpin = 0;
int PWMpin=9;
void setup()
{
}
void loop()
{
Music=analogRead(Musicpin);
Music=map(Music, 0, 123, 0, 255);
analogWrite(PWMpin, Music);
delay(5);
I think the mapping part is wrong though I couldn't get a very readable value for the analog and couldnt figure out how to export the values as a CSV file or to plot them :\ .
Play around with the values, find a setting you like for the mapping.
Step 2: LED Driver With PWM Input / Power
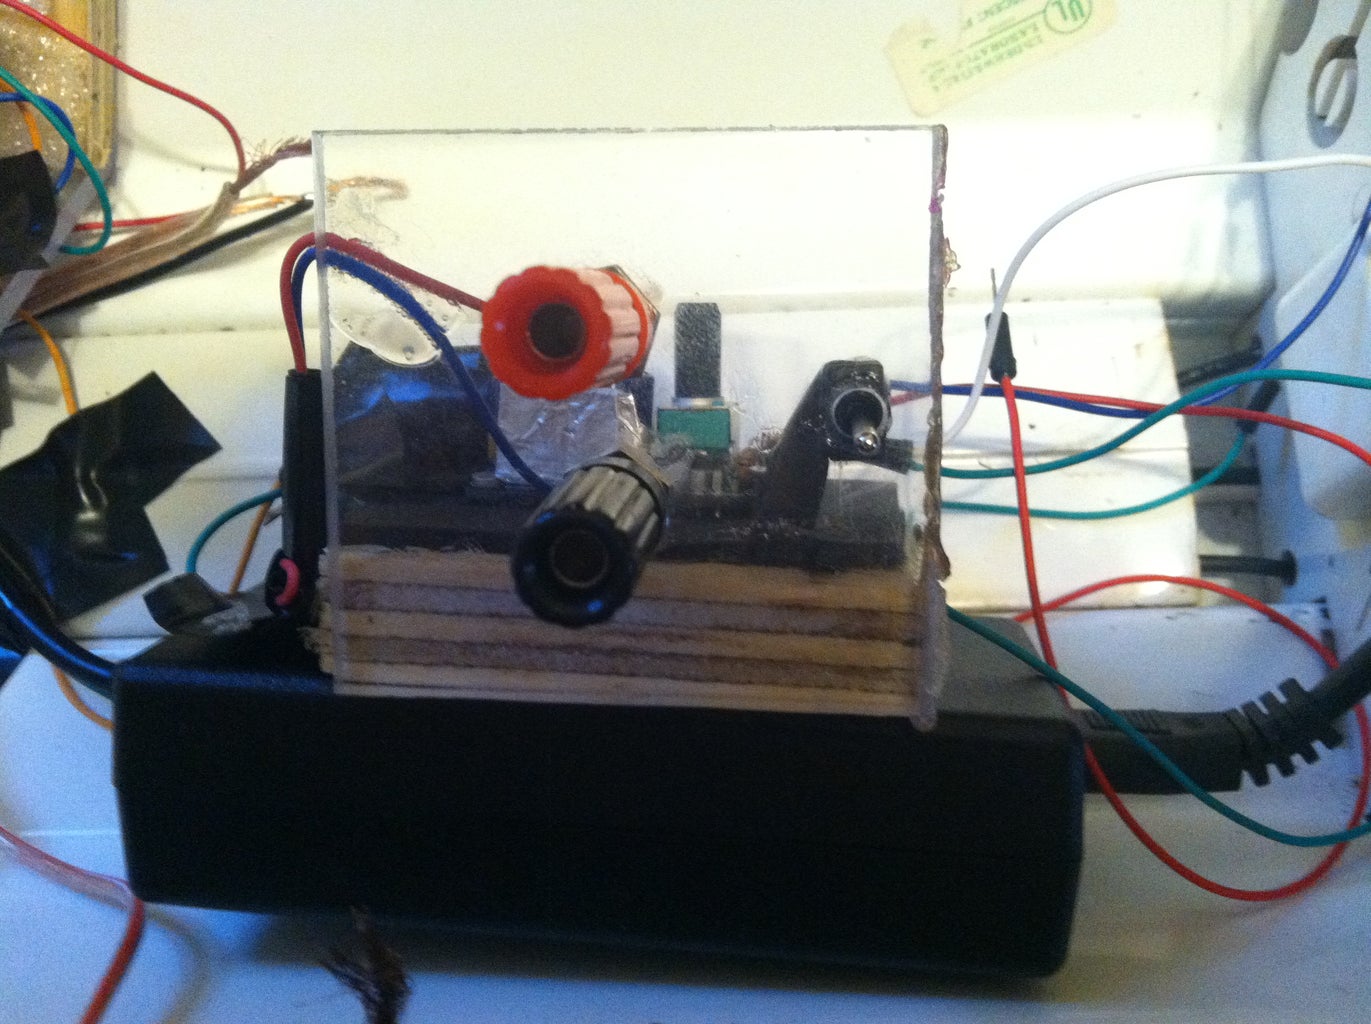

To get the fade effect the driver needs PWM input I used the
https://www.instructables.com/id/Poormans-Buck/
Easy to build and use, got 2 of them for 30$ and they have a wide operating range.
I used them along with my computer charger to power the LED's
The switch turns the arduino board on and off.
I need to add another switch to turn the entire system on or off but for now pluging in and unpluging works
I used 2 of the drivers because the power was choosing the path of least resistance and the Red led's required 2.7v while the blue required 3.7 so only the reds would turn on for some reason, it happens gave me 2 PWM inputs that way so it worked out amazingly
Step 3: Setting Up the Lighting Fixture


I'm not sure what to call the light rail I used put 15 LED's in it (I only had 15 star bases (^_^) )
8 blue and 7 red's
each running around 350mA
Unfortunatly not all the LED's turned on at the same brightness :( it was too late to fix it but it still woked well
Its pretty messy because its not meant to be seen and this was a spur of the moment Idea. If i could do it again I would make it less messy
Tell you the truth looking at it now and doing some calculations on the power supply I think it might pull too much power, but I tested it by turning it on and feeling the power supply It didnt seem to get too hot, more life testing was done to see If I need another.
It didn't seem to need one after a few hours of testing.
All the LED's were glued down.
On the test nothing got hot
Step 4: Final Assembly/Arduino Incorporation


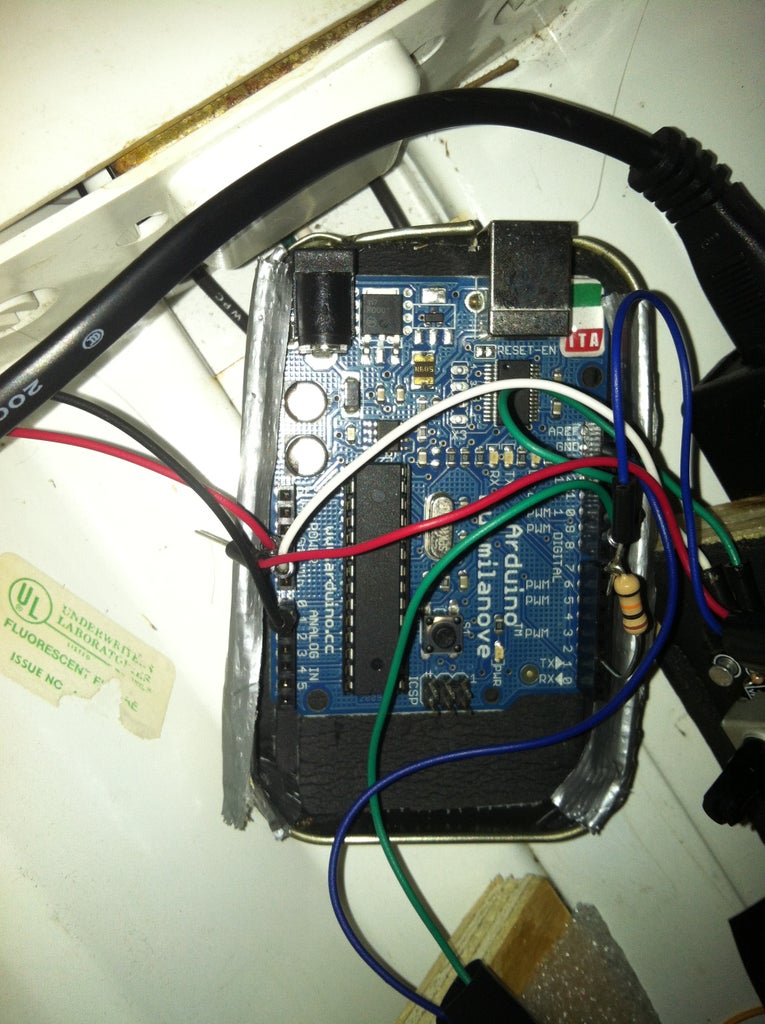
Hook the LED's up to the power supply and turn them on to see if they work, if they do congratulations you didn't mess up!
I messed up several times
once it works get the arduino code working with PWM and analog reading to adjust the brightness of the LED's depending on the volume, you could also make it go with different colors or brightnesses with Left and Right audio. Depends on how you want to hook it up. Now that i'm thinking about it I might return my Y adaptor and just hook the PWM up to the speakers. Though the voltages may be too high for the board to handle i'll have to try it
Also be sure to adjust the current on each driver to the correct amount around 350mA for each.
Adjust from there so one color doesnt drown out the other
Here's my code
Best part is it is easy to adjust and change. You can add a left and right analog read if you have a stereo audio cable adjust the brightnesses and so forth.
int Music = 0;
int Musicpin = 0;
int REDpin=9;
int BLUEpin=10;
void setup()
{
}
void loop()
{
Music=analogRead(Musicpin);
Music=map(Music, 0, 150, 0, 255);
if (Music == 0)
{
analogWrite(REDpin,0);
analogWrite(BLUEpin,0);
delay(25);
}
if (Music >= 51)
if (Music <= 105)
{
{
analogWrite(REDpin,Music);
analogWrite(BLUEpin,0);
delay(5);
}
}
if (Music <= 50)
if (Music >= 1)
{
{
analogWrite(BLUEpin,Music);
analogWrite(REDpin,0);
delay(5);
}
}
if (Music >= 106)
{
analogWrite(REDpin,255);
analogWrite(BLUEpin,255);
delay(5);
}
}
Power switch to come at a later date when I have money for a protoshield
Step 5: After Thoughts
If i could do it again i'd make it prettier and more elegant with the power supply and the driversI probabbly still could by making some
I'd also make the arduino connections on a prototyping shield so It could be more secure than what I have but i'm happy with the results I mean its not supposed to be moved or seen that often, It also does what I want it to, plus it'll only be in operation until December 2012 then i'll remake it.
Hope you liked it
Leave me some comments or Ideas for improvements
What a way to spend a vacation
Here's a video of it with some techno music.
iPhone camera couldn't keep up
Thanks for reading.

Participated in the
LED Contest with Elemental LED

Participated in the
Back to School Contest


