

Introduction: Arduino: Pinball Machine
As I've always loved both pinball machines, and electronics, I decided to build my own pinball machine. I chose Arduino for the programming and electronics, because it's a highly accessible platform that's both compact and easy to use.
In this guide I will explain my development process, so perhaps one of you enthousiasts could create something alike.
Step 1: Building the Case

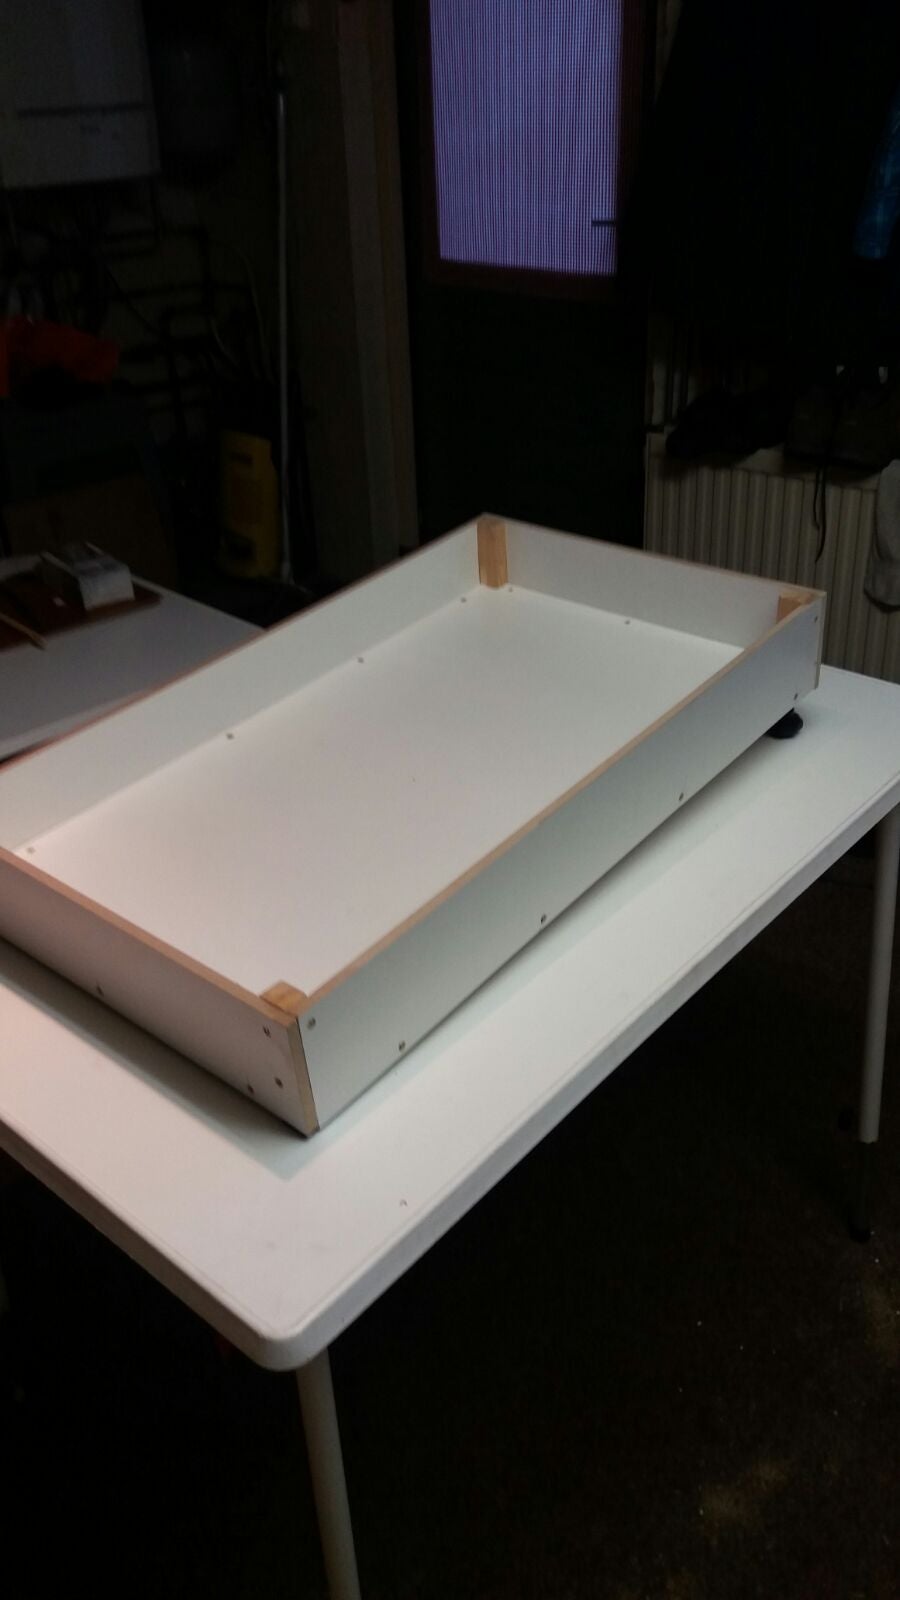
Let's start off with the case of the pinball machine. I made a fairly simple construction. I sawed off a bottom plate, and used 4 tiny wooden pillars in the corners to connect the wall pieces. The size of your case is your own choice, I chose to make it a bit smaller than an original pinball machine as I wasn't planning on adding any super spectacular extras to fill up the space. I used both screws and glue to make the case as steady as possible. At the back I drilled two holes in the floor piece for the two legs that will give the pinball machine the iconic tilt. Again, the height of the legs is all up to you. The taller you make the legs, the faster the ball will roll (downwards).
Step 2: Constructing the Flipper Mechanic

As I wanted to limit the cost of this project, I decided to make fully mechanical flippers instead of electronic ones. If you are interested in electronic flippers, you can use a construction that is somewhat the same, but with a so called 'solenoid' connected to it (solenoids with enough power to control the flippers were too expensive for me).
I started by drilling two holes in the bottom for the pivot point of both flippers. I drilled the holes (in my opinion) a bit too close to eachother, and this caused the game to be a bit too easy in the end. So be careful not to place the flippers too close to eachother, unless you want an easy style of gameplay.
I also drilled two holes in both the side walls parallel to the flipper holes. These holes are to be used for the two flipper buttons.
I used springs to pull the flippers back into the original position, and made a pivoting construction between the flippers and the buttons to make them rotate when the buttons are being pressed. To stop the springs from pulling back the flippers too far, I placed two screws to hold the flippers in their original position.
Step 3: Placing the Walls

I placed a couple of walls to redirect the pinball towards the flippers. They are very simple to make. Simply drill 3 holes in the bottom of the case, and push in three wooden pins. Wrap a rubber band around the pins and you're done.
Step 4: Adding the Score Blocks


The score blocks are one of the most crucial parts of the pinball machine, so make sure you do this part right. I made three score blocks for my pinball machine, but again this is all up to you.
I sawed off a small piece of a broomstick, and wrapped copper wire around it. The arduino will power this copper wire constantly with 5V. I soldered four pen springs to the side for better contact with the ball.
The way that the score blocks work, is that the ball completes a circuit that leads to an input pin on the Arduino. So what I did was tape aluminum foil on the bottom of the case (NOT TOUCHING THE COPPER) and wire the foil up to a pin on the Arduino. Whenever the ball hits both the copper and the aluminum, the circuit is complete and the Arduino will receive a signal.
I connected all of the score blocks together using the aluminum foil, but keep in mind that the sticky side does NOT conduct electricity.
Step 5: Adding the Game Over Contact

At the bottom of the pinball machine, in between the flippers, I added a game over contact. Whenever the ball hits this contact, the player will lose a ball. The construction I made is very much the same as the score blocks. Only here I used two screws, and again a piece of aluminum foil on the bottom.
Step 6: Drilling the Cable Holes


Before we start wiring everything up to the Arduino, we need to drill a couple of holes for the cables first. I drilled a hole through both pieces of aluminum foil, so one hole in the aluminum foil near to the score blocks, and one hole in the aluminum foil near the game over contact.
Besides this, I also drilled a hole at the bottom left, in between the walls, for the cable leading to the extra ball gate Servo.
There should also be a hole for the cable connected to the LCD at the bottom.
Step 7: Wiring Everything Up


I made this schematic to have a better overview of where all the cables should go. The crosses are the points where cables connect. I tried to solder as much as possible to make everything a bit more steady and reliable. The wiring will take some time, but after this is done you're almost there!
Step 8: Uploading the Code
Upload the following code to your Arduino to make your pinball machine come to live!
// Include the library for the lcd
#include <LiquidCrystal.h>
#include <Servo.h>
// Initialize the lcd data pins
LiquidCrystal lcd(7, 8, 9, 10, 11, 12);
// Create a servo
Servo ballGateServo;
// Create variables for the pins we are using
int gameoverPin = 6;
int scorePin = 5;
int speakerPin = 4;
int ballGateServoPin = 3;
// Initialize gameplay variables for the pinball machine
int score = 0;
int highscore = 500;
bool highscoreReached = false;
int balls = 3;
int gameoverTimer = 0;
int gameoverTimerDuration = 100;
bool gameoverTriggered = false;
//run this code once at the first frame
void setup() {

  // Set the pinMode for the pins we are using
  pinMode(gameoverPin, INPUT);
  pinMode(scorePin, INPUT);
// Initialize the lcd by giving the width and height lcd.begin(16, 2);
  // Attach the ball gate servo to the apropriate pin
  ballGateServo.attach(ballGateServoPin);
  // Reset the gate servo to the starting position
  ballGateServo.write(0);
}
// Run this code every single frame
void loop() {
  // Capture the pin inputs
  int gameoverState = digitalRead(gameoverPin);
  int scoreState = digitalRead(scorePin);
// Add to the score if input is received
if (scoreState) {
tone(speakerPin, 1000);
score += 10;
} else {
noTone(4);
} // Subtract from the balls if the gameover pit is triggered
if (gameoverState and !gameoverTriggered) {
balls -= 1;
gameoverTriggered = true;
gameoverTimer = gameoverTimerDuration;
} // Start the gameover timer as soon as the ball isn't touching the gameover contact
if (!gameoverState) {
if (gameoverTimer >= 1) {
gameoverTimer -= 1;
} else {
gameoverTriggered = false;
}
} // Blink the gameover text to the lcd and reset the score and balls
if (balls <= 0) {
lcd.setCursor(0, 0);
for (int i = 5; i >= 1; i--) {
lcd.clear();
delay(250);
lcd.print("GAME OVER");
lcd.setCursor(0, 1);
lcd.print("Try again?");
delay(250);
}
lcd.clear();
score = 0;
ballGateServo.write(0);
highscoreReached = false;
balls = 3;
} if (score > highscore and !highscoreReached) {
lcd.setCursor(0, 0);
for (int i = 5; i >= 1; i--) {
lcd.clear();
delay(250);
lcd.print("NEW HIGHSCORE");
lcd.setCursor(0, 1);
lcd.print("Sudden Death!");
delay(250);
}
lcd.clear();
balls = 1;
ballGateServo.write(120);
highscore = score;
highscoreReached = true;
} // Update the highscore if the current score is higher
if (score > highscore) {
highscore = score;
} // Set the cursor to line 0
lcd.setCursor(0, 0);
// Print the current (high)score to the lcd
if (score <= 0) {
lcd.print("Highscore: " + String(highscore) + " ");
} else {
lcd.print("Score: " + String(score) + " ");
}// Set the cursor to line 1 lcd.setCursor(0, 1);
  // Print the current amount of balls to the lcd
  lcd.print("Balls: " + String(balls));
}


