

Introduction: Arduino RC Boat


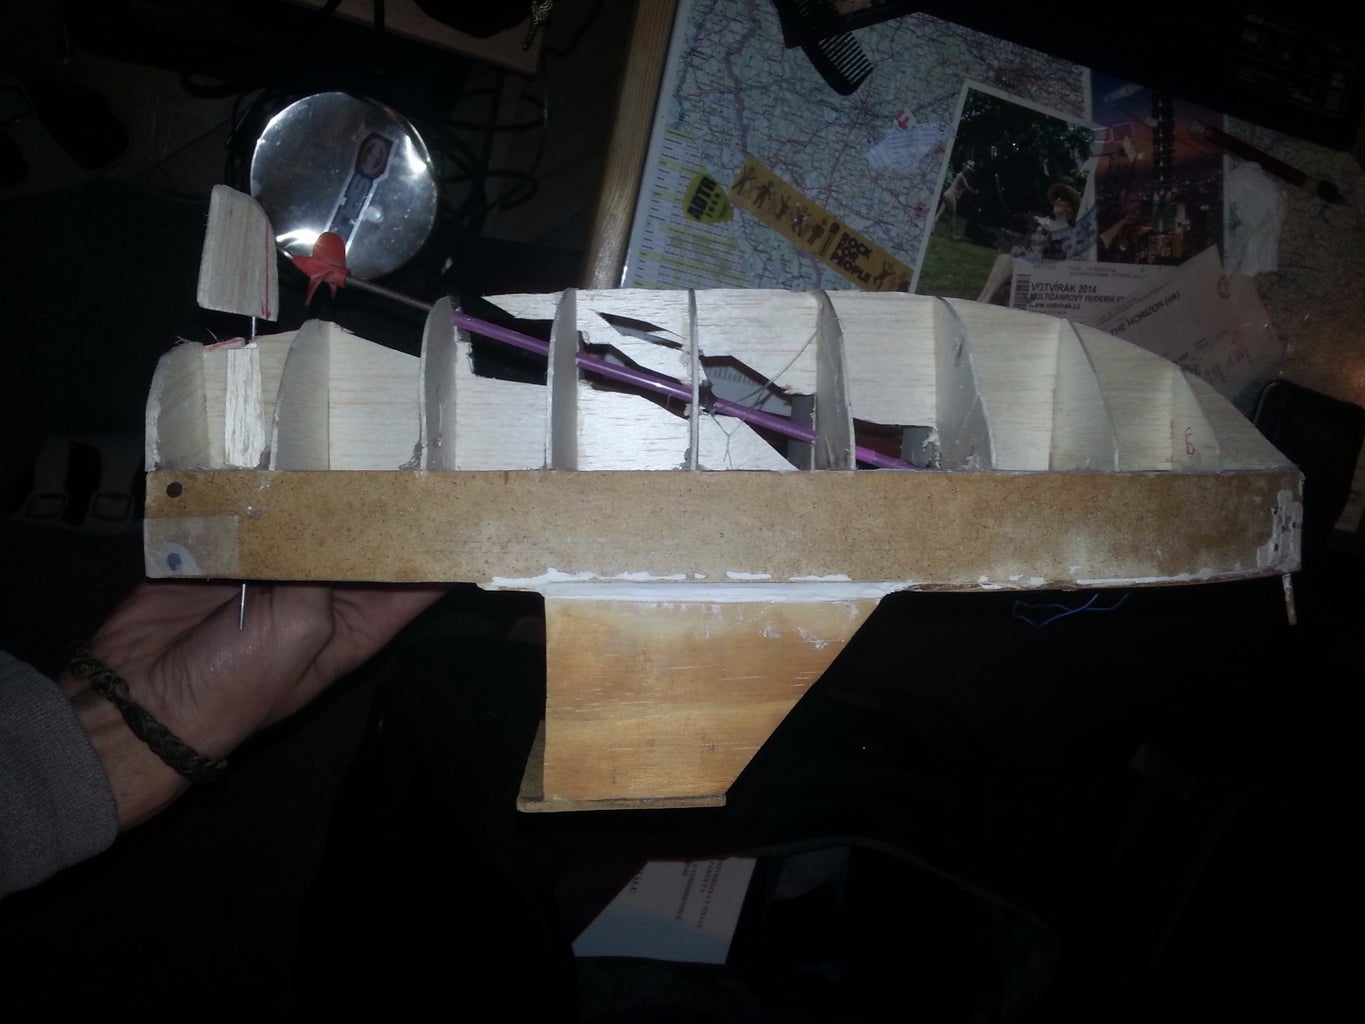


I found my old wooden boat and decide make it RC controlled. So I make ribs from balsa and glued them to make voluminous body allowed heavy load like battery, arduino, motor and more.
Step 1: Planking

I used many narrow balsa strips to planking. Using pins I hold them on their place until the glue has hardened.
Step 2: Grinding


After glued all strips come on grinding. Hours and hours grinding to make smooth body.Then I varnish 3-5 times to make it waterproof
Step 3: Making Keel


I glued some balsa offcuts and then I cut them to requested shape with sharp knife.
Step 4: Counterpoise


I found that the ship is unable to sail, so i must cut away the keel to fill body with some piece of fishing lead, to set centroid down.
Step 5: ...

But after I glued it back, I tried the boat on water and it still floated bevel. So I must cut off keel again and use more lead. (I used 0,5kg of lead)
Step 6: Painting
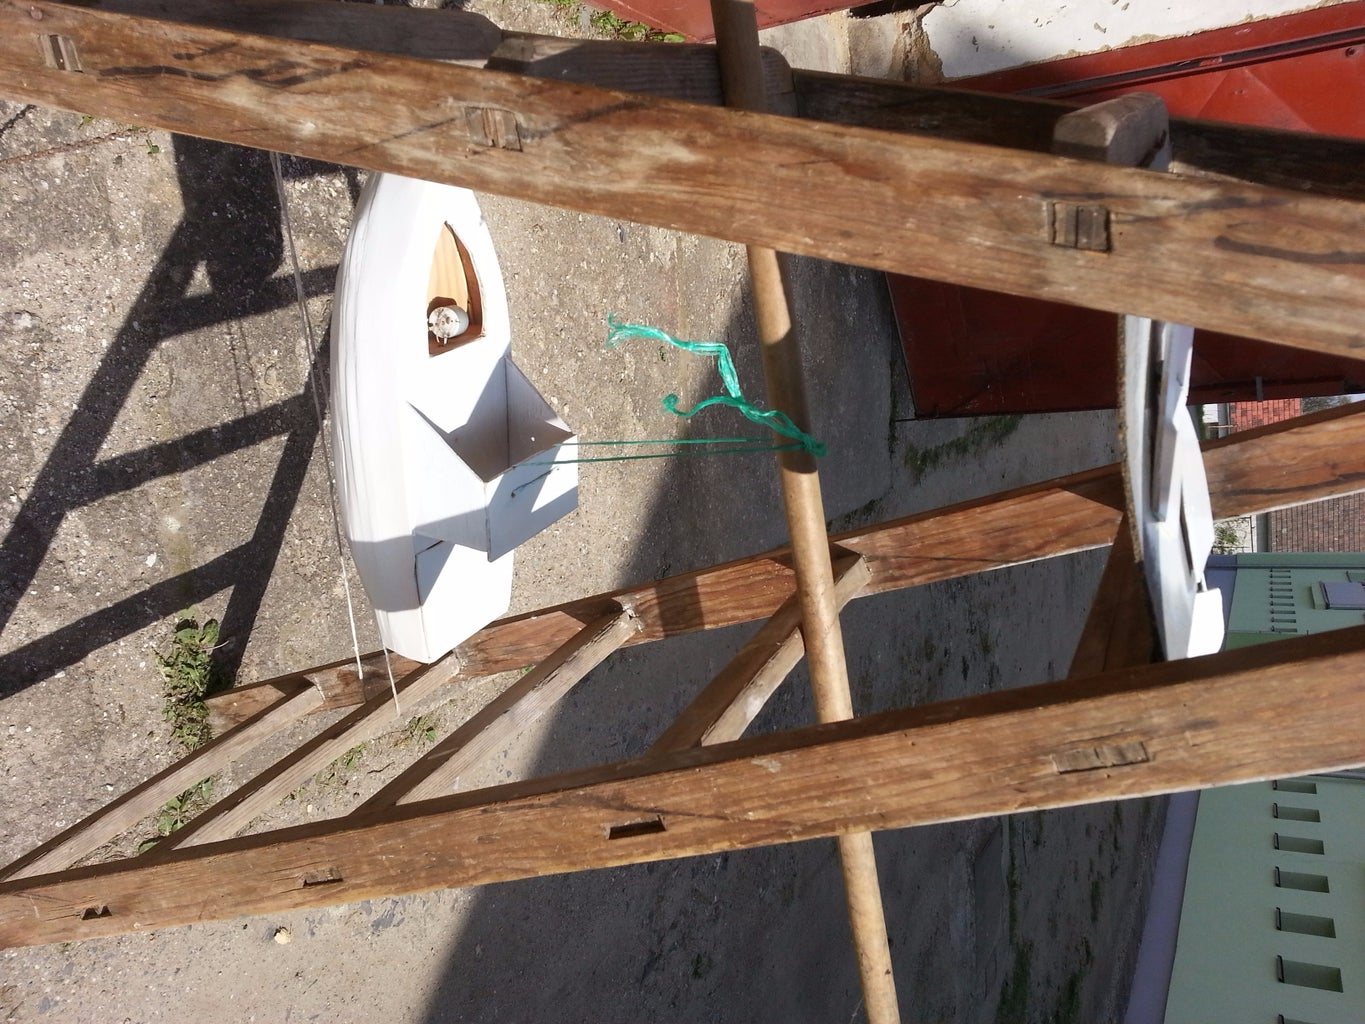
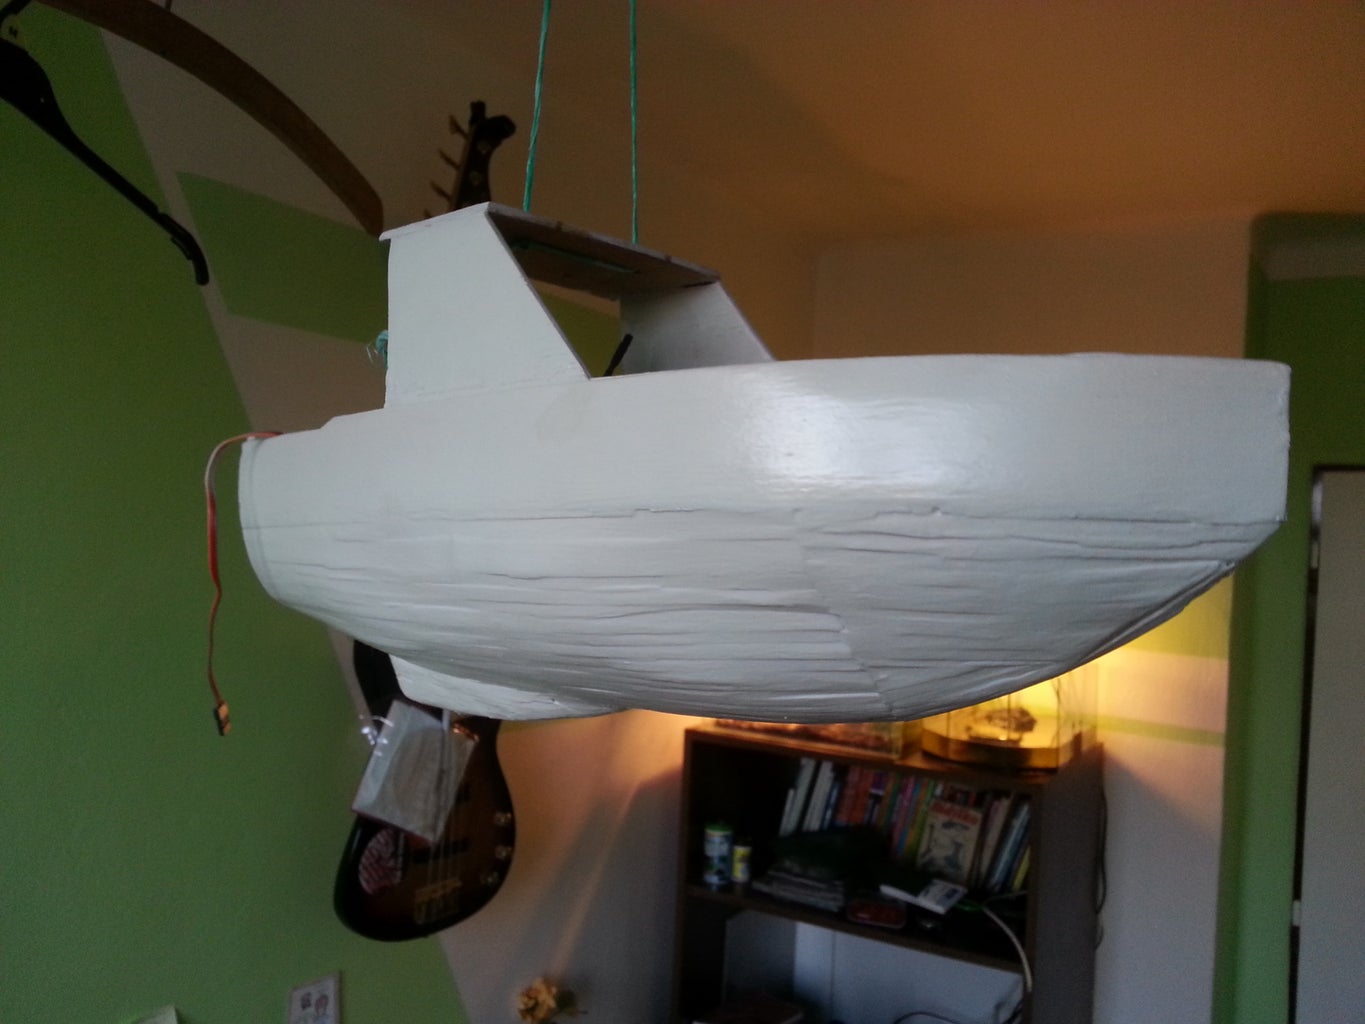
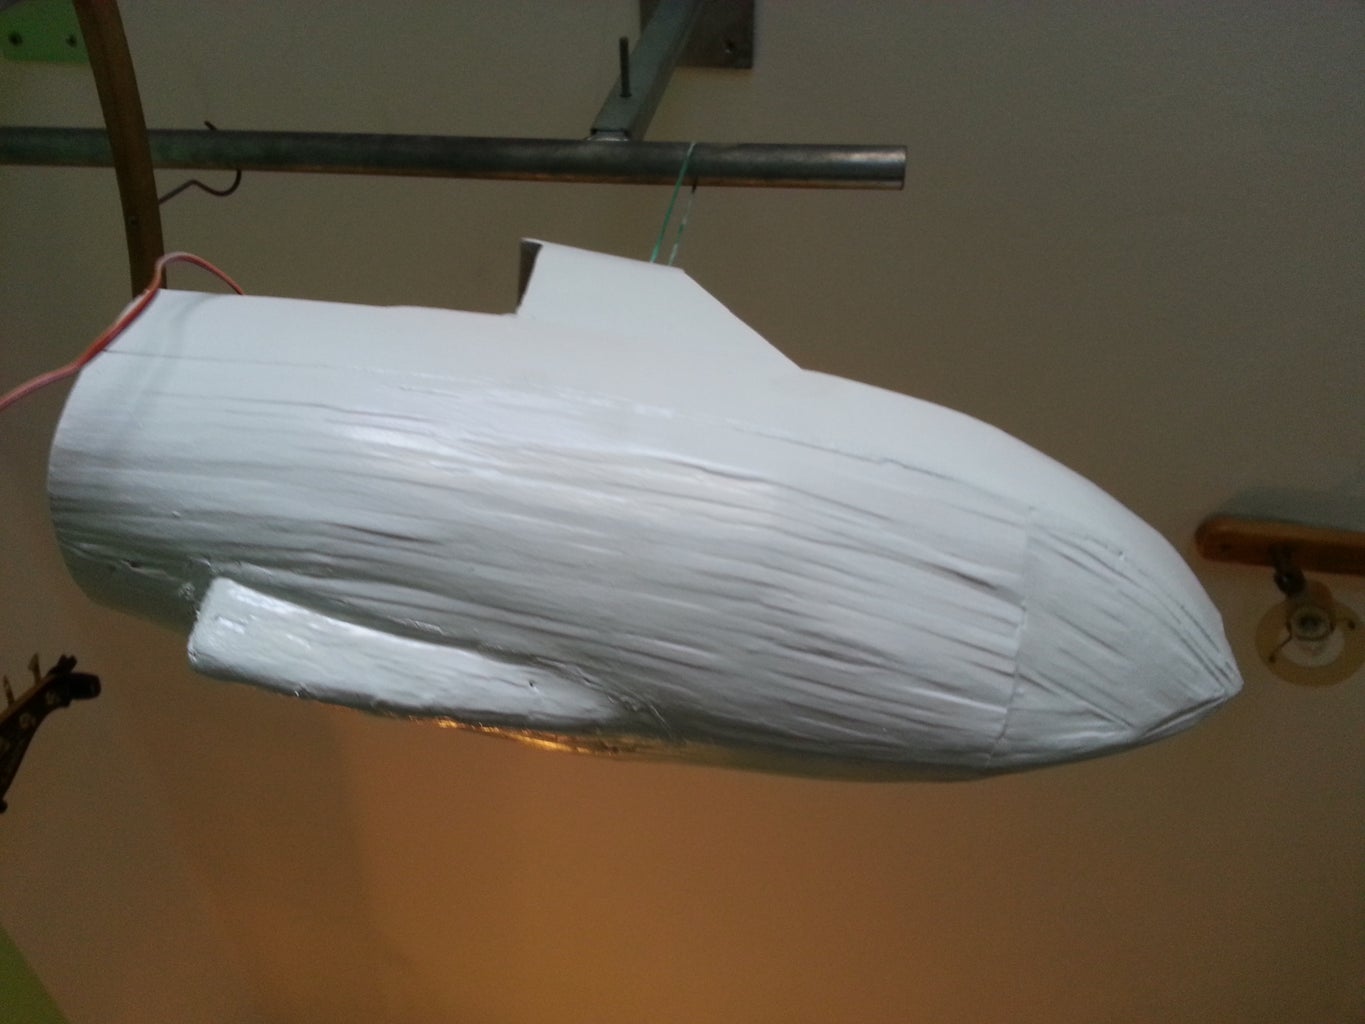


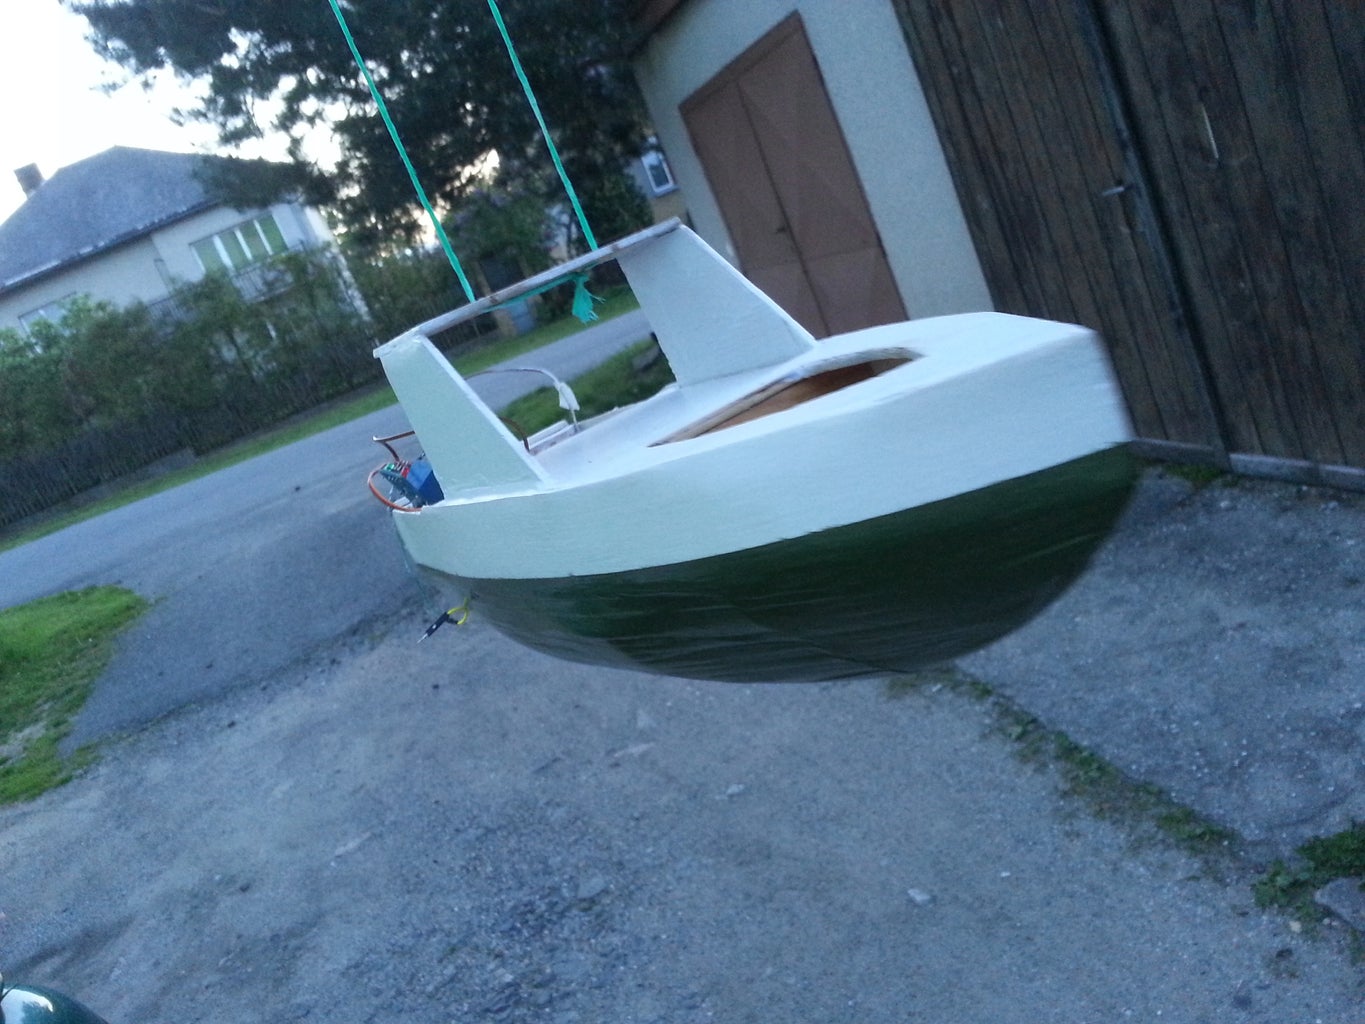

For paint i used paint in spray.
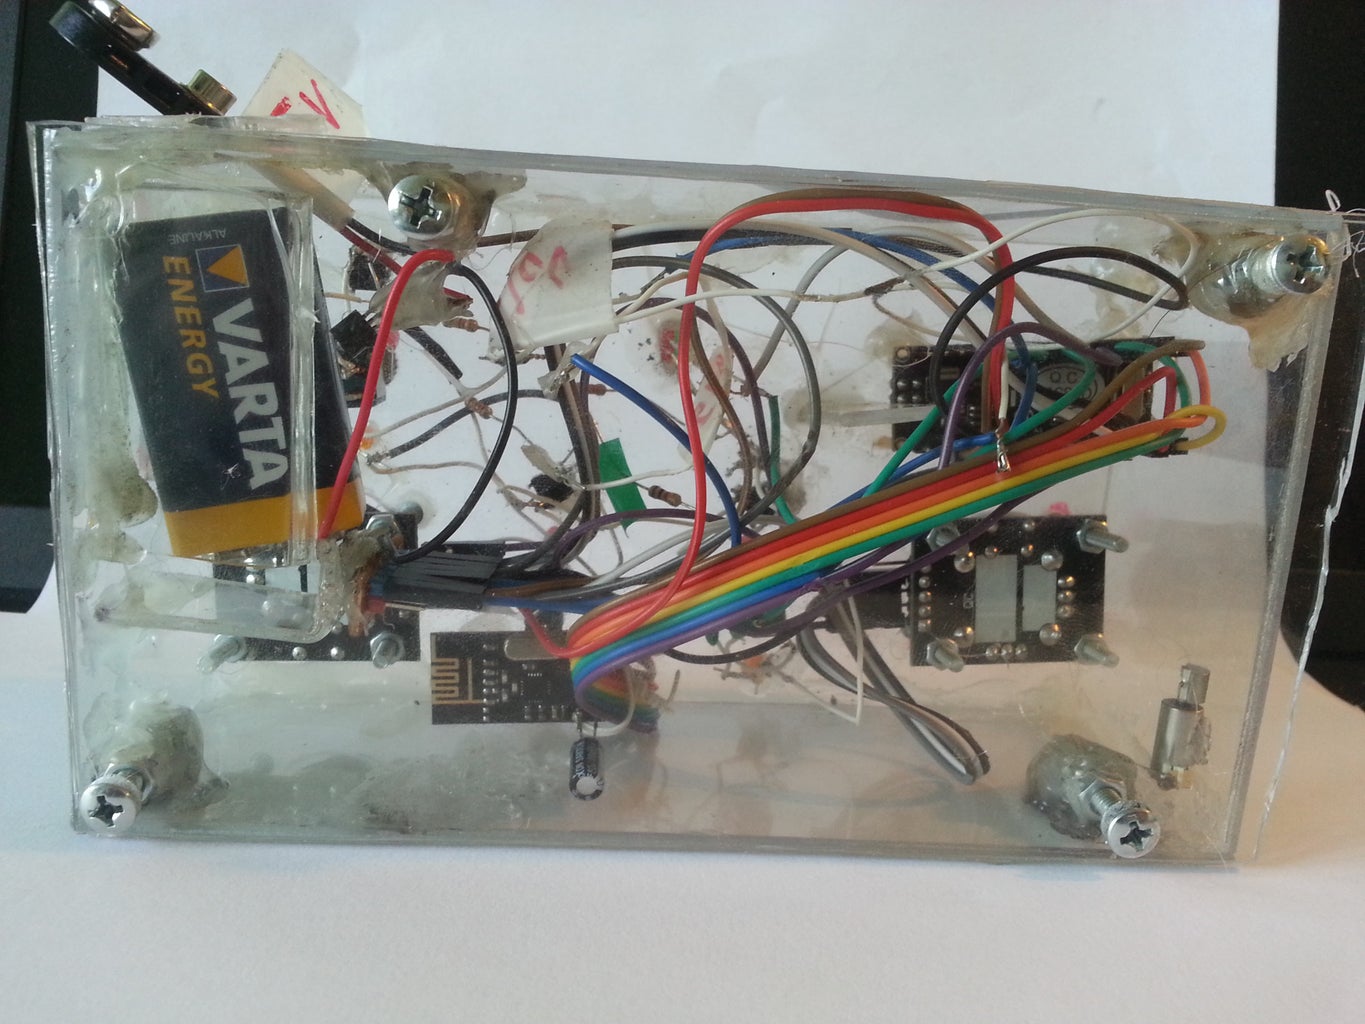
Step 7: Controller - Wiring and Function

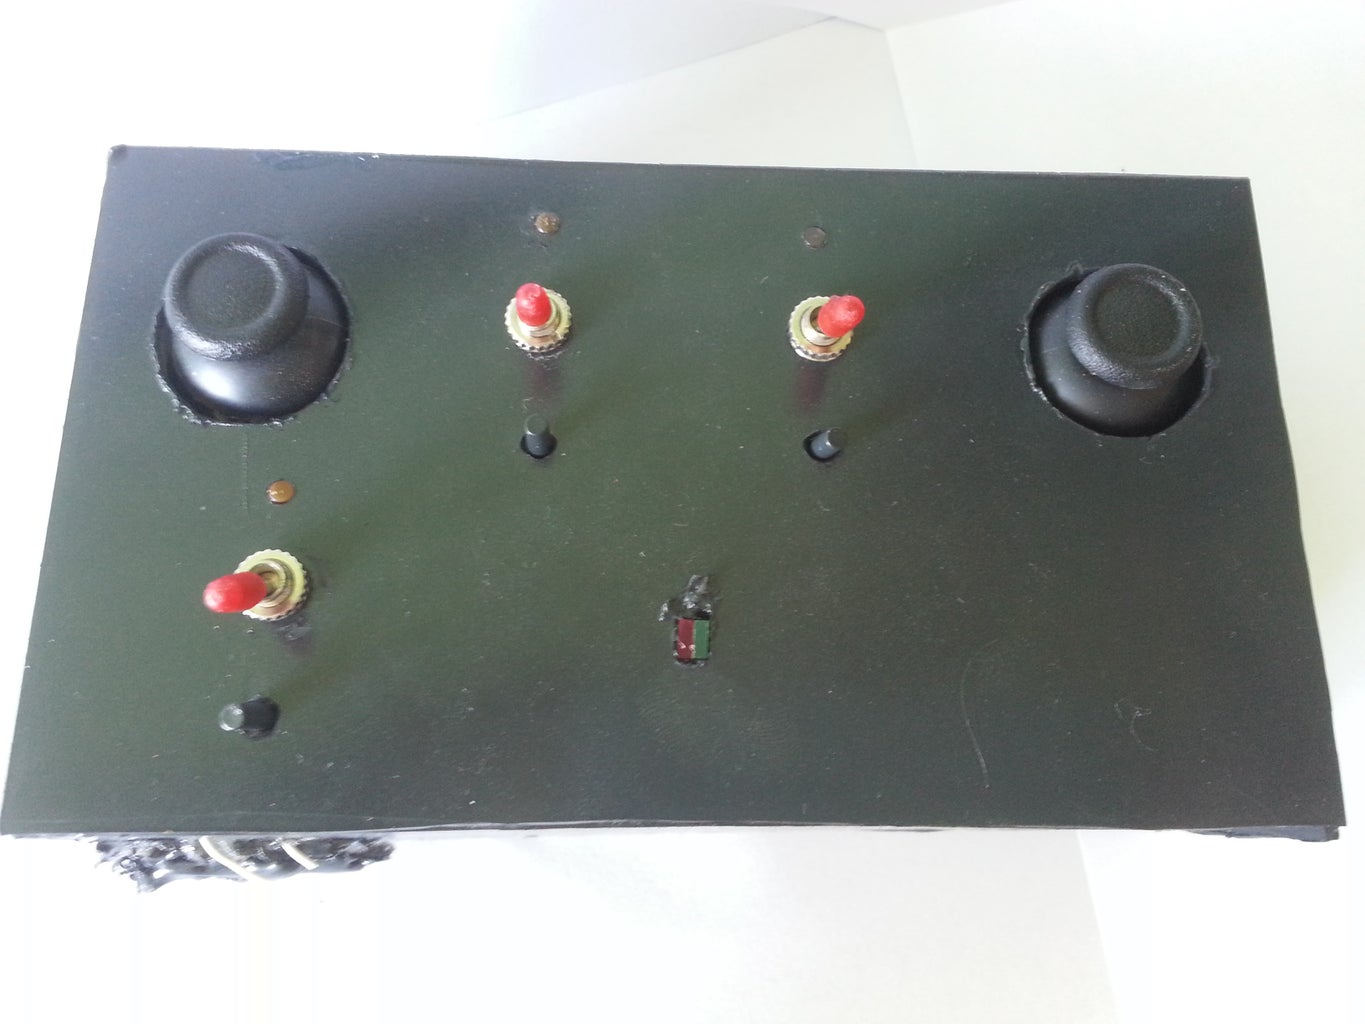


This is my controller to control my boat. It can be more simpliest to control boat but my plan is controlling plane in the future.
Materials:
- Arduino nano
- 2x jostick
- 5x led
- 3x button
- 4x switch
- Battery
- Srews and nuts
- Perspex or another material
- Glue
- Battery connector
- Rezistors
- Capacitor 10 uC
About nrf24l01:
Info about nrf24l01: https://arduino-info.wikispaces.com/Nrf24L01-2.4GH...
Library RF24: https://tmrh20.github.io/RF24/
Demo code: http://forum.arduino.cc/index.php?topic=381973.msg..
Program function:
- Left joystick:
- vertical is forward and backward motor
- horizontal - nothing
- Right joystick:
- vertical - nothing
- horizontal is left and right steering
- Buttons
- buttons are connected to one analog pin. Every buttons has different resistor value, so arduino identify, which button is pushed. It can be programed to anything in receiver side
- Orange leds
- These leds tunr on whned button or switch under the led is on.
- Green led
- Led is lighting when controller is succes connected to boat
- Red led
Led is fadeing, it signaling that controller is tured on, it'll turn off when green led will turn on
Attachments

Step 8: Boat Wiring Materials

- arduino
- nrf24l01
- 4x transistor (or H-bridge L298N)
- *LED strip
- battery
- proppeler
- servo
- wires
- motor
- *tranzistor - 2x

Participated in the
Make it Move Contest 2016

Participated in the
First Time Author Contest 2016


