

Introduction: Arduino Rocket Datalogger


Have you ever wanted to analyse every single aspect of your model rockets flight for only £15?
In this instructable I include code and instructions for an Arduino rocket datalogger capable of measuring rocket altitude, acceleration, temperature and rotational speed (using a gyroscope). All data is stored on a micro SD card at a rate of 12 data points per second. The datalogger is powered off a 40 mAh Lipo cell with an inbuilt micro-usb charger and only weighs 14g/0.53oz.
Things needed:
- GY80 10 axis IMU module £8 available on Deal Extreme
- Arduino Pro mini 3.3V
- Micro SD card module £2
- Lipo/Li-ion cell charger £1
- Small On/Off slide switch £0.50
- 40 mAh Li-po/Li-ion cell (I obtained mine from an RC helicopter but can be bought online) £1
- A single 0805 10K surface mount resistor (for changing the charging current of the TP4056 Lipo charger down to 100mA)
Tools:
FTDI programmer
Soldering iron and all the obvious etc.
Step 1: Changing Charging Current Resistor on the Charger Board


The small lipo cells require a low charging current (aprox.100mA) otherwise they will be damaged. Most of these boards have a charging current of 1200mA. To "reprogram" the TP4056 simply replace the resistor with a 10k 0805.
I heated up the resistor with my soldering iron before using the desoldering pump to remove solder. The resistor came off the PCB with ease. I then ensured that there was very little solder on the pads.
I put a small amount of solder on one pad.
Holding the new resistor with a pair of tweezers I held it in place while I heated up the pad with solder.
Once aligned I soldered the other side of the component.
Step 2: Program the Arduino
First you need to install the libraries for the accelerometer, gyroscope and barometer (my code does not include the use of the magnetometer)
GY80:
Adafruit_Sensor
Adafruit_ADXL345_U
L3G4200D (I have included a ZIP of the particular gyroscope library I used)
Adafruit_BMP085
I used 5 pieces of single core wire to program the femtoduino.
I placed the ends of the wire into the FTDI and the others into the corresponding holes in the femtoduino as shown in the diagram.
I then set the board to Arduino pro mini 328p 8mhz version in the IDE.
Upload the code.

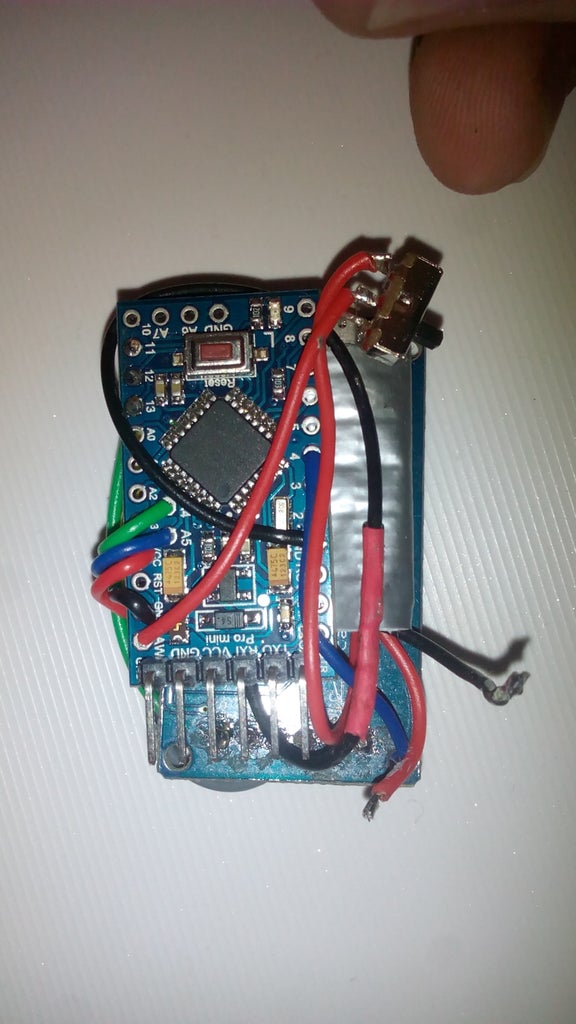
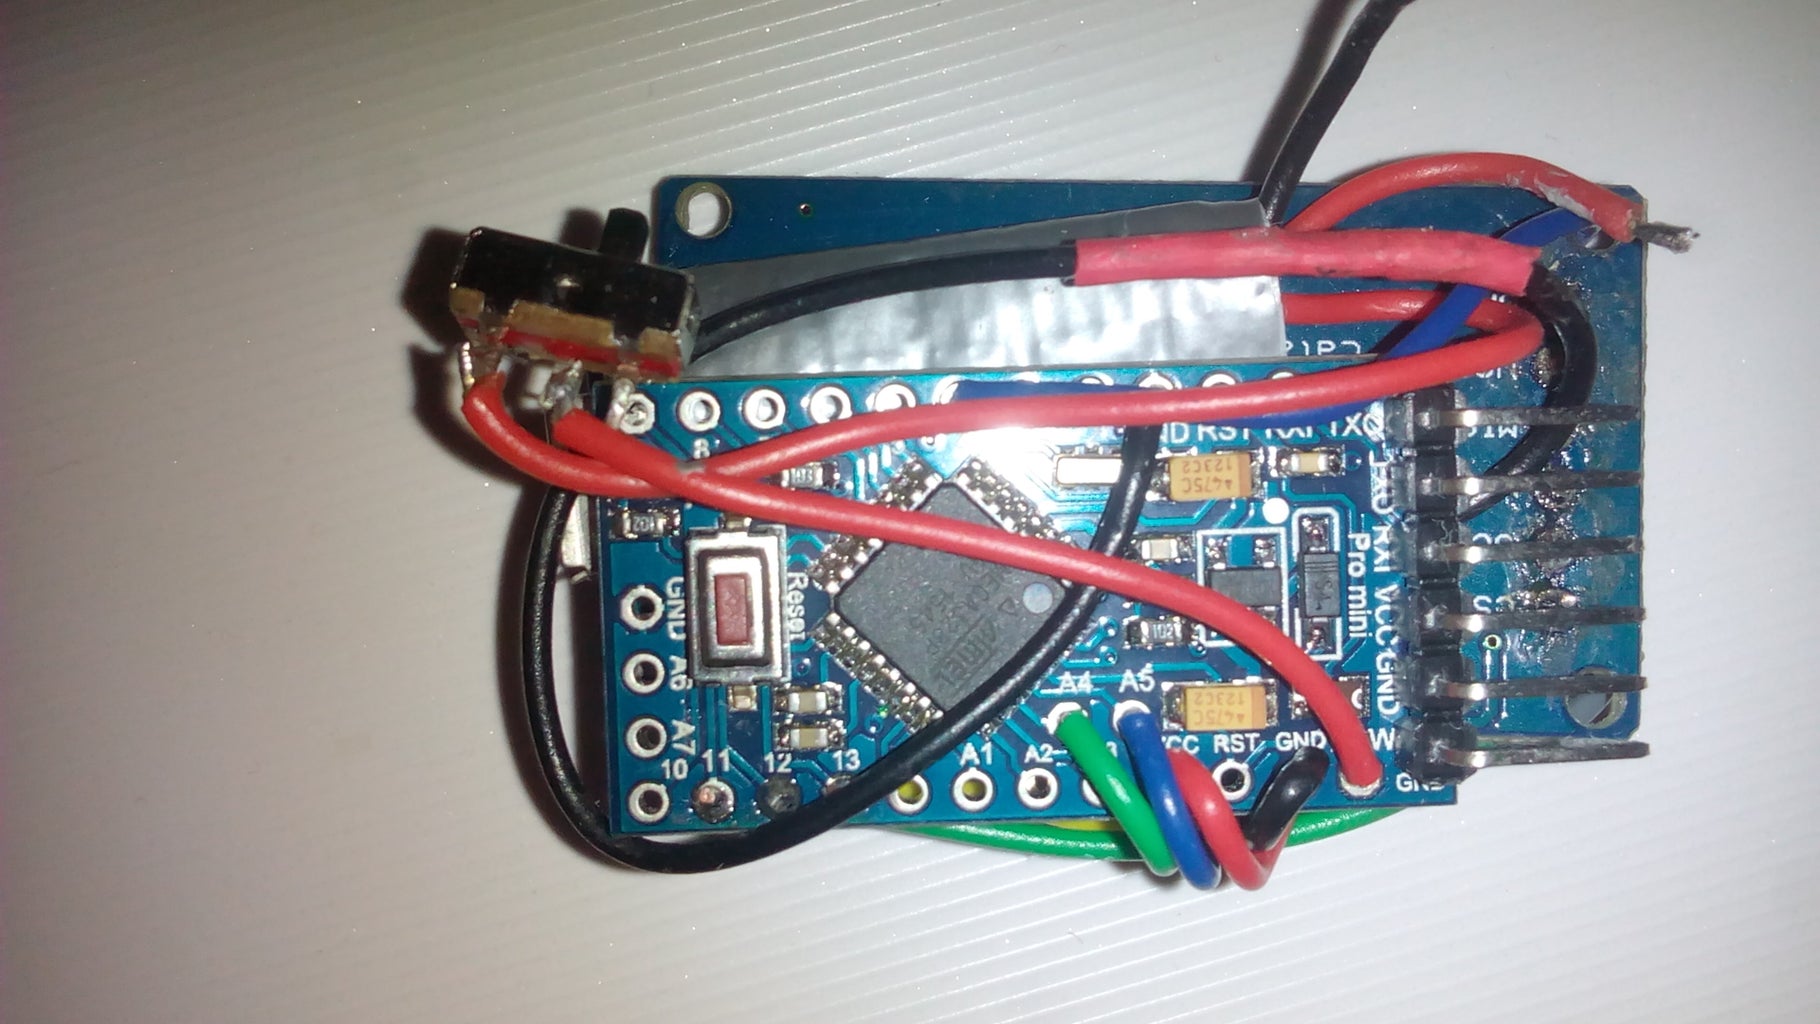
Step 3: Connect Everything Together

IMU-Arduino Pro mini
SCL - A5
SDA - A4
VCC_3.3V - VCC
GND - GND
SD card module - Arduino Pro Mini
CS - D4
SCK - D13
MOSI - D11
MISO - D12
VCC - VCC
GND - GND
Li-ion charger - Arduino Pro Mini
Negative Bat pad - GND
Positive Bat pad - VIN / Raw (with a switch to allow the datalogger to be turned on and off)
Li-ion charger - Cell
Negative Bat pad - Negative wire on cell
Positive Bat pad - Positive wire on cell
Step 4: Test
After charging the cell via micro-usb you should find that the second LED lights to indicate it has finished charging.
When you switch on the datalogger with a micro SD card the system will wait 5 seconds before performing a gyroscope calibration (during this process the datalogger must be stationary.
The Arduino's onboard LED at pin 13 will flash rapidly as it records data.
Each time the device is switched on the Arduino creates a new file. Each file will have a different name which increments each time a new file is made.
Step 5: Analyse Data

Open the txt file on micro SD card in Notepad. Press "Ctrl" and "a" to select all data. Copy and paste the data into a spreadsheet. You will need to convert the pressure into altitude and interpret the data from the gyroscope and accelerometer but the analysis is up to you.
The order of the data is :
time(milliseconds),pressure,temperature (degrees C),x accel,y accel, z accel, x rotational speed (degrees per second), y rotational speed, z rotational speed
I used the text to columns feature in the data tab of Excel with comma as the delimiter.
Above is the pressure trace created by me running up and down some stairs in my house. As you can see the resolution is very decent!

Participated in the
Sensors Contest 2016

Participated in the
Make It Fly Contest 2016


