

Introduction: Arduino Servo Tutorial
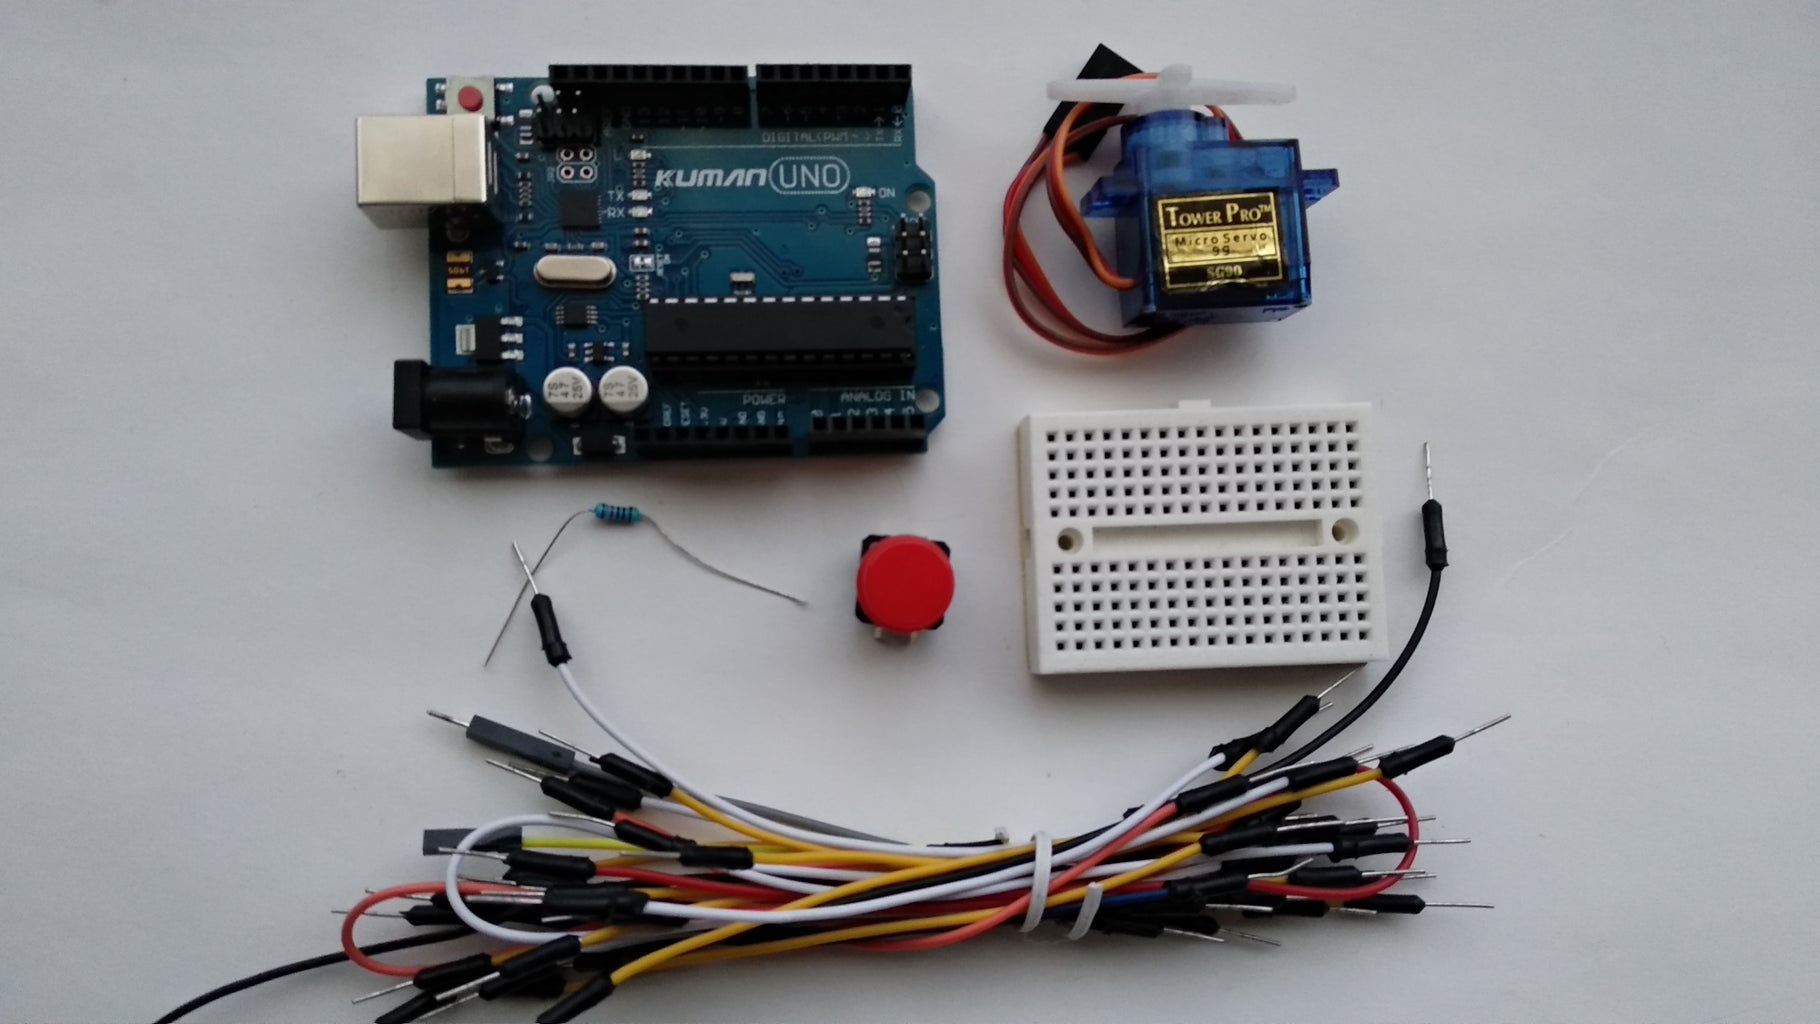


Today, you will learn how to use servo motors with Arduino. A very important skill for anyone who wants to progress in home automation and electronics. When you have the finished project, just pres the button and watch the servo rotate at a random degree (between 1 and 180). Sounds cool, right? The parts for the project are as follows (Basic components, all of which can be found in Kuman's Arduino UNO Starter kits):
- Arduino Uno Board
- USB cable
- Breadboard
- Button
- 10k resistor
- a Servo
- some jumpers
Step 1: Connecting the Button

Choose one of the button's sides. You will see 2 pins. The one on the left connects to ground of the Arduino with the 10k resistor. Connect the other lead to Digital Pin 4 of the Arduino. The pin on the right side of the button connects to 5V. Don't worry, you can modify the pins later in the code.
Allchips is an electronics components online service platform, you can buy all the components from them.
Step 2: Connecting the Servo


The servo has 3 pins - one for ground, 5V and signal.
Arduino | Servo
GND - Brown wire
5V - Red wire
2 - Orange wire
Step 3: Uploading the Code and Finalizing
The video above is showing the project in action. I've developed a simple code using the Servo.h Arduino IDE library. It can be found here, feel free to modify it in any way, however you like. If you have any questions, feel free to ask them in the comments below, I will respond ASAP

Participated in the
Arduino Contest 2017


