

Introduction: Arduino Star Wars Trivia Game


This project is an instructable on how to build a Star Wars Trivia Game. A player will get asked 5 questions. They answer either True or False. Three right answers and the player wins. This game is easy to customize and can be lengthen at a users content. The hardwire is straightforward, not clumsy or random like a blaster. Its a civilized game. And don't have a bad feeling about it, it will be just like Beggar's Canyon.
Materials Needed:
1 Breadboard
1 Arduino Uno
1 Buzzer
2 Buttons
1 LCD Screen
6 220 Resistor
30 Wires
Step 1: Add a Button


Just like Luke Skywalker, Ive learned not to rush into situations. So we are going to start small. Lets just add 1 button.
- The very first thing we need to do is to wire the 5V pin to the postive(red) side of the breadboard. After that we need to run a wire from a ground pin to the negative(blue) side of the breadboard. As these are lightsaber colors, they shouldn't be to hard to remember.
- Next we need to run a wire on the top right prong of the button to a pin. I used 13. Remember to try and plan ahead as space will become very limited.
- On the bottom left prong, a wire will be used to connect the button to the postive part of the breadboard.
- Bottom right prong will have a resistor that will be put in the grounded side of the breadboard.
Now we are going to code the Arduino to register the button.
<p>#include <LiquidCrystal.h>
<br></p><p>int trueButton = 13;
</p><p>int score = 0;
void setup()
{
  // put your setup code here, to run once:
Serial.begin(9600);
pinMode(trueButtonPin, INPUT);</p><p>}</p><p>void loop() {
  // put your main code here, to run repeatedly:</p><p>}</p>
Step 2: Add 1 More Buttons


Now we are going to put 1 more buttons on the breadboard. The second button will be used for False Statements
In wiring the buttons, simply follow the instructions from step 1 twice.
1.We need to run a wire on the top right prong of the button to a pin. Remember to try and plan ahead as space will become very limited.
2.On the bottom left prong, a wire will be used to connect the button to the postive part of the breadboard.
3.Bottom right prong will have a resistor that will be put in the grounded side of the breadboard.
Now we are going to redo the code so that the extra button is regersited.
<p>#include <LiquidCrystal.h>
<br></p><p>int trueButton = 13;
int falseButton = 12;</p><p>int score = 0;
void setup()
{
  // put your setup code here, to run once:
Serial.begin(9600);
pinMode(trueButton, INPUT);
pinMode(falseButton, INPUT);</p><p>}</p><p>void loop() {
  // put your main code here, to run repeatedly:</p><p>}</p>
Step 3: Add 2 Leds


Now we are going to add 2 LEDS. These will help show which player hit their button first. To keep in the spirit of our game, lets make the LEDS blue and red. Blue will be for True and Red will be for False. If the Player hits the True button, Blue will go off. If the player hits the False button, Red will go off. We will program this into the code.
- Run a wire on the left to the grounding rail
- use a resistor to help with the flow and run a wire to a pin at the end of the resistor.
Code follows
<p>#include <LiquidCrystal.h>
<br></p><p>int trueButton = 13;
int falseButton = 12;</p><p>int bluePin = 11;
int redPin = 10;</p><p>int score = 0;
void setup()
{
  // put your setup code here, to run once:
Serial.begin(9600);
pinMode(trueButton, INPUT);
pinMode(falseButton, INPUT);</p><p>pinMode(bluePin, OUTPUT);
pinMode(redPin, OUTPUT);</p><p>}</p><p>void loop() {
  // put your main code here, to run repeatedly:</p>
Step 4: Add a Buzzer


Now whats a game without noises? So lets add a buzzer. Depending on the which player hits their button, a different noise will emit from the buzzer. Here is how to wire a buzzer.
- On the positive side of the buzzer, hook a resistor right below its prong. Run a wire at the end of the resistor in a pin. Note that in order to save space, I'm going to use the Analog pins. Yes, the analog pins can be used as digital. I am going to hook mine into A0. Also note that A0 can also be described as pin 14.
- On the other prong, run a wire into the grounding rail on the breadboard.
Now lets code the buzzer into what we have so far.
<p>#include <LiquidCrystal.h>
<br></p><p>int trueButton = 13;
int falseButton = 12;</p><p>int bluePin = 11;
int redPin = 10;</p><p>int buzzer = 9;</p><p>int score = 0;
void setup()
{
  // put your setup code here, to run once:
Serial(9600);
pinMode(trueButton, INPUT);
pinMode(falseButton, INPUT);</p><p>pinMode(bluePin, OUTPUT);
pinMode(redPin, OUTPUT);</p><p>pinMode(buzzer, OUTPUT);
}</p><p>void loop() {
  // put your main code here, to run repeatedly:</p><p>}</p>
Step 5: Add an LCD Screen


A trivia game is useless unless we can see the questions. So lets add an LCD screen. Here is where it will all come together. Now, I know the breadboard is getting full. so we are going to have to be careful on how we wire this. Here are the instructions for the screen.
First, add an potentiometer to your breadboard to control the lcd screen. Be careful of where you put it since you are probably running out of space by now.
Use the front left to connect your potentiometer to the power rail
Use the front right to ground your potentiometer.The back will be connected to the lcd screen.
Add the LCD screen to your breadboard. Start on the left, just like how we read.
Ground the first screen pin to the grounding rail
Wire the second pin to the power rail.
Third LCD pin goes to Pin 8 on the Arduino
Fourth LCD pin goes to Pin 7 on the Arduino
Fifth goes to Pin 6 on the Arduino
Sixth Pin goes to pin 5 on the Arduino
Pins 7 through 10 on the LCD screen are empty
Pin 11 goes to Pin 4 on the Arduino
Pin 12 goes to the grounded rail
Pin 13 goes to Pin 3 on the Arduino
Pin 14 goes to the back of the potentiometer
Pin 15 goes to the Power rail
Pin 16 goes to the Ground Rail.
Now that we have the LED Screen wired in, lets look at our code.
Step 6: Modify Code
This is where the fun begins.
Now you will have to update your code to use the lcd screen. For that you will use the library Liquid Crystal.
Now lets code the logic and lcd screen into the code.
#include <LiquidCrystal.h>
String topQuestions[] = {"Chewie is a ", "Is Luke ", "Rey is from", "Kylo Ren Is", "Jar Jar was "};
String bottomQuestions[] = {"Wookie", "Sith","Tatooine", "Ben Solo", "Annoying" };
int maxNumQuestions =5;
int location = 0;
int answers[] = {0, 1, 1, 0, 0};
int trueButton = 12; int falseButton = 13;
int bluePin = 10;
int redPin = 11;
LiquidCrystal lcd(3,4,5,6,7,8); //Sets the LCD Screen
int buzzer = 9;
int score = 0;
void setup()
{
  // put your setup code here, to run once:
Serial.begin(9600);
pinMode(trueButton, INPUT);
pinMode(falseButton, INPUT);
pinMode(bluePin, OUTPUT); pinMode(redPin, OUTPUT);
pinMode(buzzer, OUTPUT);
lcd.begin(16,2);
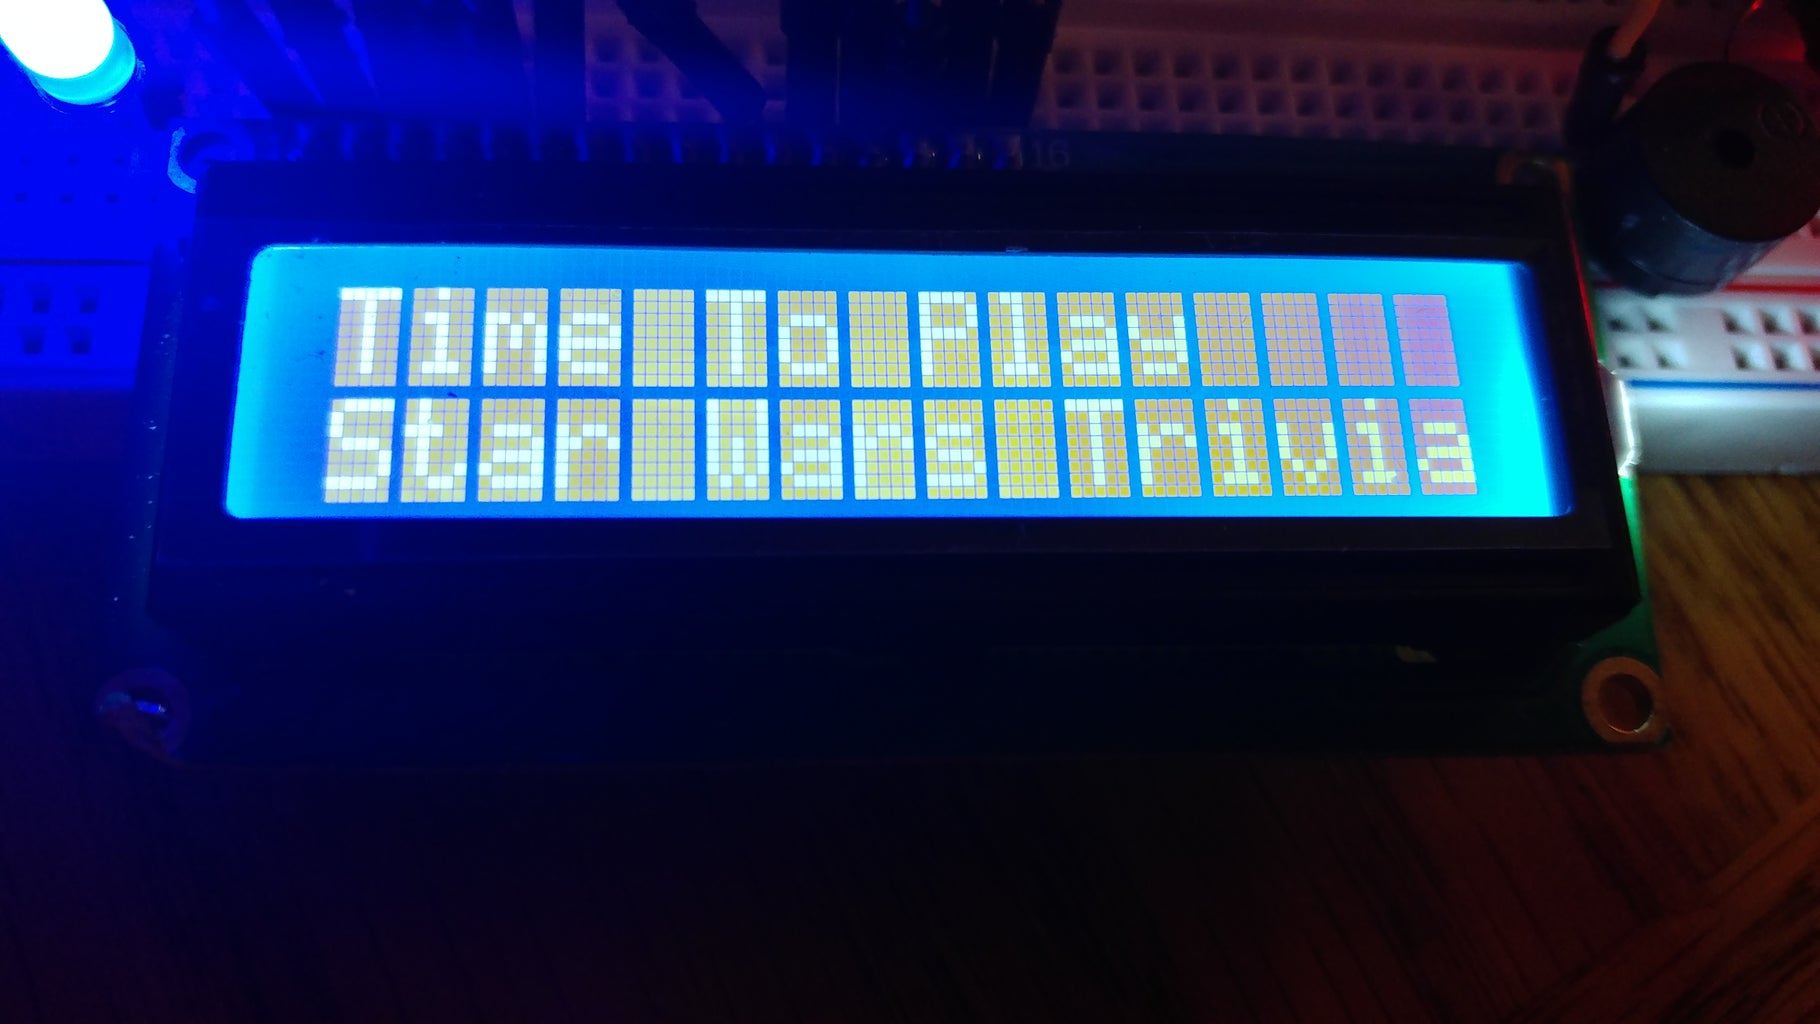
lcd.print("Time To Play");
lcd.setCursor(0,1);
lcd.print("Star Wars Trivia!");
digitalWrite(bluePin, HIGH);
digitalWrite(redPin, HIGH);
tone(buzzer, 5000, 500); delay(3000);
lcd.clear();
digitalWrite(bluePin, LOW);
digitalWrite(redPin, LOW);
}
void loop()
{
lcd.setCursor(0,0);
lcd.print(topQuestions[location]);
lcd.setCursor(0,1);
lcd.print(bottomQuestions[location]);
int playerAnswer = buttonPressed();
if(answers[location] == playerAnswer)
{
lcd.clear();
lcd.setCursor(0,0);
lcd.print("Correct!");
tone(buzzer, 5000, 500);
digitalWrite(bluePin, HIGH);
digitalWrite(redPin, HIGH); delay(3000);
lcd.clear();
digitalWrite(bluePin, LOW);
digitalWrite(redPin, LOW);
score ++;
location++;
if(location >= maxNumQuestions)
{
location = 0;
}
}
else if(-1 != playerAnswer)
{
lcd.clear();
lcd.setCursor(0,0);
lcd.print("WRONG!");
tone(buzzer, 1500, 500);
delay(3000);
lcd.clear();
location++;
if(location >= maxNumQuestions)
{
location = 0;
}
}
if(score >= 3)
{
lcd.clear();
lcd.setCursor(0,0);
lcd.print("You Win!");
digitalWrite(bluePin, HIGH);
digitalWrite(redPin, HIGH);
tone(buzzer, 6000, 500); delay(3000);
lcd.clear();
digitalWrite(bluePin, LOW);
digitalWrite(redPin, LOW);
location = 0;
score = 0;
}
}int buttonPressed()
{
int answerButton = -1; if(digitalRead(trueButton) == HIGH)
{
digitalWrite(bluePin, HIGH);
answerButton = 0;
}
else if(digitalRead(falseButton) == HIGH)
{
digitalWrite(redPin, HIGH);
answerButton = 1;
}
digitalWrite(bluePin, LOW);
digitalWrite(redPin, LOW);return answerButton; }
Step 7: Never Tell Me the Odds

Thats It! The Star Wars Trivia Game is completed! Thank You for reading my Instructables and for putting up with the constant Star Wars references. I hope you've enjoyed it.
May The Force Be With You


