

Introduction: Arduino Temp/Humidity Sensor Using DHT11 and I2C LCD One Day Project


I have purchased an Arduino Mega 2560 set which came with some sensors and of course, and Arduino Mega.
In this instructable, I will share with you the steps I took to make an Arduino based temperature and humidity display.
Items required:
- Arduino Mega 2560
LCD1602 IIC I2C
- DHT11 Temperature/Humidity sensor
- Breadboard
- Jumper wires
- 10K
Step 1: IDE Libraries Required


DHT11 Library is available on https://github.com/adafruit/DHT-sensor-library. You can download the ZIP file and include the library in your IDE.
The I2C LCD was a bit tricky. I took hours to figure out how to get it to work, and I then found F Malpartida's New LiquidCrystal library which was brilliant. This can be downloaded from https://bitbucket.org/fmalpartida/new-liquidcrystal/downloads and added to the IDE.
Step 2: Wiring the LCD, Sensor, and Arduino

Wiring is rather simple. I wired the sensor on a breadboard as per the diagram above. DHT11 needs 3.3 volts and the LCD needs 5 v.
Arduino, LCD, and sesnor Pin Assignments:
- PIN 12: DHT Data
- SDA: LCD SDA
- SCL: LCD SCL
- 3V3: DHT Power
- 5V: LCD VCC
- GND: LCD and DHT Gnd
Step 3: Code
DHT library has a sample code that allows to test the way the sensor to work and display the results in the serial monitor of the IDE.
I2C addresses must be defined in the code to display the results correctly.
The sketch is attached here.
Attachments

Step 4: You Are Done!
Upload the sketch to your board and you are done!
This code will work with the sensor and screen that I have gotten from AliExpress.com
The LCD code especially was done based on the code provided by turbiny as a comment on this instructable
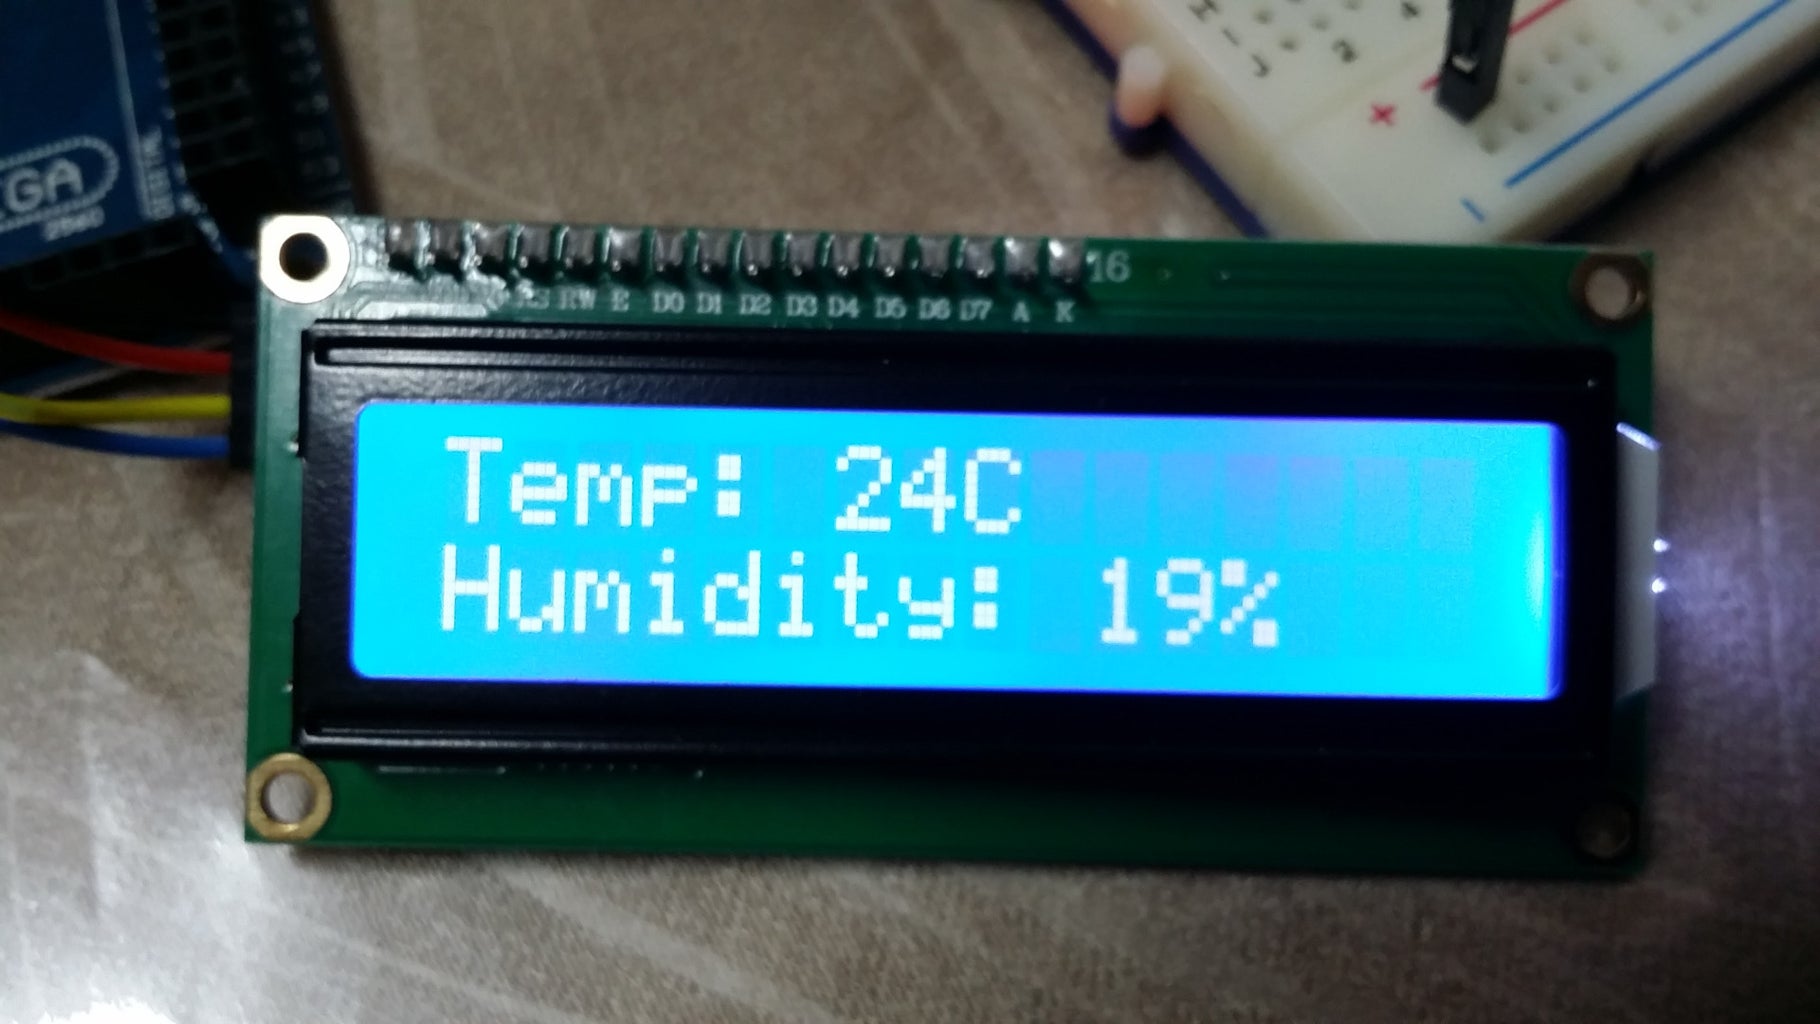
The end result is as shown in the picture.


