

Introduction: Arduino UNO 2-Axis Stepper Control


This Instructable explains how to set up a 2-axis stepper control system using:
- Arduino UNO (~US$30)
- Sparkfun Quadstepper (~US$65)
- A couple of stripped down old scanners ($5 each)
I bought these in NZ from www.NiceGear.co.nz and they arrived the next morning.
If you get the UNO with the starter kit you'll also have a bunch of wires and other bits for connecting things up.
The scanners I used were a HP and a Canon flatbed scanner.
The tops and much of the internal workings were removed leaving only the stepper motor, gears, toothed belt, rail, caddy and base.
The stepper motors had slightly different wiring despite both being MOTOTECH steppers.
HP Monotech S42T6-3001 and Canon Monotech ST42T6-6502.
Because these are both unipolar motors and the Quadstepper is a bipolar driver we can ignore the common wire on these (white wire). They both worked out to have about a half micron step (0.05mm) which is pretty precise.
Depending on the exact stepper motor you have you might need to arrange your wiring differently.
Check this How-To for tips on identifying what type of stepper motor you have and the appropriate wiring.
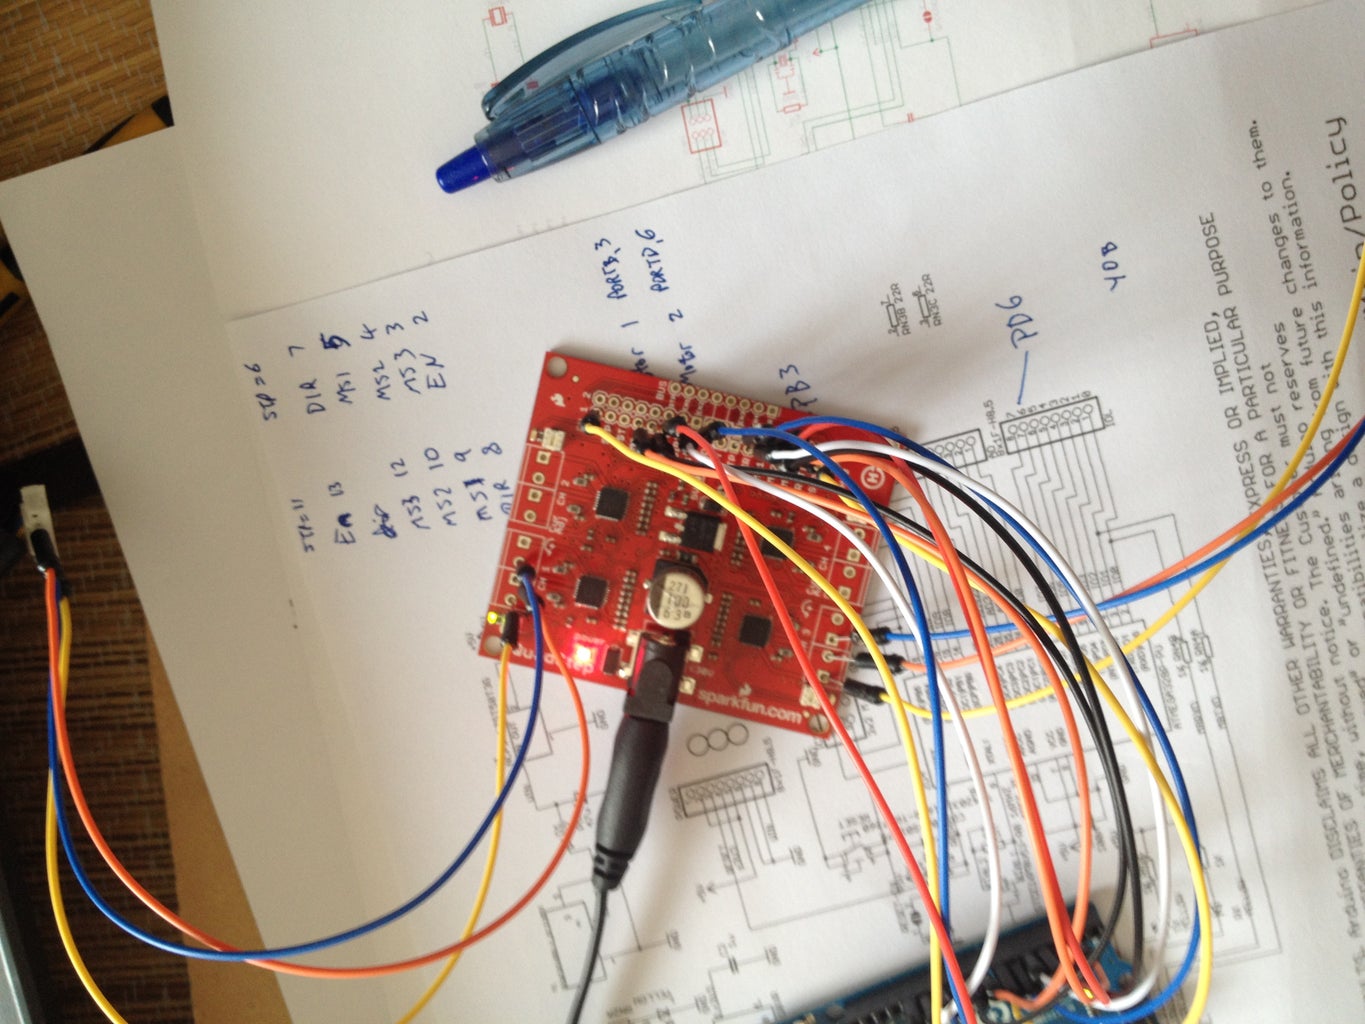
Step 1: Wiring


Wiring for the steppers might need some trial and error. Once it is running try swapping them about to get the smoothest sounding movement (ignoring the common wire for 5-pin steppers).
I used the following colour conventions:
- Yellow: Enable (EN)
- White: Direction (DIR)
- Blue: Stop (STP)
- Red:MSS1
- Black: MSS2
- Orange: MSS3
- 13 to Ch1 EN
- 12 to Ch1 DIR
- 11 to Ch1 STP
- 10 to Ch1 MSS1
- 9 to Ch1 MSS2
- 8 to Ch1 MSS3
- 7 to Ch3 EN
- 6 to Ch3 STP
- 5 to Ch3 DIR
- 4 to Ch3 MSS1
- 3 to Ch3 MSS2
- 2 to Ch3 MSS3
- Left to right: Black (I used Green to link them up), Blue, Yellow, Orange
- Left to right: Black, Orange, Blue, Yellow
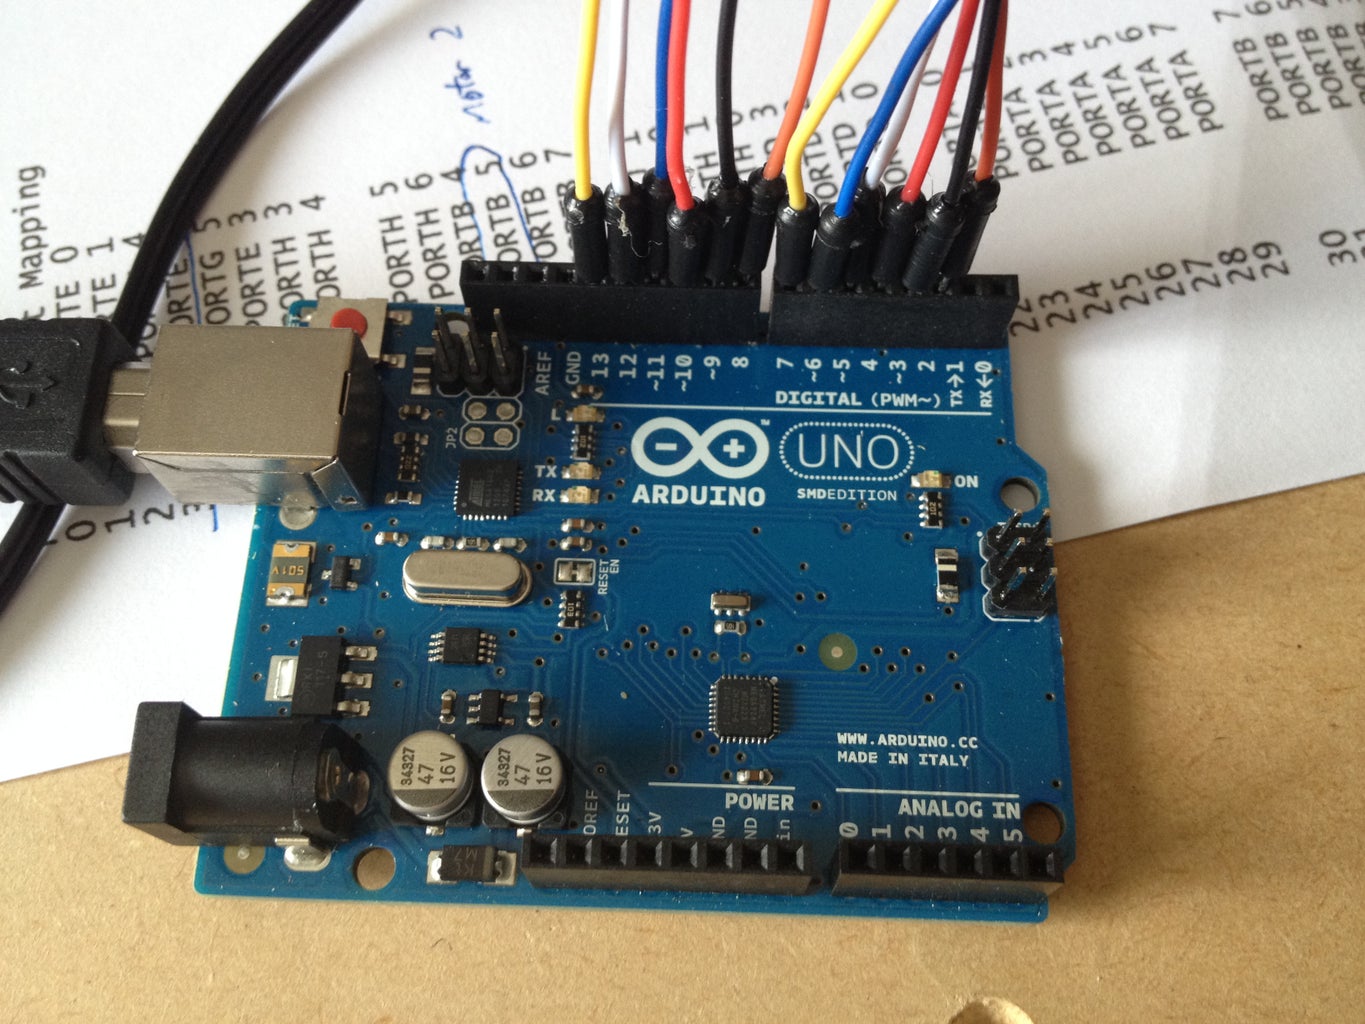
Step 2: Code!
The Quadstepper product page has code for running the device on a Arduino Mega but all I had was an Uno.
An Uno only has enough ports to run 2 motors and the port mapping is different.
The code provided for the Quadstepper is out of date with an invalid #include (says "WProgram.h", should be "Arduino.h").
I also had issues with the PORT commands which involved poring over chip schematics and code.
If you don't already have it download the Arduino Sketch Editor.
Load up the attached sketch and upload it to your Arduino Uno.
Attachments

Step 3: It's Alive!!
Next step is to teach it to draw and build the structure for the actual CNC unit
To be continued!!


