

Introduction: Arduino Wireless Communication Using NRF24L01


WHY NRF24L01?
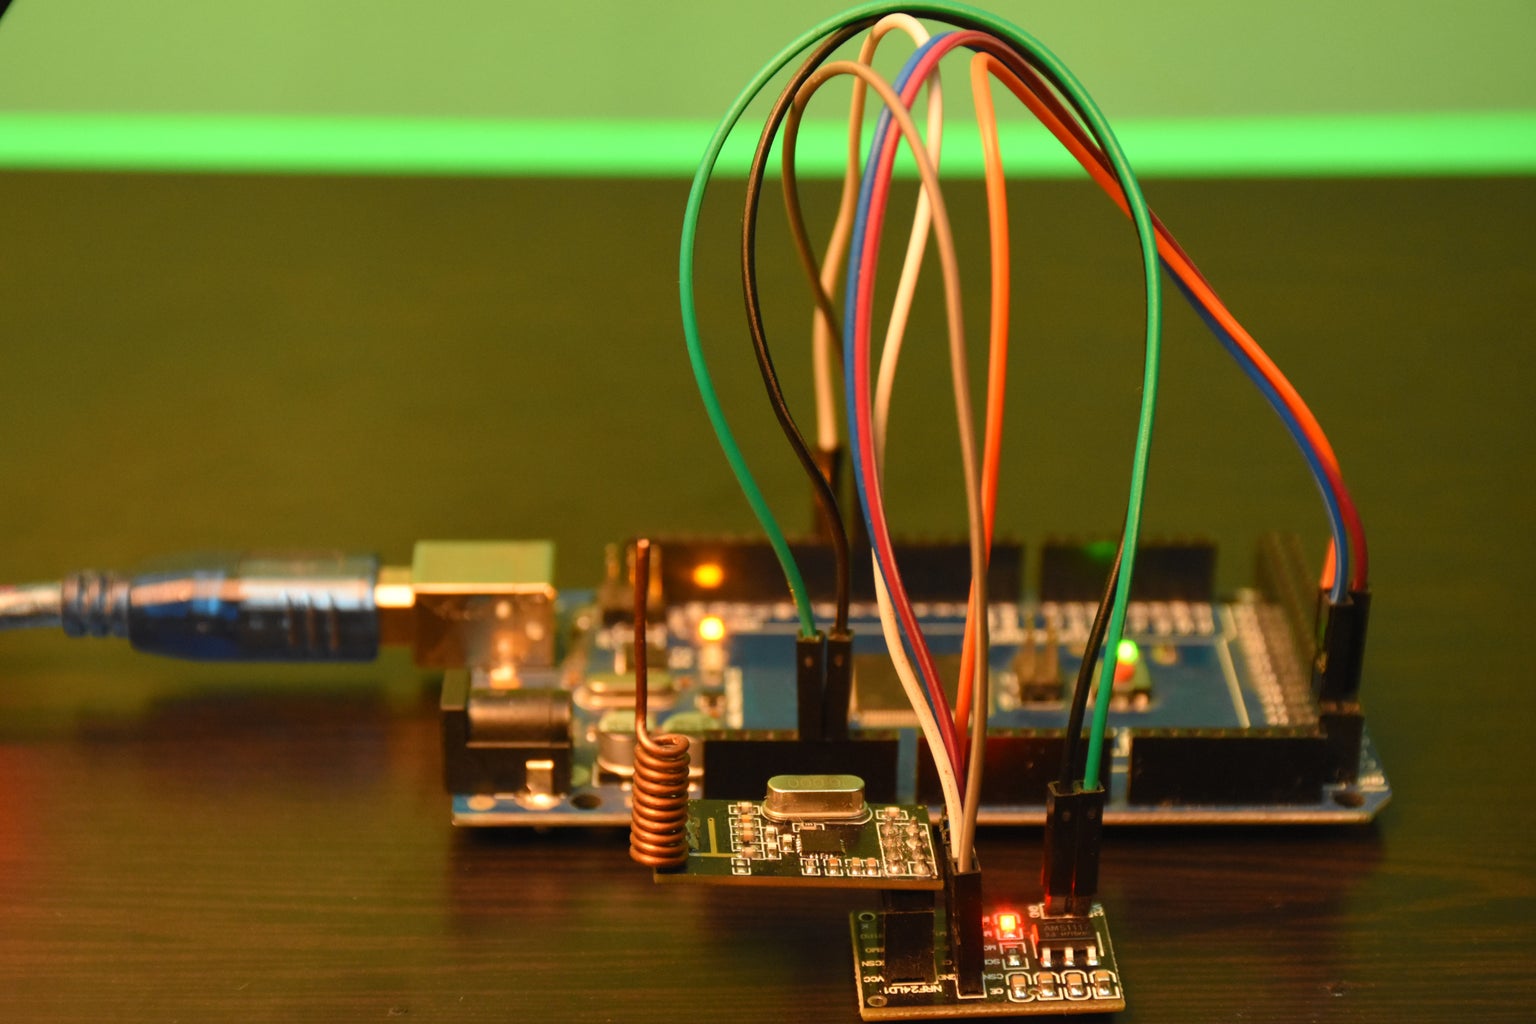
The NRF24L01 is a cheap Transceiver module that works with SPI communication and can be easily used to Transmit and Receive data from two Arduino’s. One thing to remember is it is Half-Duplex type that means it can either send or receive data at a time. The module can be powered by 3 volts but 5 volts coming from Arduino will kill it, but the good thing is the other pins can tolerate 5v logic.
Step 1: Materials Required


What is NRF24L01?
The NRF24L01 is a cheap Transceiver module that works with SPI communication and can be easily used to Transmit and Receive data from two Arduino’s. One thing to remember is it is a Half-Duplex type that means it can either send or receive data at a time. The module can be powered by 3 volts but 5 volts coming from Arduino will kill it, but the good thing is the other pins can tolerate 5v logic.
• NRF24L01 https://amzn.to/2Qm3L5V
• Socket Adapter for NRF module https://amzn.to/2rrSfHg
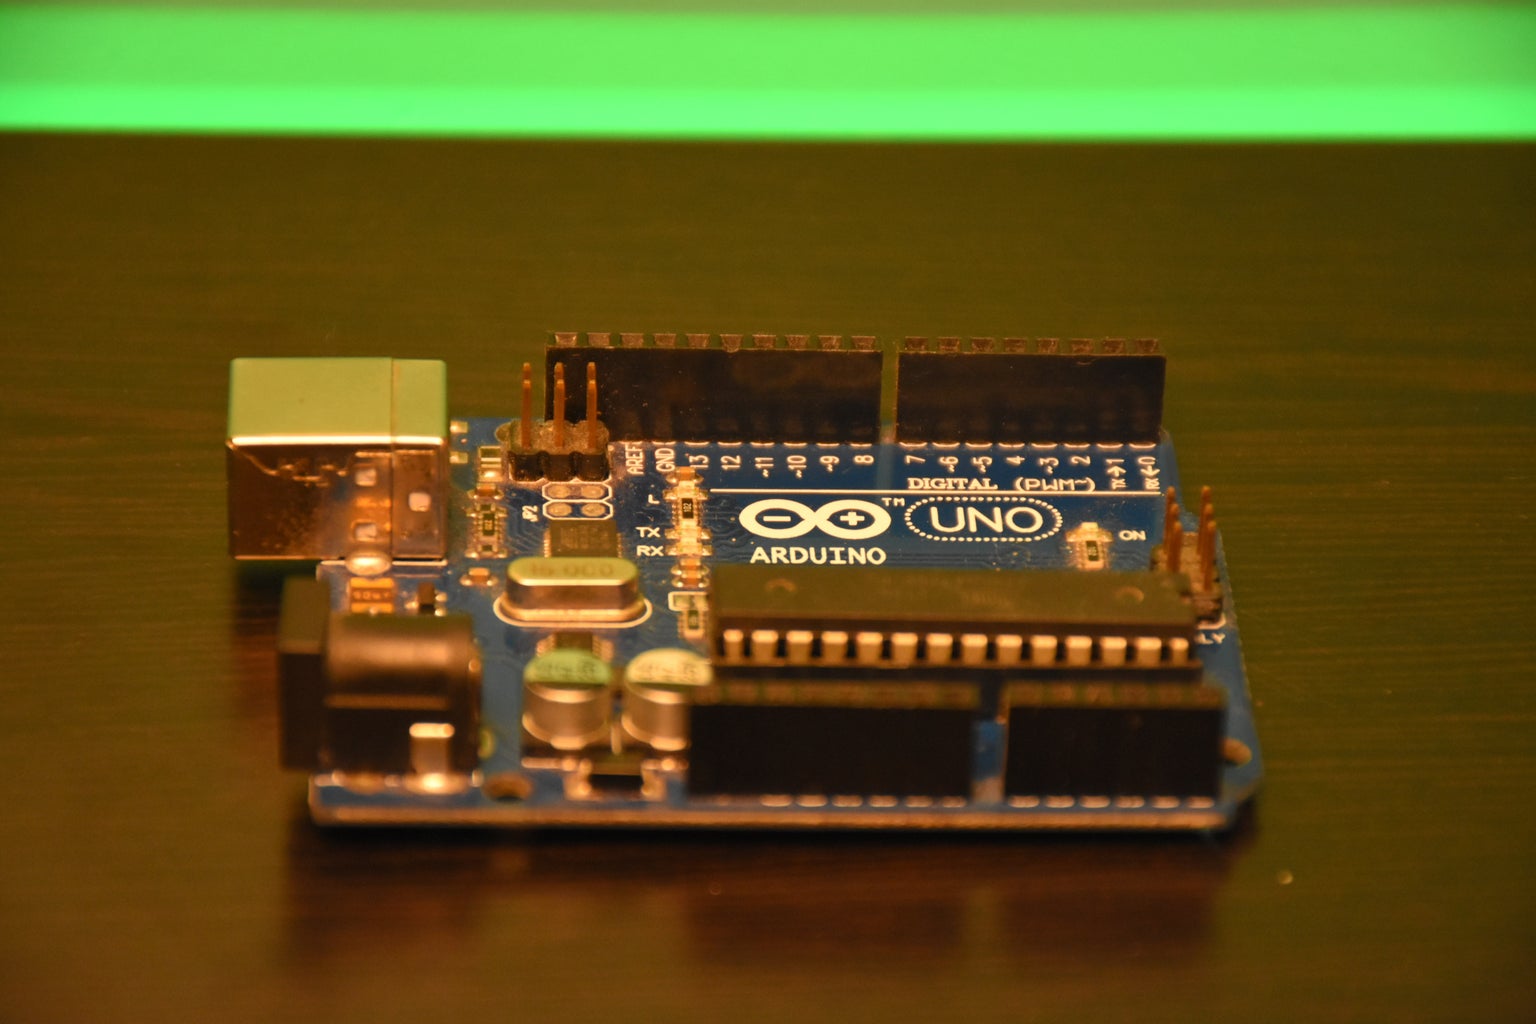
• Arduino UNO https://amzn.to/2QNghdY
• Jumper wires https://amzn.to/2QK7MAt
• Tactile Buttons https://amzn.to/2Ek0xtr
• LED light https://amzn.to/2QiKYbH
Step 2:


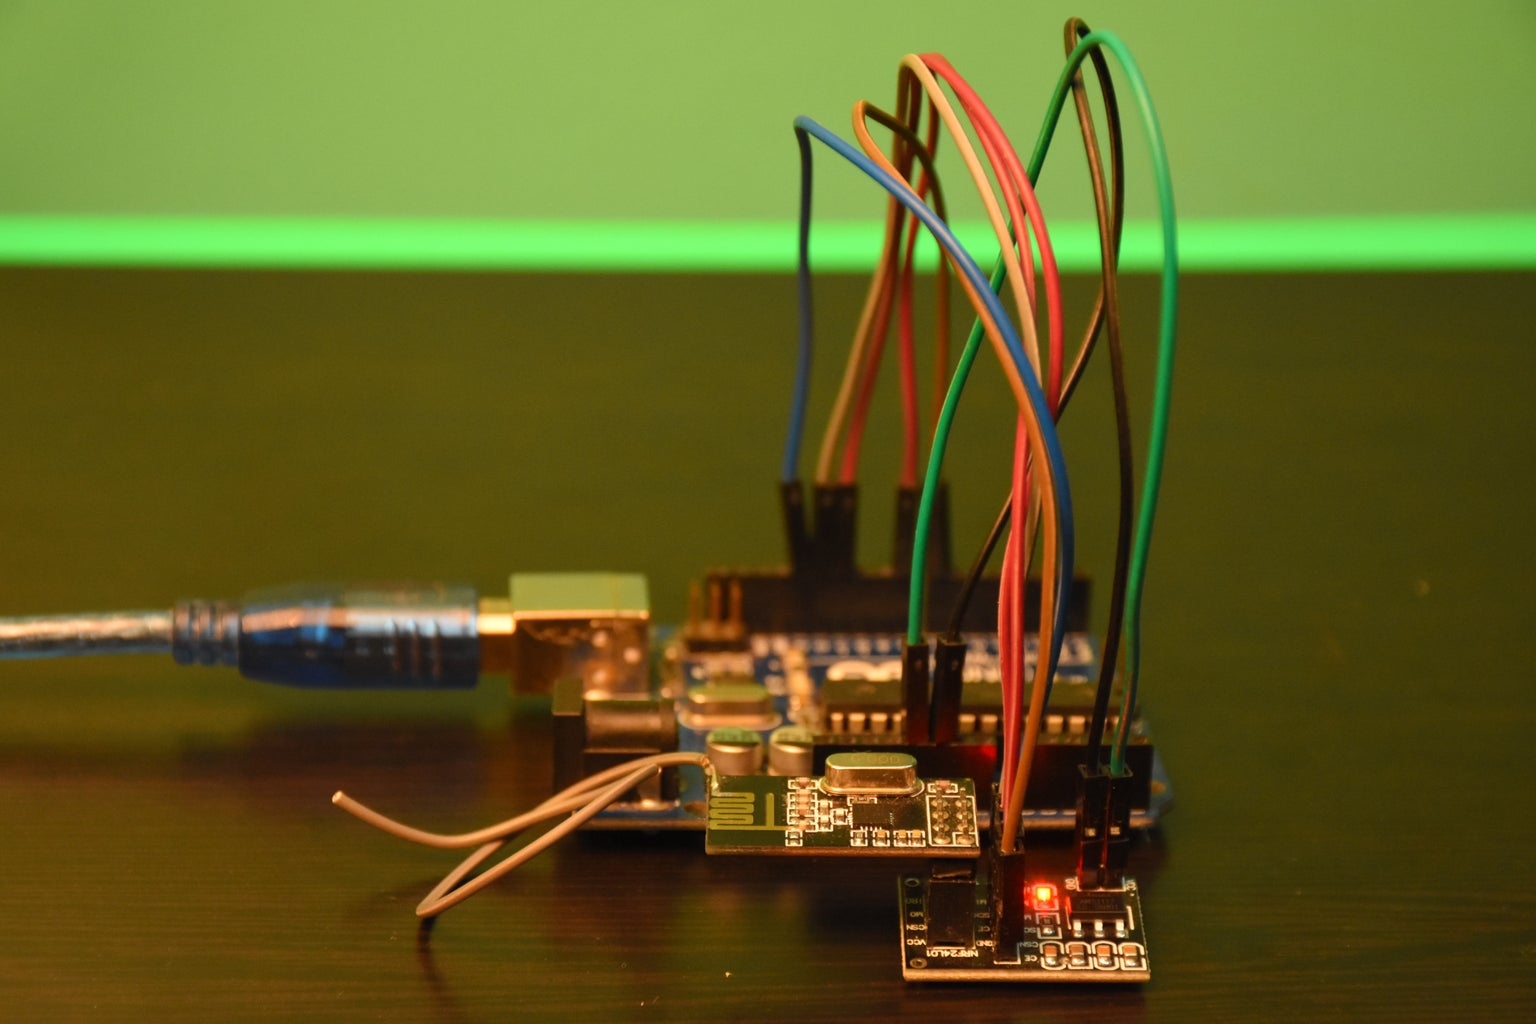
Connections-
If you are using Arduino Pro Mini, Nano, or UNO-
- · CE - 7
- · CSN - 8
- · MOSI - 11
- · MISO - 12
- · SCK - 13
If you are using Arduino Mega-
- · CE - 7
- · CSN - 8
- · MISO - 50
- · MOSI – 51
- · SCK – 52
Vcc- 5 volt of Arduino.
Gnd- to Gnd of Arduino.
IRO pin is not used as it is not required.
Step 3: Transmitting Text
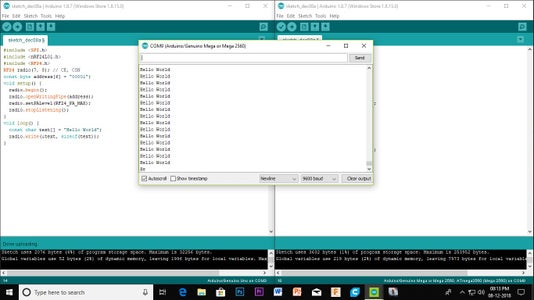

Open two Arduino ide and Select the boards from tools and the correct COM Ports in order to upload the code correctly
Before you upload the code you need to download and install the RF24 library from GitHub because it will make the program easy.
The link is- https://github.com/nRF24/RF24
Now we will create a simple communication where an Arduino sends a data to the Arduino
Upload the given code to the transmitter -
// Transmitter code
#include <SPI.h> // for SPI communication
#include <nRF24L01.h>
#include <RF24.h>
RF24 radio(7, 8); // CE, CSN
const byte address[6] = "00001"; // the address the the module
void setup() {
radio.begin();
radio.openWritingPipe(address);
radio.setPALevel(RF24_PA_MAX);
radio.stopListening();
}
void loop() {
const char text[] = "Hello World"; // you can customize this text to your wish
radio.write(&text, sizeof(text));
}
Upload the given code to reciever -
//Reciever Code
#include // for SPI communication #include
#include
RF24 radio(7, 8); // CE, CSN
const byte address[6] = "00001"; // the address the the module
void setup() {
Serial.begin(9600);
radio.begin();
radio.openReadingPipe(0, address);
radio.setPALevel(RF24_PA_MAX);
radio.startListening();
}
void loop() {
if (radio.available()) { // if nrf has any incoming data
char text[32] = "";
radio.read(&text, sizeof(text));
Serial.println(text);
delay(5);
Step 4: Transmitting Data Wireless

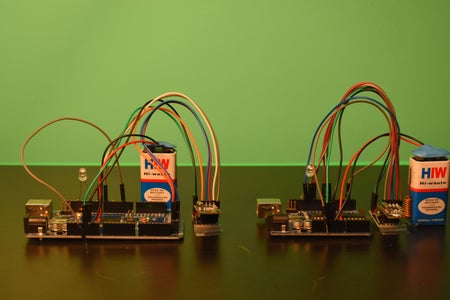
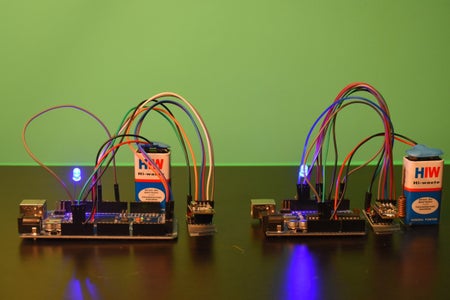
Coding-
Upload these code to both of the Arduino
// This code is uploaded to Arduino UNO
#include <spi.h>
#include <nrf24l01.h>
#include <rf24.h>
#define button 2
#define led 10
RF24 radio(7, 8); // CE, CSN
const byte addresses[][6] = {"00001", "00002"};
boolean buttonState = 0;
void setup() {
pinMode(button, INPUT);
pinMode(led, OUTPUT);
radio.begin();
radio.openWritingPipe(addresses[1]); // 00001
radio.openReadingPipe(1, addresses[0]); // 00002
radio.setPALevel(RF24_PA_MAX);
}
void loop() {
delay(5);
radio.stopListening();
int buttonValue = digitalRead(button);
radio.write(&buttonValue, sizeof(buttonValue));
delay(5);
radio.startListening();
while (!radio.available());
radio.read(&buttonState, sizeof(buttonState));
if (buttonState == HIGH) {
digitalWrite(led, HIGH);
}
else {
digitalWrite(led, LOW);
}
}
// This code is uploaded to Arduino Mega
#include
#include
#include
#define button 2
#define led 10
RF24 radio(7, 8); // CE, CSN
const byte addresses[][6] = {"00001", "00002"};
boolean buttonState = 0;
void setup() {
pinMode(button, INPUT);
pinMode(led, OUTPUT);
radio.begin();
radio.openWritingPipe(addresses[0]); // 00002
radio.openReadingPipe(1, addresses[1]); // 00001
radio.setPALevel(RF24_PA_MAX);
}
void loop() {
delay(5);
radio.startListening();
if ( radio.available()) {
while (radio.available()) {
int led_state= 0;
radio.read(&led_state, sizeof(led_state));
digitalWrite(led, led_state);
}
delay(5);
radio.stopListening();
buttonState = digitalRead(button);
radio.write(&buttonState, sizeof(buttonState));
}
}

Participated in the
Arduino Contest 2019


