

Introduction: Arduino and MAX6675 Thermocouple Setup Guide


Today I'll show you how to get MAX6675 thermocouple module with Arduino up and running.
Let's get started.
Here is the complete video tutorial for the same--
Step 1: Things Needed


The list is short and simple, you can find the components at www.UTsource.net
1.) Arduino Nano
2.)A USB cable for Arduino
3.) MAX6675 Module
4.) K-Type Thermocouple
5.) Jumper Cables to connect Arduino and MAX6675
Let's Get started Building!
Step 2: The Setup


It is for this process I'd highly recommend watching the video tutorial in the intro, it is quite simple nonetheless.
First, make sure to connect the thermocouple with the MAX6675 module in the right polarity.
Second, connect the jumper wires from the Arduino to the module, how the connection should be done is as follows--
GND -- Pin 2
Vcc -- Pin 3
SCK -- Pin 4
CS -- Pin 5
SO -- Pin 6
Thirdly, you need to get this library from Adafruit to communicate with the module easily.
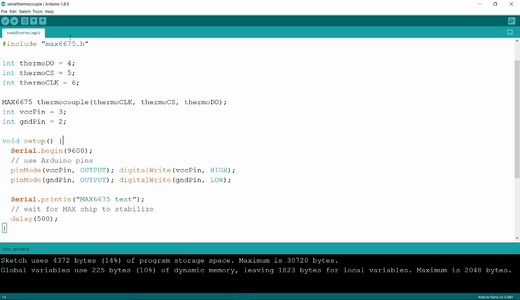
Step 3: Testing

To test, simply go to examples, select the library that you just installed for MAX6675(Described in the previous step) and select the example thermocoupleserial, upload it and open the serial monitor, and voila! If you had done everything right you should see temperature readouts in Celsius as well as Farhenite.
Now, what will you make with it is up to your imagination.
Thanks for reading.


