

Introduction: Arduino Based Bi-color LED Matrix Snake Game


We demonstrated how an Arduino based Bi-color LED Matrix Tetris Game can be built in our last instructable. We were quite surprise it was featured to the Instructables homepage and have garnered quite a handful of favourites over a short period. You may check it out if you are interested at https://www.instructables.com/id/Arduino-based-Bi-color-LED-Matrix-Tetris-Game/.
When we were young, there were not many electronic games around and one of the games we enjoy playing on those monochrome monitor with green phosphor screen is the Snake game. For this instructable, we will be building the classic SNAKE game using Bi-color LED Matrices powered by Arduino.
Before we decide to come up with this instructable, we browse through the existing instructables to check if there are any similar projects. Indeed we found a couple of instructables implementing the game, some using the Rainbowduino driving an RGB LED Matrix from Seeedstudio.
We decided to go ahead with our instructable to build the Snake game using our jolliFactory Bi-color LED Matrix Driver module DIY kit. This LED matrix Driver module is designed to be modular and chain-able so that you may daisy-chain the modules together to the number of modules you need to suit your project. We actually re-used these modules here by dis-assembling them from one of our old Scrolling Text Display project. You may visit https://www.instructables.com/id/Arduino-SPI-7-Bi-color-LED-Matrix-Scrolling-Text-D/ if you are keen on building one of these displays.
If you have built the Bi-color LED Matrix Tetris game based on our last instructable, you may proceed directly to the Programming the Arduino Board step to download the Arduino sketch and enjoy the Snake game. For this game, we will only be using 2 push buttons (Left and Right) for game navigation as we think it will be more challenging than using 4 push buttons. We are able to produce dots with red, green or orange on the display by using the Bi-color LED Matrix which should be sufficient for this simple game. We will have orange color for the snake head, red for the snake body and green for the food/token.
To build this project, basic electronics knowledge with electronics component soldering skill and some knowledge on using the Arduino are required.
You may view the following YouTube video to see what we are building.
We will be repeating some of the steps from our Tetris game instructable here to make this instructable as complete by itself without reference to another instructable.
Step 1: Building the Arduino Bi-color LED Matrix Snake Game


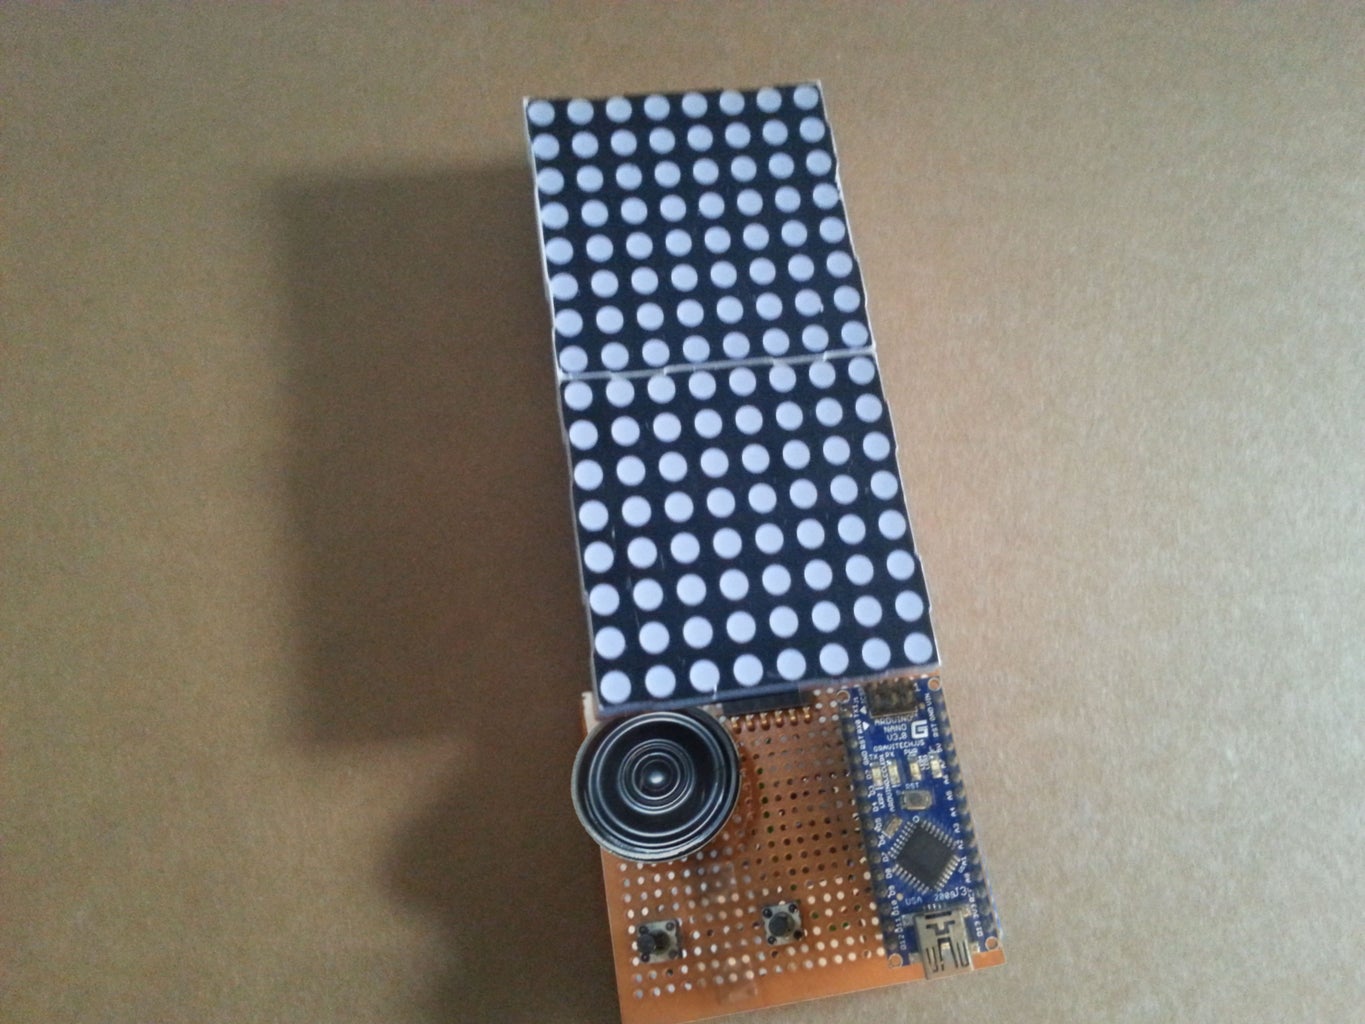
We will be building a two LED Matrix tall Snake game here driven by an Arduino Nano. We will need two of the Bi-color (Red/Green) LED Matrix Driver Module Kits from jolliFactory. Each of these modules uses two MAX7219 Display Driver ICs to drive a Bi-color LED Matrix. These ICs are excellent because they take a lot of work off the micro-controller and simplify the wiring and logic design.
You can find this Bi-color LED Matrix Driver Module kit here.
This kit comes with all through-hole components and someone with basic soldering skill should be able to assemble it without much difficulty.
See the following YouTube video on how to assemble the LED Matrix Driver Module Kit:
Step 2: Wiring


After the two LED Matrix Driver Module kits are completed, they are connected together with the Arduino Nano micro-controller as shown in the wiring diagram (LED Matrices not installed for better view).
For the game audio output, we used one 8 ohms 0.5 watt speaker driven
directly by one of the Arduino’s digital pins through a 100 ohms resistor. Basic sound tone is used for this project and the low sound volume should be sufficient for a hand-held game with this simple setup.
Two panel mount momentary push button switches are required for the project for controlling the movement of the snake.
Note the use of 10Kohms pull-down resistors on the DATA IN, CLK and LOAD input pins. When power is first applied to the micro-controller or when they are reset, their I/O lines float. The MAX7219 can see this as valid data and display garbage until the micro-controller gains control. The pull-down resistors prevent these problems. To reduce the part count for this project, you may try without the 10Kohms pull-down resistors for the DATA IN and CLK input lines.
Except for the two Bi-color LED Matrix Driver modules and the two push button switches, we hook up the entire circuit on a small piece of perf-board around 60mm x 60mm in size.
Note that there are two PCB mount push buttons on the perf-board. We initially used them for the game control but after building a simple enclosure for the game, we decided to use two panel mount push buttons instead for better game control. We parallel wired our panel mount push button with the PCB mount push buttons so game control can now be performed using either the PCB or panel mount push buttons.
Step 3: Programming the Arduino Board
The Arduino board needs to be loaded with the Arduino sketch to run the game.
We used Arduino IDE V1.03 for our project. Download the Arduino sketch below for this project and upload it into your Arduino board.
Download jollifactory_Snake_V1_0.ino
We adapted the snake game sketch found at http://forum.arduino.cc/index.php/topic,8280.0.ht... to work with our jolliFactory Bi-color LED Matrix Driver Module for this project.
The sketch uses the SPI and Bounce2 libraries. The SPI library comes with the Arduino IDE V1.03 installation and Bounce2 library can be found at http://playground.arduino.cc/Code/Bounce
We have coded the Arduino sketch so that if you would like to build a single bi-color LED Matrix Snake game, you simply need to change the variable bi_maxInUse from 2 to 1, upload the sketch and enjoy the game.
The Snake game sketch we have here is very basic without any game levels and scores. You may amend and enhance the sketch to your liking.
Note: Having some problems with your Bi-color LED Matrix Display modules? Download the following test program to test each of your modules separately. The display should light up RED, GREEN and ORANGE in sequence row by row to fill up the entire display repeatedly.
Step 4: Enclosure and Assembly


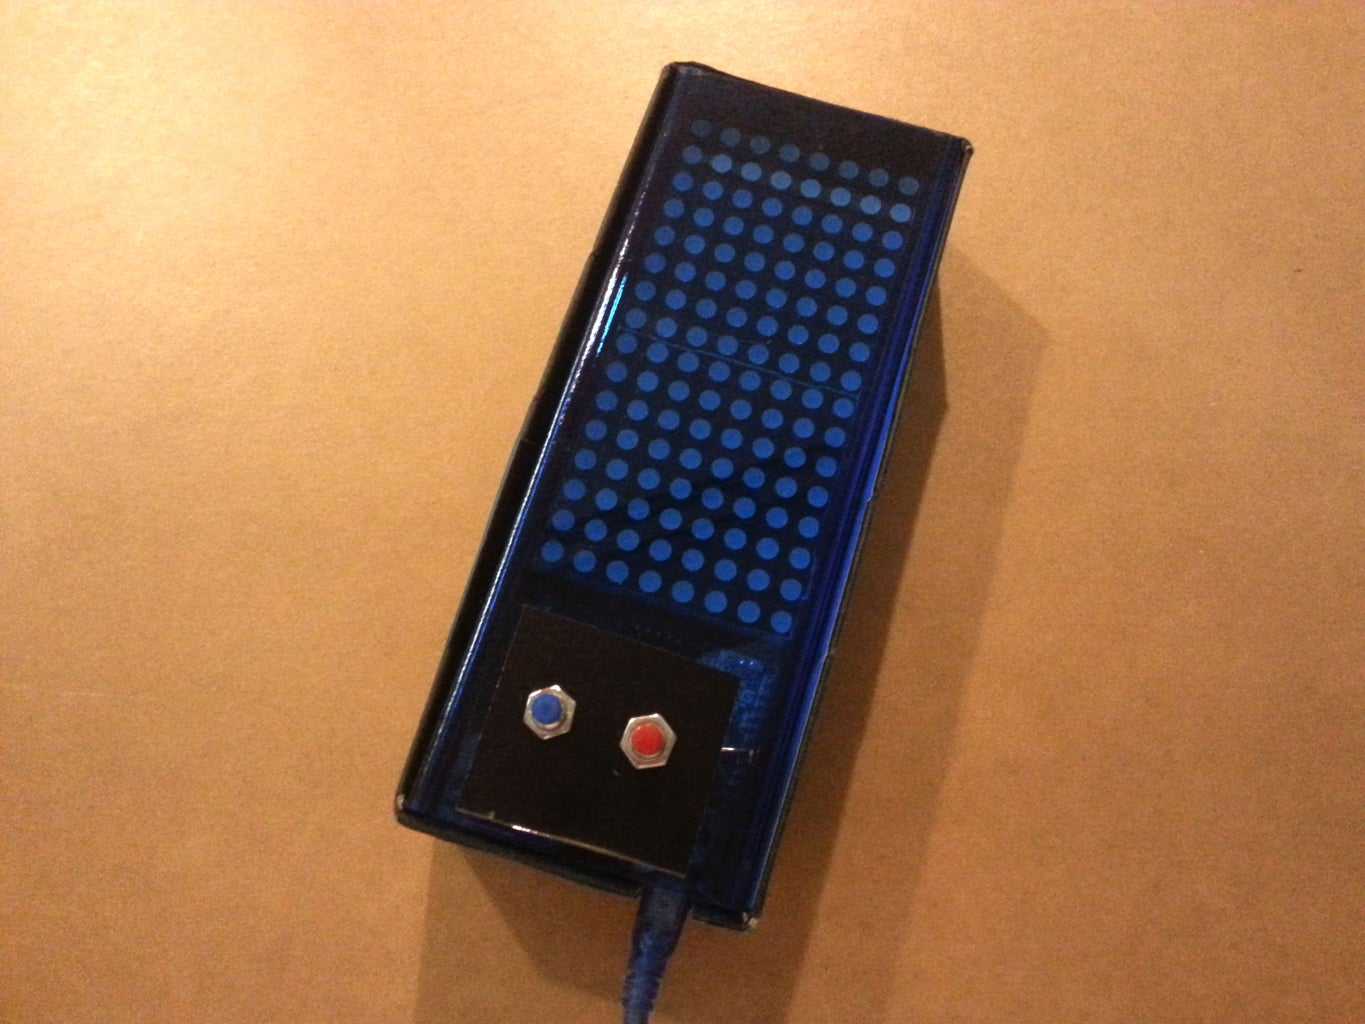

We will re-use the hand-held enclosure we built for our last Tetris game instructable here as basically there is no change to the project module form factor. As this project is also build just for the FUN factor with no intention of using it for long, we do not want to put in too much effort to build a proper enclosure. However, the enclosure built should enable the player to hand-held it to play quite comfortably.
What we have for the enclosure is a cardboard box backing with a blue tinted acrylic protective front with the game control push button switches mounted. We did not even secure the modules to the enclosure as they fit quite snuggly in the enclosure.
We will not delve into the detail on how we build our game enclosure here. The pictures show the various stages of assembling the sub-modules together.
Step 5: Enjoy the Snake Game
Playing the Snake game is easy.
- Control the snake movement by activating either the Left or Right button.
- Hunt for food/token and grow longer.
- Do not let the snake bite itself.


