

Introduction: Arduino Bit Mappig on LCD With LOGO
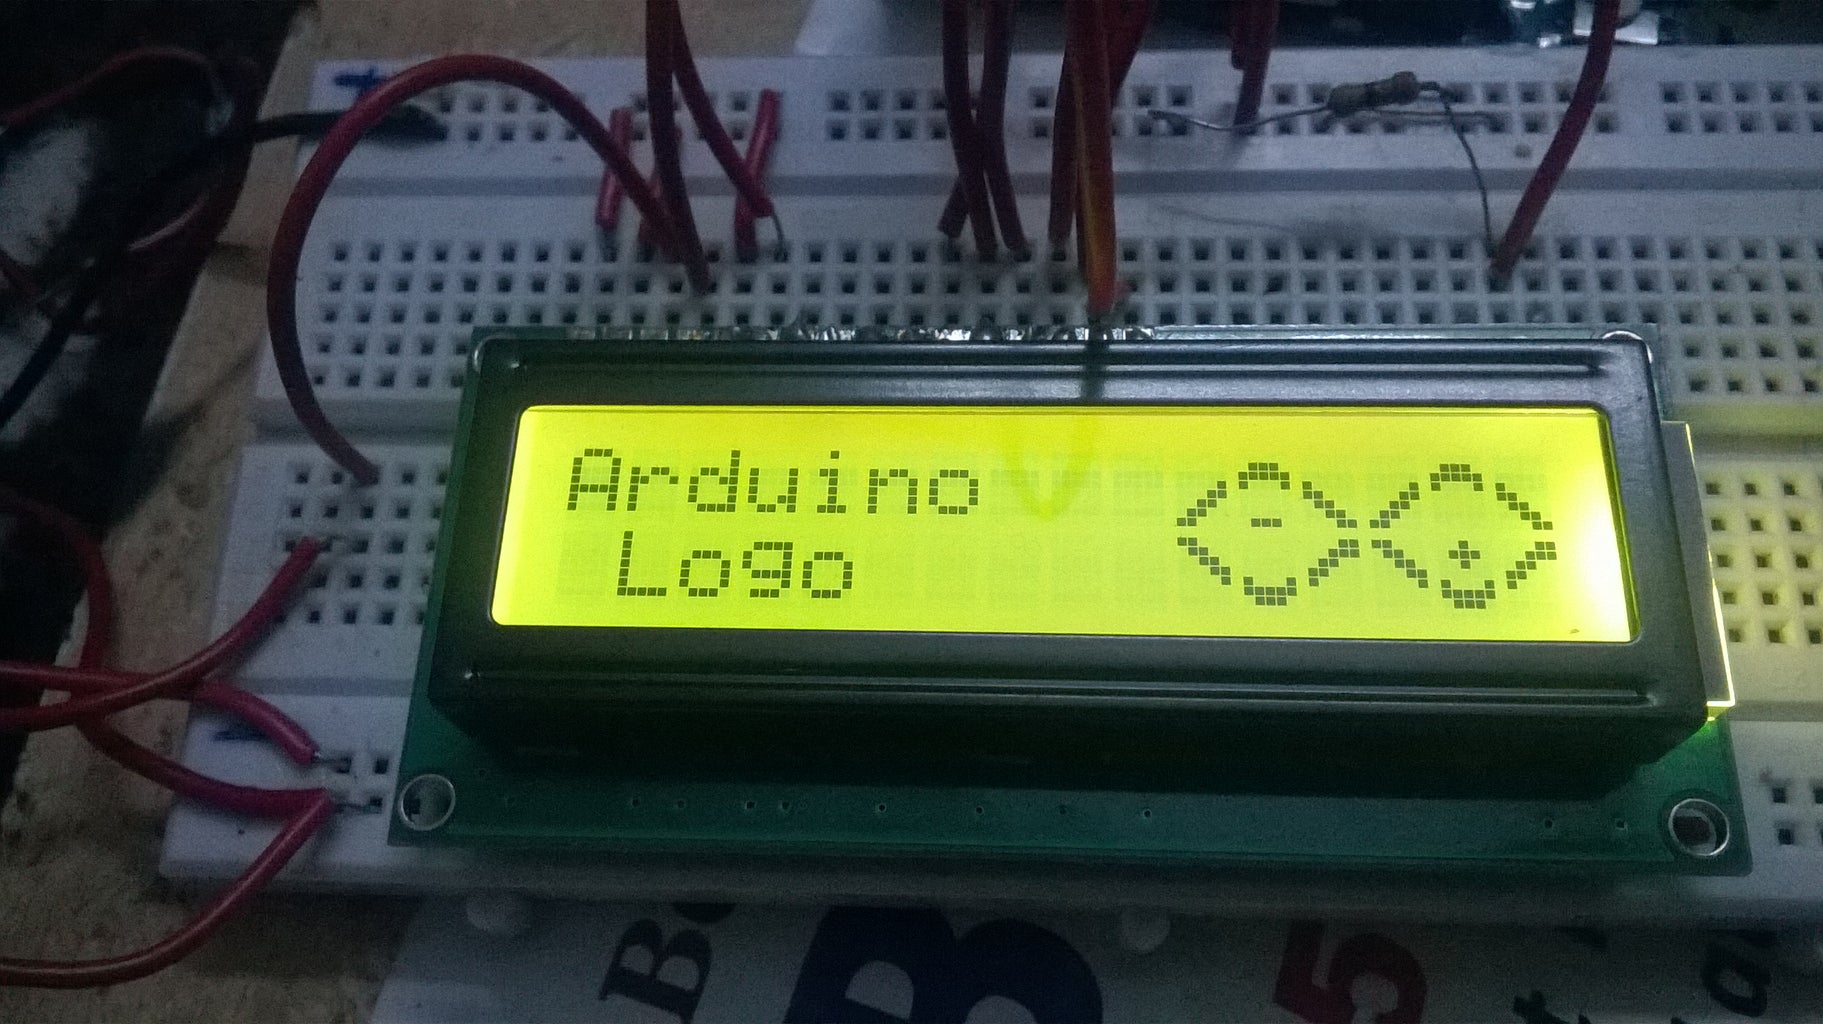
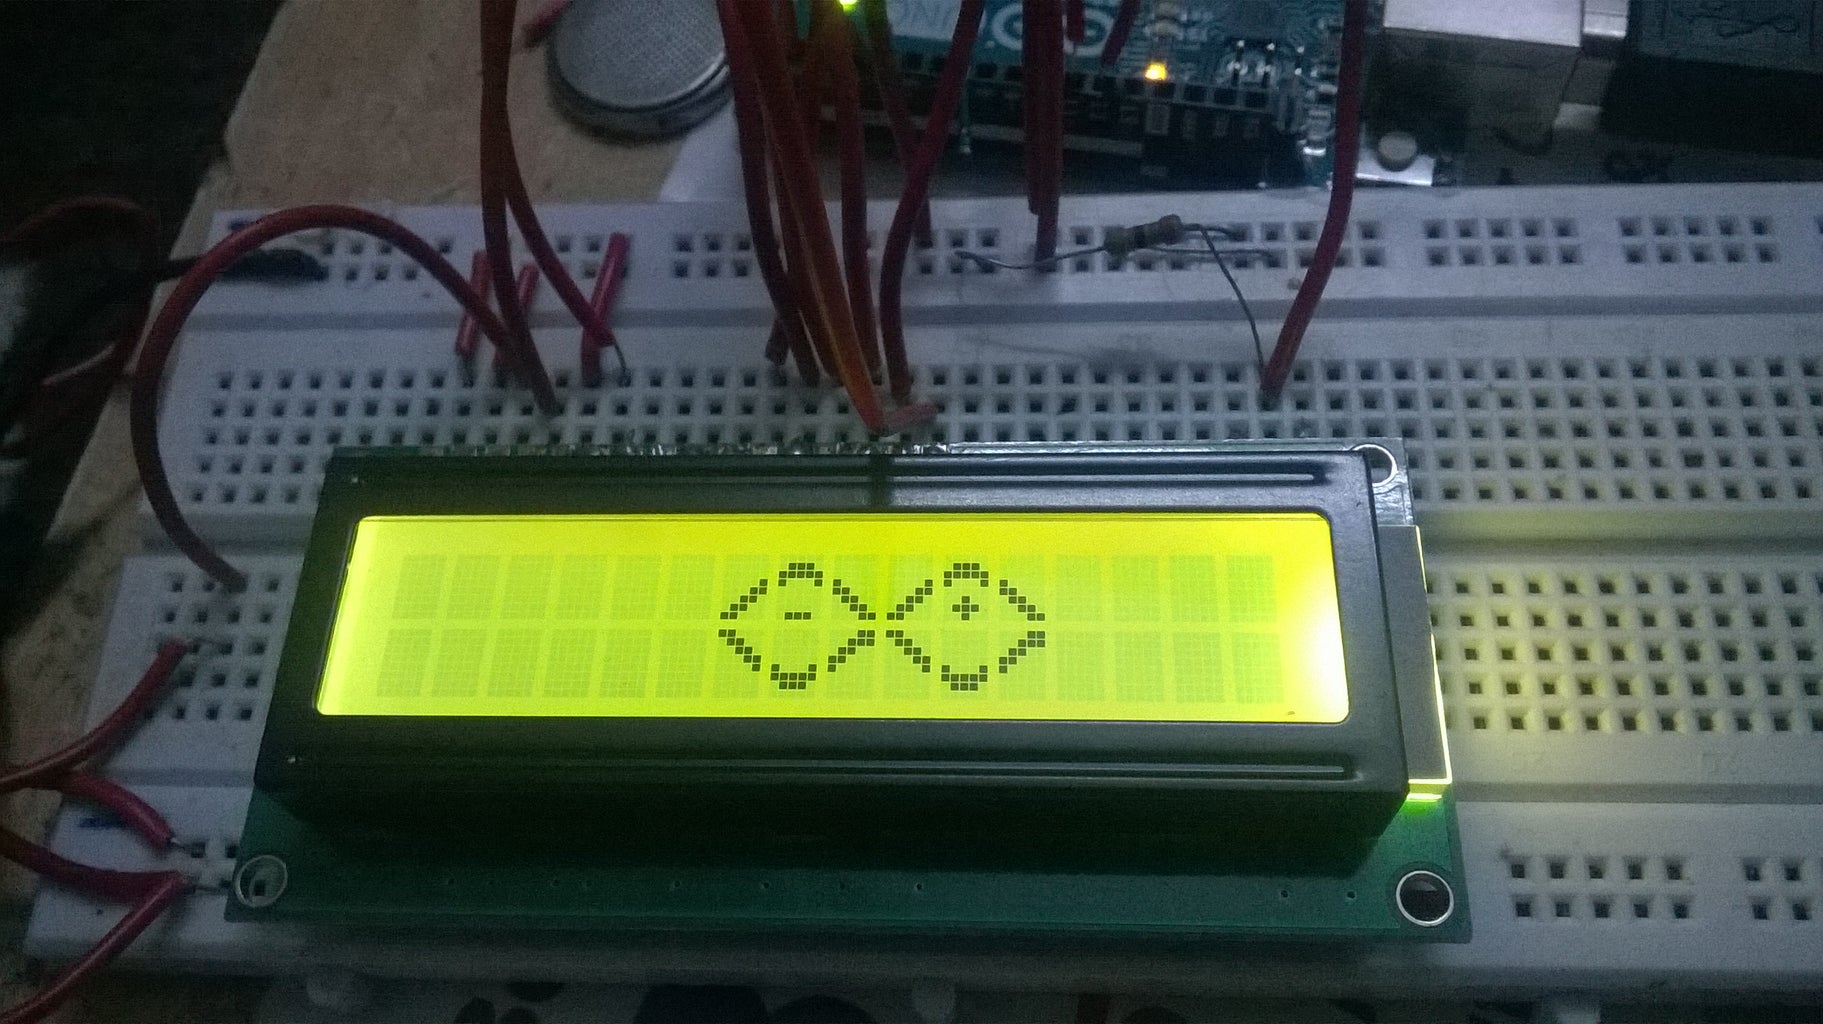


This Arduino project is used to Display Arduino LOGO on LCD using createChar function of LiquidCrystal Library.
In this the LOGO is a CUSTOM CHARACTER designed by giving a BINARY value to each PIXEL on the 16*2 LCD screen.
16*2 LCD has 2 Rows and 16 COLUMNS.
in which Each Block Consist of 5*8 Matrix of PIXELS which can be assigned values to form Different Custom Character or Shape.
CLICK HERE for the project Code
Attachments

Step 1: Making Connections

Here the Image shows how to Connect your Arduino with LCD, Connections are fairly simple, if you have any Questions about the Connection or any hardware trouble, you can comment below... i will try to answer all of your Questions.
How programming is Done , how the shape is made....and How Different shape can be made ...everything is Explained in the code, with a proper Example, check out the code which will answer almost all of your questions,
if still in any trouble... i am here
here is the Link to the CODE.


