

Introduction: Arduino Playing Game Don't Step on the White Block"


Hi everyone!
In this tutorial I'll show you my quick-made robot which can play game on phone. I was doing this for school just for demonstration, this project still needs upgrades in program and hardware, it has some glitches, on example, the program do not recognize when two boxes come in a row, I actually don't know why does this works because it shouldn't ,but it works and it is OK :)
The theory is, you have 2 servo motors, 4 photo resistors which detects black and white fields, depending on which photo resistor activates in that side servo turns.
It's not something special but you'll get a point. So, lets start.
Step 1: Materials


You'll need:
- hot glue
- Arduino
- Servo motors
- breadboard (it is easier when you're using it)
- CD case and CD
- Photoresistors
- resistors 10k ( I used 200 ohm because I didn't have 10k, program for arduino is not the same if you use 200 or 10k resistors, be aware of that)
-BBQ sticks (like shown in picture)
- old credit car or something like it
- some smartphone with this game which you can download here (Android) https://play.google.com/store/apps/details?id=com....
Step 2: Setting Up Hardware

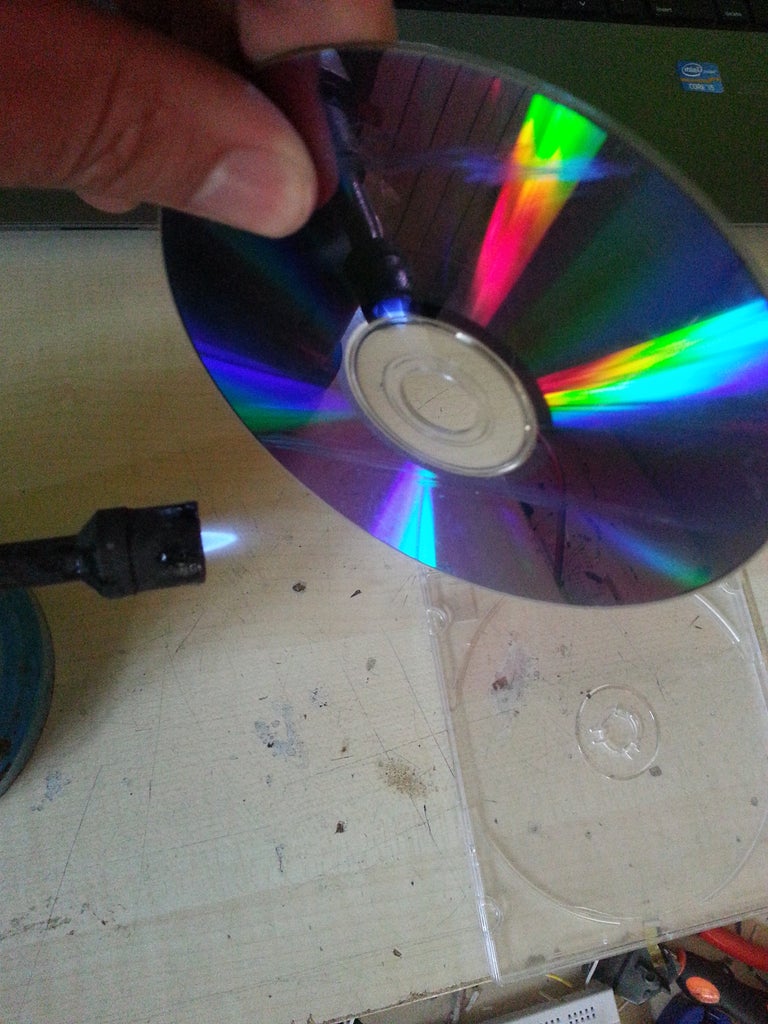


Heat up CD so you can bent it like it is shown in pictures, glue everything like on the last picture, CD is used as stand for servos, and it is cool thing that CD has hole in which you can put all wires, it's neater. :)
After you did all that, make stand for photo resistors so that every resistor is very close to screen and it covers only one field, but they have to be in the same row. After that, connect resistors and you're ready for connecting to Arduino :)
Step 3: Make and Adjust Capacitive Pens


In the end it should look like on second picture ( all further details are in picture).
Step 4: Final Adjusting


I used another program which printed up data which is sent to the servo motor, so later would know what I had to send to reach desired position.
Program is attached below. In program potentiometer is connected to analog pin 0.
Over serial monitor you can monitor serial output (logically), have on mind one thing , if you use resistor of lower resistance, you'll have smaller changes on serial output from photo resistors (Ohm's law).
Attachments

Step 5: Connecting Everything, Finally


As I said, this program actually is not good, but it works :)
Program is attached below :)
And here this little guy in action:
Thank you for watching, feel free to vote!
Attachments

Participated in the
Epilog Challenge VI

Participated in the
Glue Contest

Participated in the
Battery Powered Contest


