

Introduction: Arduino Robot in 5 Mins
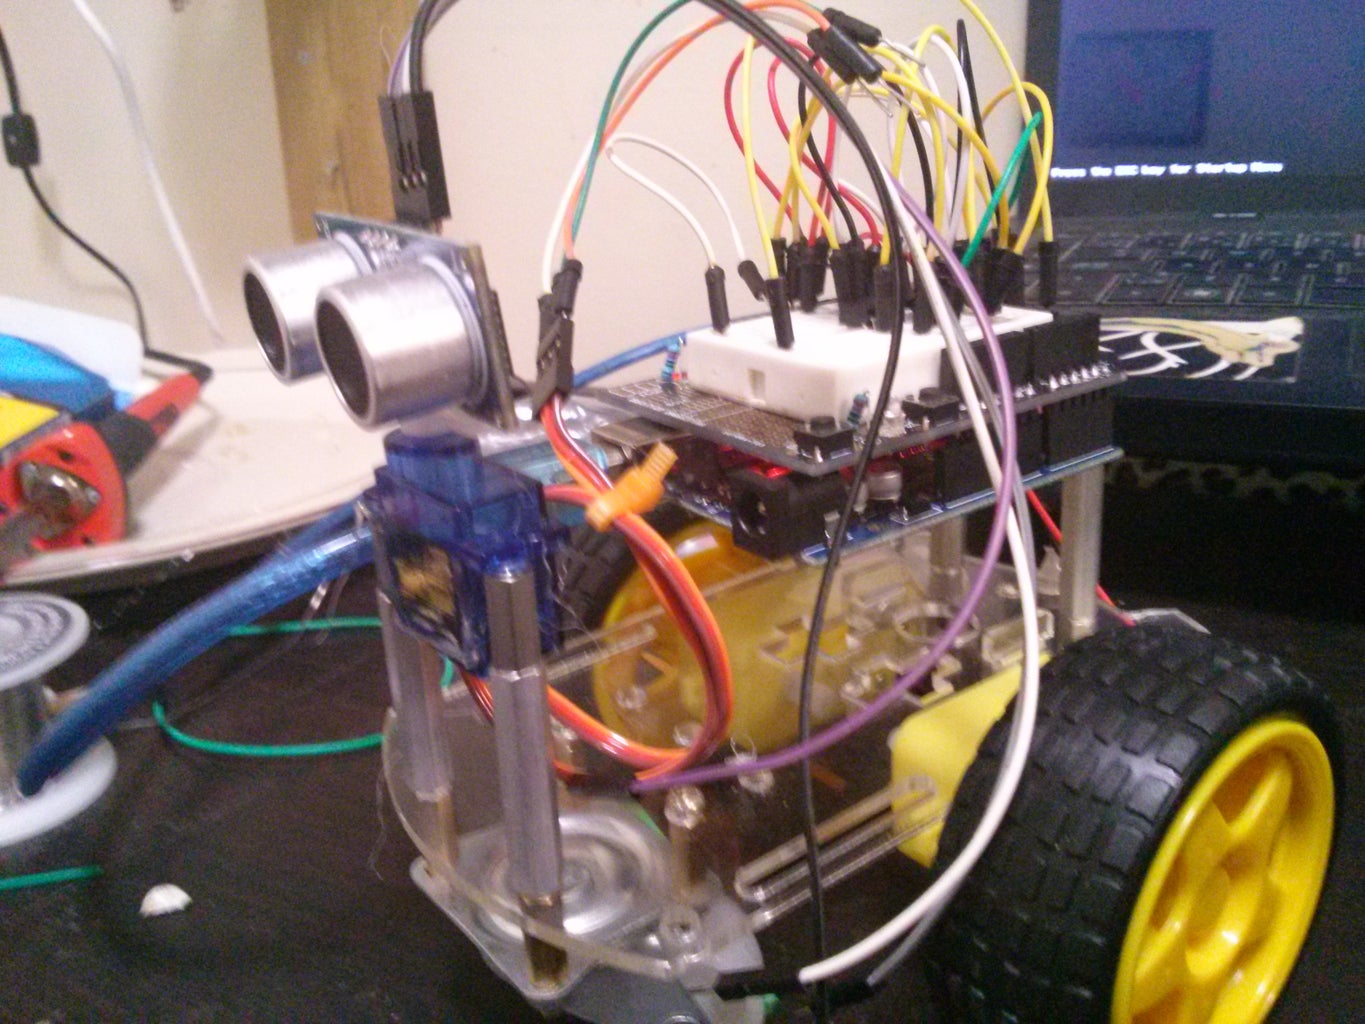


Easy instructable to build a sweet avoidance robot. Currently mine is in pieces I have decided to make a life sized version. I will post that soon.
Step 1: Gather All the Materials


Ok you are gonna need
-Jumper wires
- an arduino
- batteries and pack. 4aa 1 9v
- ping sensor
- servo
- l23d motor driver
- 2 dc motors
- a platform or robot frame
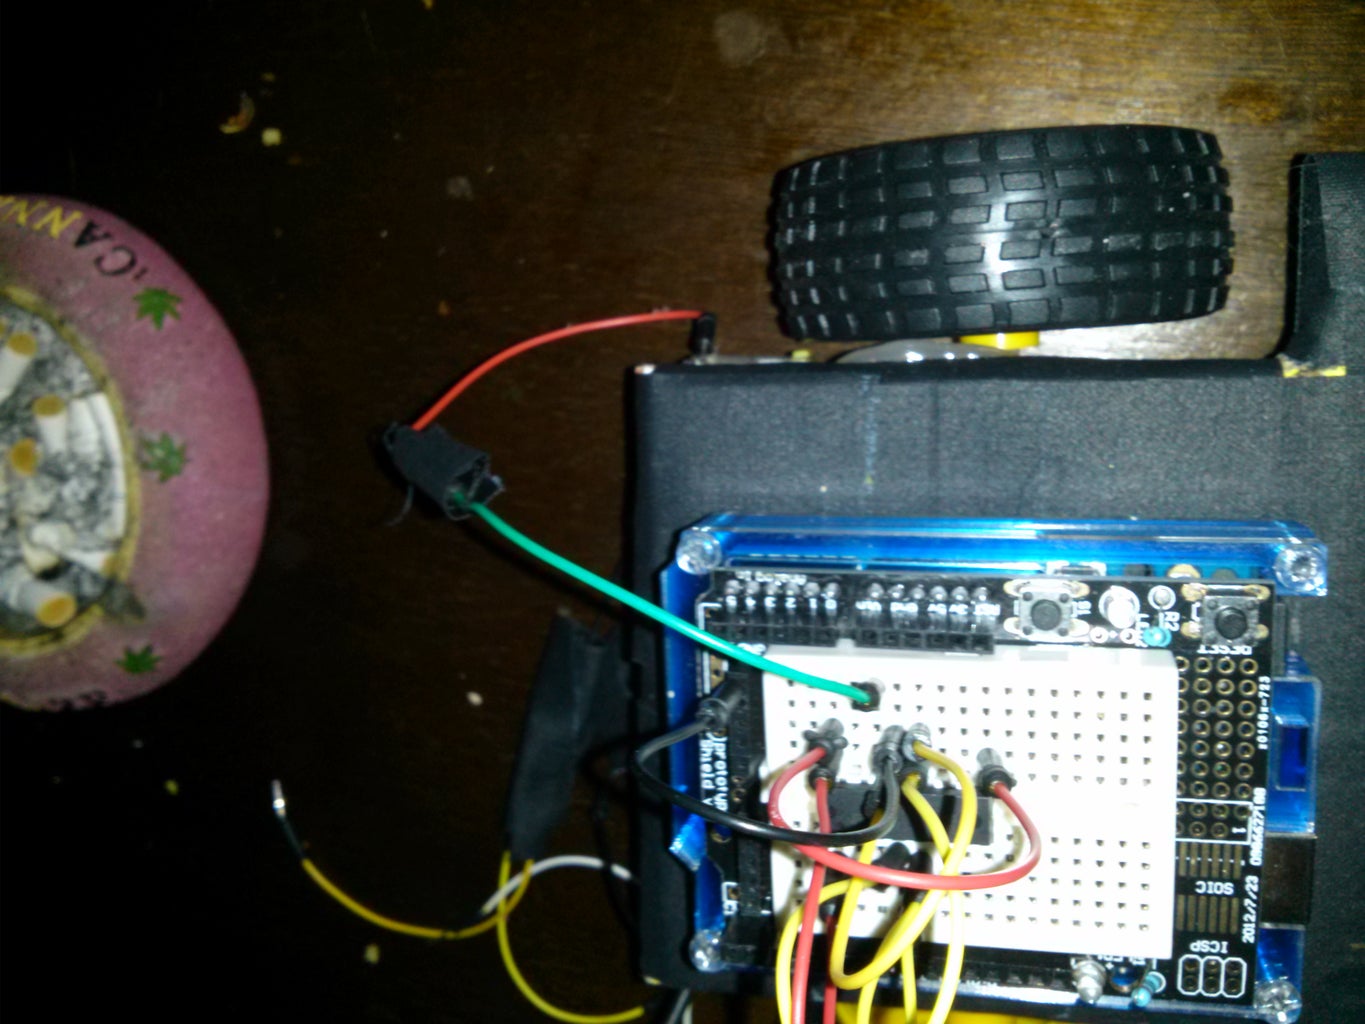
Step 2: Connection Time


Connect arduino shield to.arduino
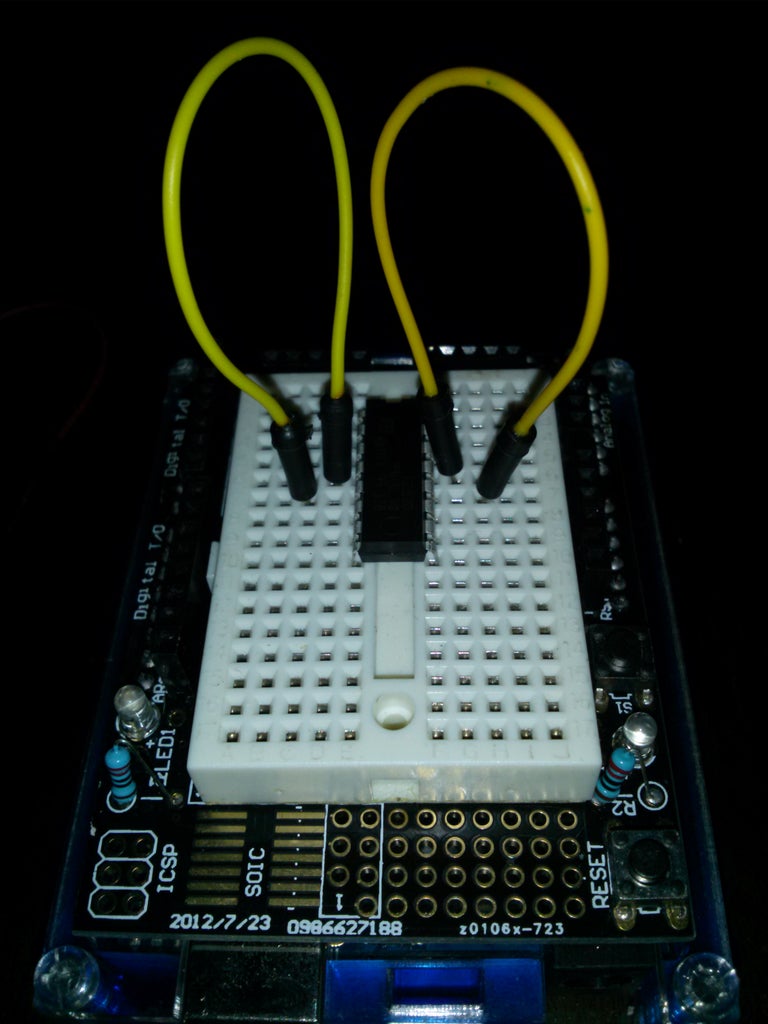
Now we are wiring the driver
this first step we are connecting all of the 5v together.
Pin 1 to Pin 16 . Pin 1 to arduino 5v rail
Pin 16 to Pin 9
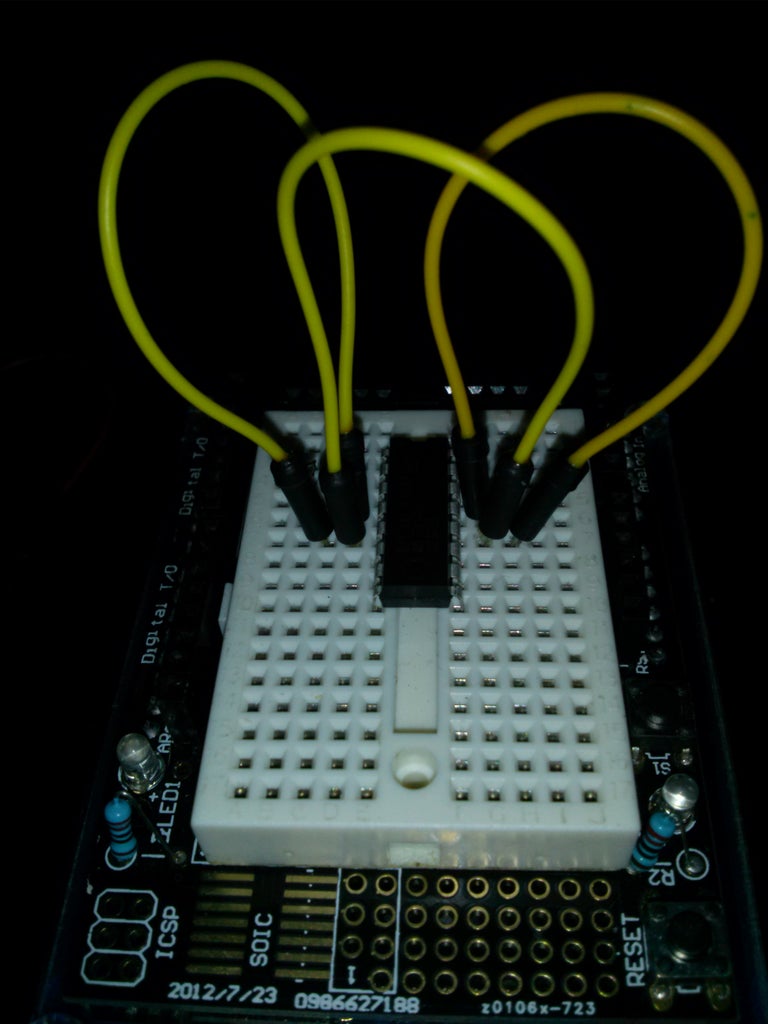
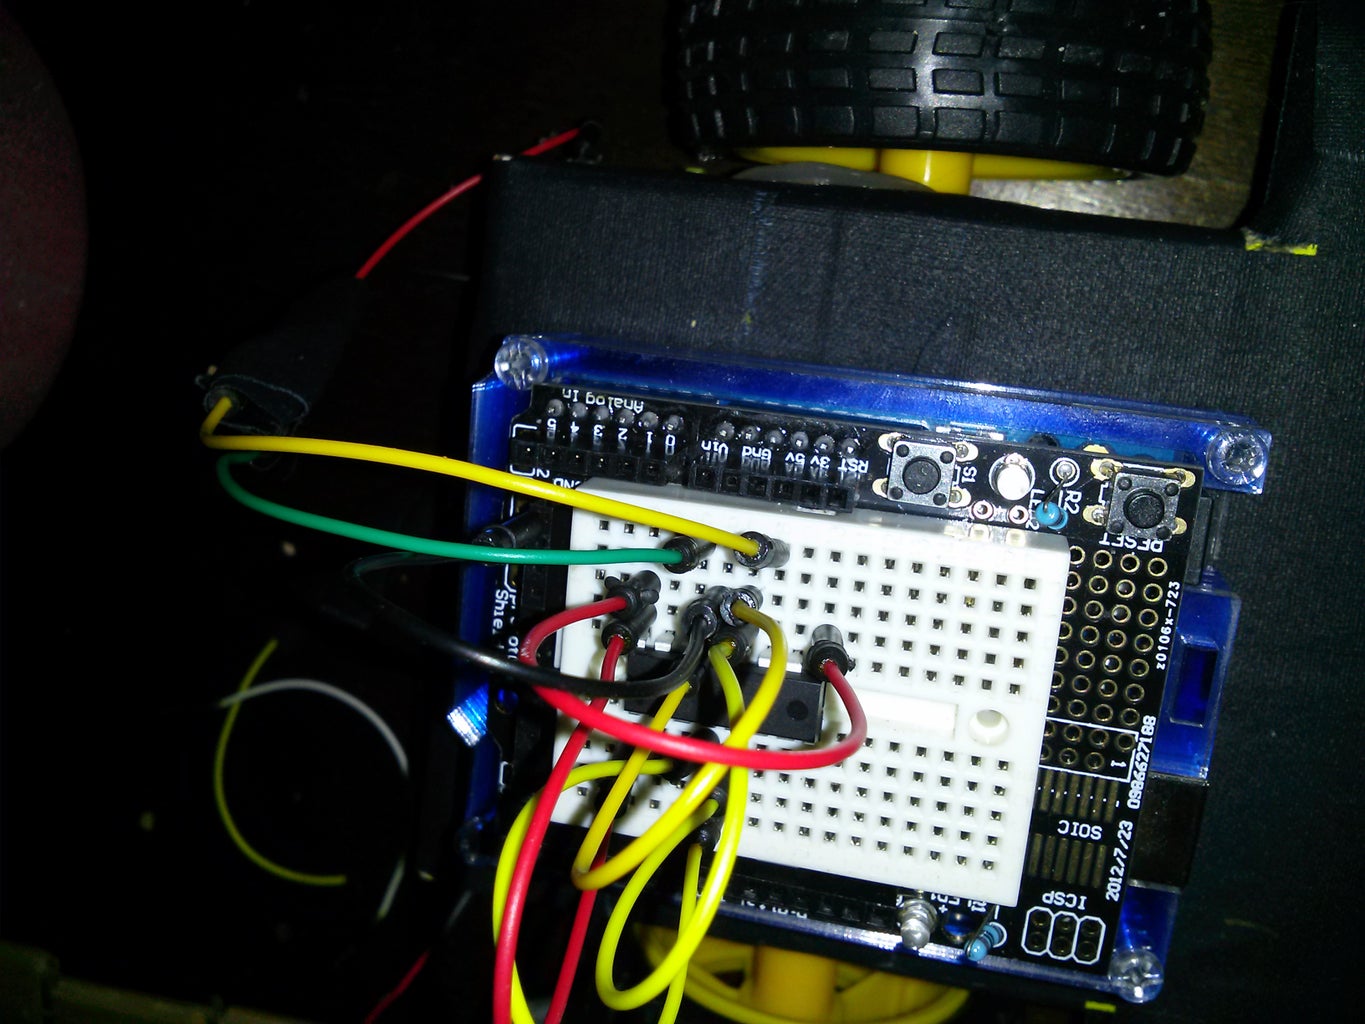
Step 3: Connect Grounds


Connect grounds
Pin 4 to Pin 5
Pin 12 to Pin 13
then connect pin 5 to pin 13
then connect pin
4 to arduino ground rails
Step 4: Connect Motor


connect motors
motor #1 red wire pin 3 black pin 6
motor #2 red wire pin 11 black pin 14
Step 5: Connect Inputs


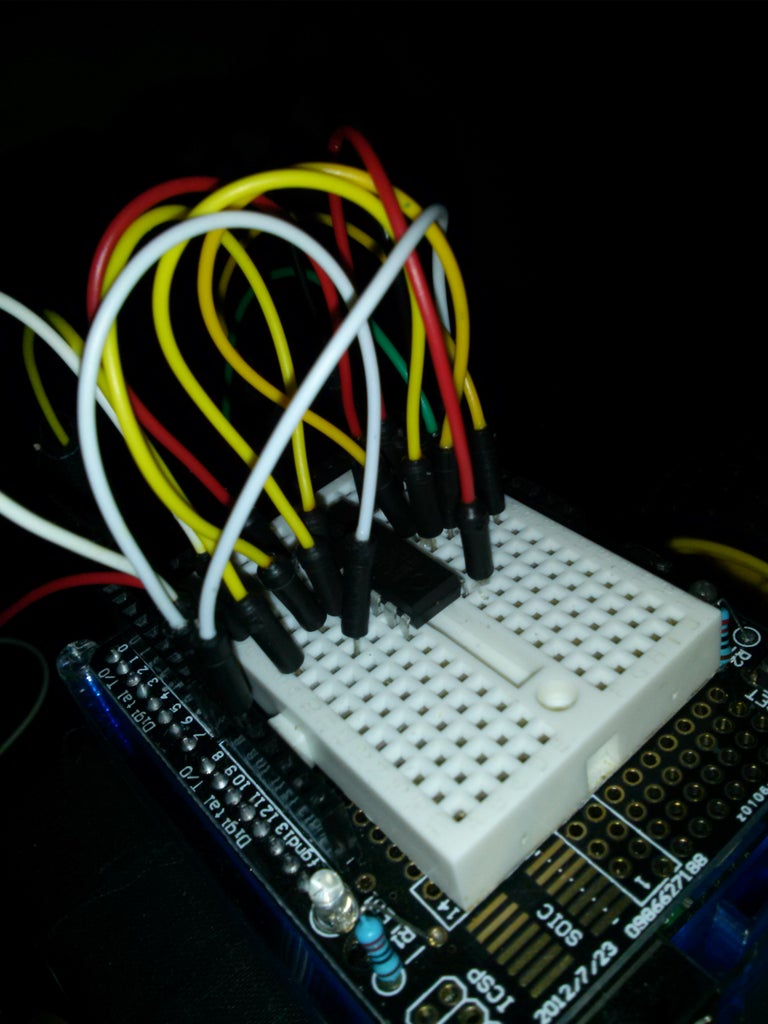

pin 2 to digital pin 8
pin 7 to digital pin 9
pin 10 to digital pin 10
pin 15 to digital pin 11
By pin i mean on the driver it is numbered as so
1-----16
2-----15
3-----14
4-----13
5-----12
6-----11
7-----10
8-----9
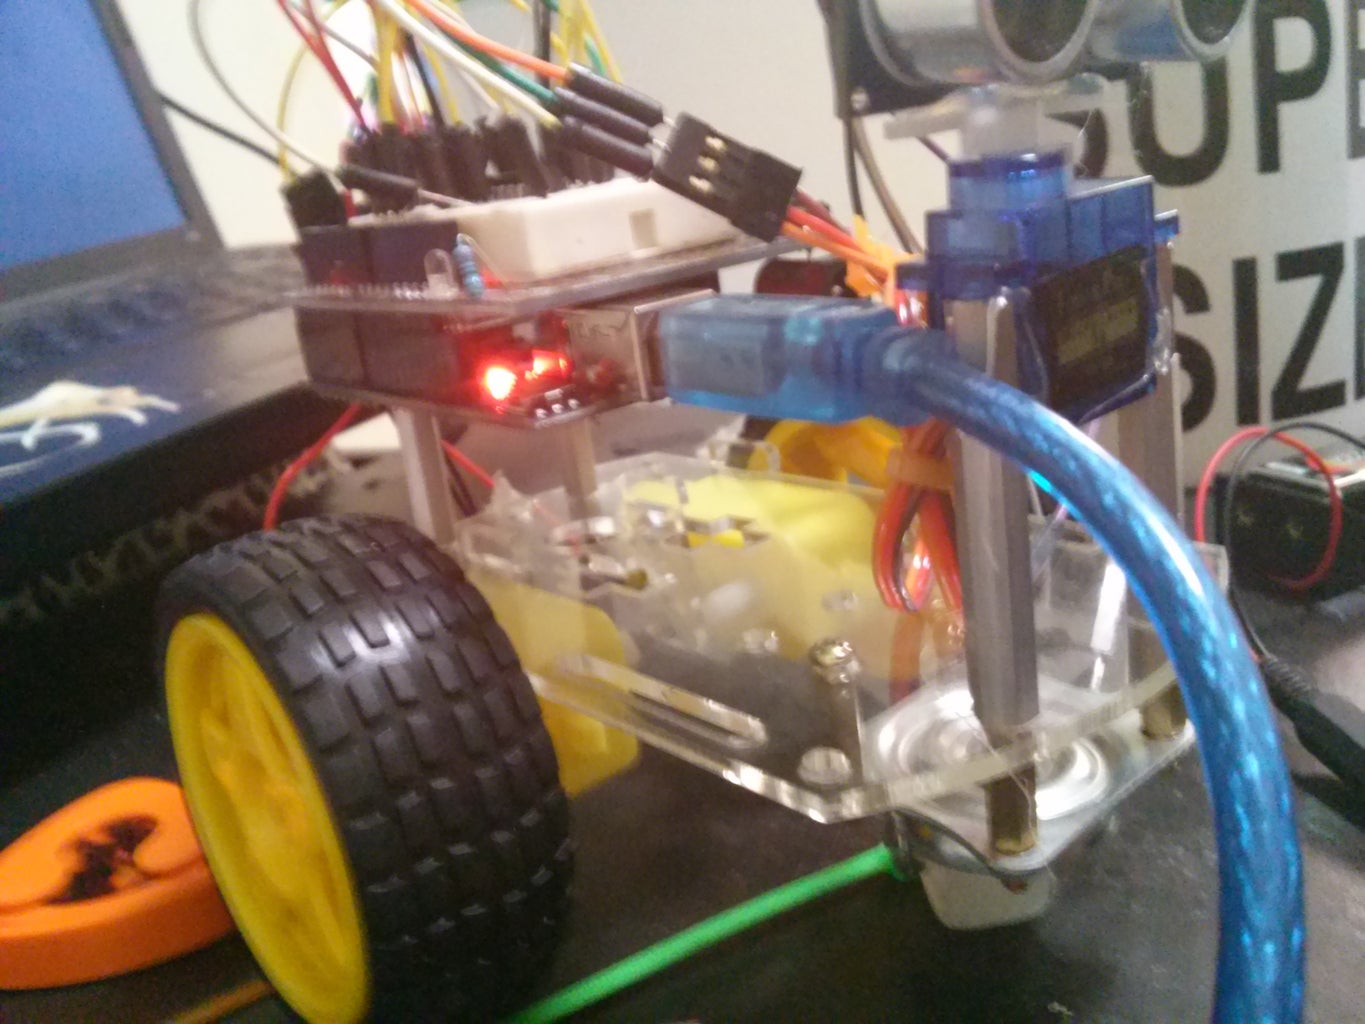
Step 6: Add Servo
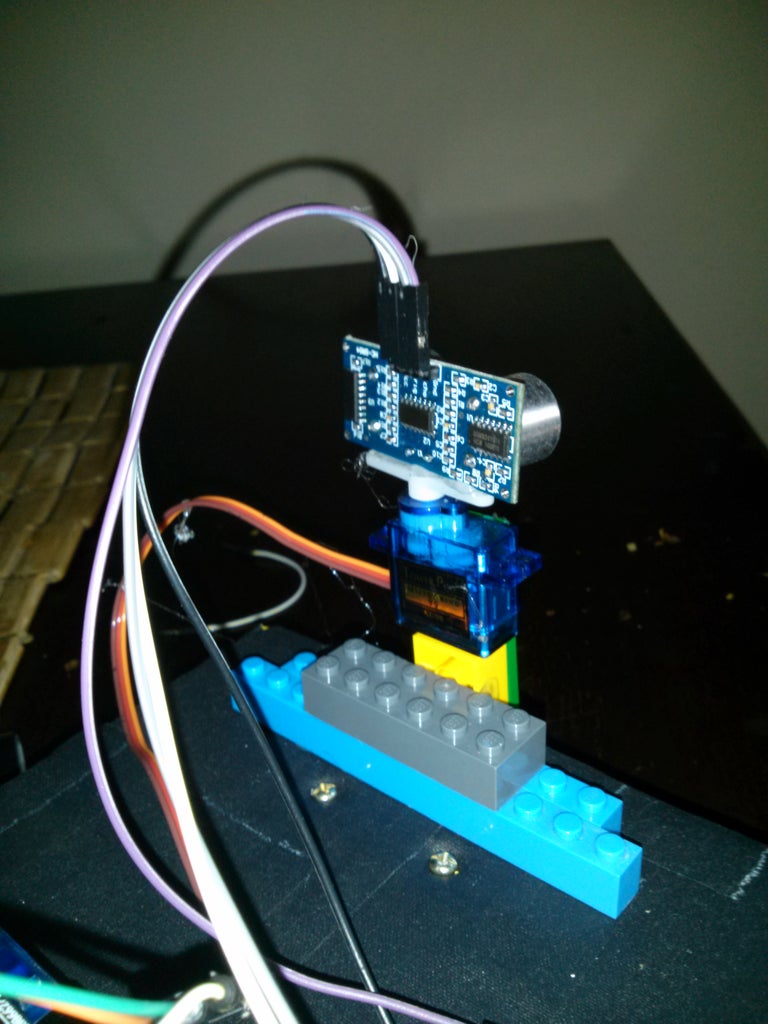
connect ground to ground of arduino
and the 5v gets setup on your breadboard to be connected to the 4aa positive wire
the input wire gets connected to digital input 4 on the arduino
Step 7: Sensor

connect 5v to arduino 5v rail
ground to arduino ground rail
trig to.digital 2
echo to digital 3
Step 8: Power Time
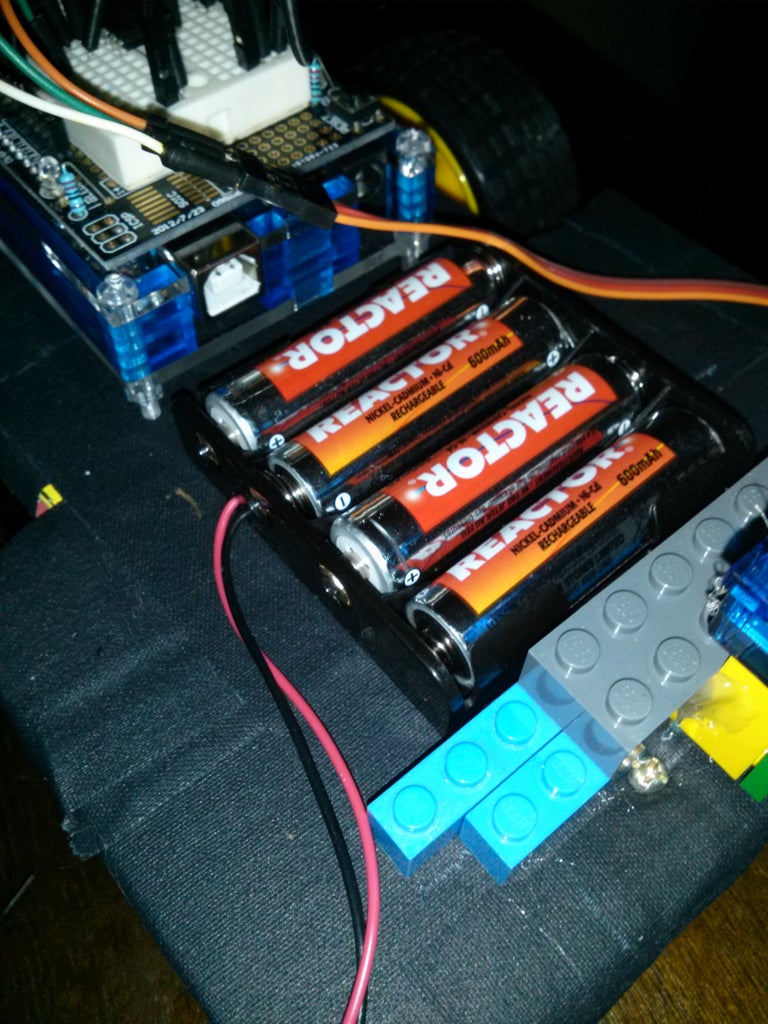
the power section can be tricky
the arduino gets powered by a 9v that plugs in. Or u can supply it otherwise.
The battery pack is a different story
the ground goes to arduino ground. To make it easy always ground everything to arduino.
The positve wire from battery goes to pin 8 on the driver.
I found it.easier to.use my shield and connect a ground rail and a v rail and then branch off from there.
Step 9: Program Time

Sneak peek of the new face for upscale robot in the works.
Check out the youtube video which explains further and you may find some move information as well as code.
Thanks
also if you want to see the finished robot and it in action heres the link for that
https://youtu.be/clQD8IXOEkE
then step by step instructions on how:
https://youtu.be/rcrzHPu0Q_8
Step 10: Code

Upload this to.arduino and your good to goooooo
#include
#include
//Below are the symbolic constants. Instead of having to type in a non-sensical pin number each time we want to do something we can write an easy to understand name which represents the pin, the compiler will then replace the names with the numbers
#define LeftMotorForward 8
#define LeftMotorBackward 9
#define RightMotorForward 10
#define RightMotorBackward 11
#define USTrigger 3
#define USEcho 2
#define MaxDistance 100
#define LED 13
//Here we have created two 'objects', one for the servo and one for the ultrasonic sensor
Servo servo;
NewPing sonar(USTrigger, USEcho, MaxDistance);
//Below we are creating unsigned integer variables which we will use later on in the code. They are unsigned as they will only have postive values
unsigned int duration;
unsigned int distance;
unsigned int FrontDistance;
unsigned int LeftDistance;
unsigned int RightDistance;
unsigned int Time;
unsigned int CollisionCounter;
void setup() //This block happens once on startup
{
Serial.begin(9600); //I have included the serial initialize but commented it out, if you want to debug and print information to the serial monitor just uncomment
//Here we are setting the pin modes. As we will sending out signals from the pins we set them as outputs
pinMode(LeftMotorForward, OUTPUT);
pinMode(LeftMotorBackward, OUTPUT);
pinMode(RightMotorForward, OUTPUT);
pinMode(RightMotorBackward, OUTPUT);
pinMode(LED, OUTPUT);
servo.attach(6); //The servo is attached to pin 4
}
void loop() //This block repeats itself while the Arduino is turned on
{
servo.write(90); //Rotate the servo to face the front
scan(); //Go to the scan function
FrontDistance = distance; //Set the variable FrontDistance to the value of the distance returned from the scan function
Serial.println("Front distance = ");
Serial.print(distance);
if(FrontDistance > 60 || FrontDistance == 0) //If there is nothing infront of the robot within 15cm or the distance value is 0 (which for the newping libary means no ping was returned) then...
{
moveForward(); //Go to the moveForward function
}
else //Else (if there is something infront of the robot within 40cm) then...
{
CollisionCounter = CollisionCounter + 1;
moveStop(); //Go to the moveStop function
navigate();
}
}
void moveForward() //This function tells the robot to go forward
{
Serial.println("");
Serial.println("Moving forward");
digitalWrite(LeftMotorBackward, LOW);
digitalWrite(LeftMotorForward, HIGH);
digitalWrite(RightMotorBackward, LOW);
digitalWrite(RightMotorForward, HIGH);
}
void moveBackward() //This function tells the robot to move backward
{
Serial.println("");
Serial.println("Moving backward");
digitalWrite(LeftMotorForward, LOW);
digitalWrite(LeftMotorBackward, HIGH);
digitalWrite(RightMotorForward, LOW);
digitalWrite(RightMotorBackward, HIGH);
}
void moveLeft() //This function tells the robot to turn left
{
Serial.println("");
Serial.println("Moving left");
digitalWrite(LeftMotorForward, LOW);
digitalWrite(LeftMotorBackward, HIGH);
digitalWrite(RightMotorBackward, LOW);
digitalWrite(RightMotorForward, HIGH);
}
void moveRight() //This function tells the robot to turn right
{
Serial.println("");
Serial.println("Moving right");
digitalWrite(LeftMotorBackward, LOW);
digitalWrite(LeftMotorForward, HIGH);
digitalWrite(RightMotorForward, LOW);
digitalWrite(RightMotorBackward, HIGH);
}
void moveStop() //This function tells the robot to stop moving
{
Serial.println("");
Serial.println("Stopping");
digitalWrite(LeftMotorBackward, LOW);
digitalWrite(LeftMotorForward, LOW);
digitalWrite(RightMotorForward, LOW);
digitalWrite(RightMotorBackward, LOW);
}
void scan() //This function determines the distance things are away from the ultrasonic sensor
{
Serial.println("");
Serial.println("Scanning");
Time = sonar.ping();
distance = Time / US_ROUNDTRIP_CM;
delay(500);
}
void navigate()
{
Serial.println("There's an obstacle!");
servo.write(167); //Move the servo to the left (my little servos didn't like going to 180 so I played around with the value until it worked nicely)
delay(1000); //Wait half a second for the servo to get there
scan(); //Go to the scan function
LeftDistance = distance; //Set the variable LeftDistance to the distance on the left
Serial.println("Left distance = ");
Serial.print(distance);
servo.write(0); //Move the servo to the right
delay(1000); //Wait half a second for the servo to get there
scan(); //Go to the scan function
RightDistance = distance; //Set the variable RightDistance to the distance on the right
Serial.println("Right distance = ");
Serial.print(distance);
if(abs(RightDistance - LeftDistance) < 5)
{
moveBackward(); //Go to the moveBackward function
delay(200); //Pause the program for 200 milliseconds to let the robot reverse
moveRight(); //Go to the moveRight function
delay(100); //Pause the program for 200 milliseconds to let the robot turn right
}
else if(RightDistance < LeftDistance) //If the distance on the right is less than that on the left then...
{
moveLeft(); //Go to the moveLeft function
delay(100); //Pause the program for half a second to let the robot turn
}
else if(LeftDistance < RightDistance) //Else if the distance on the left is less than that on the right then...
{
moveRight(); //Go to the moveRight function
delay(100); //Pause the program for half a second to let the robot turn
}


