

Introduction: Automatically Take Perfect Jump Shots


Ohhh timing. You ruin every jump shot.
You're counting down right before you leap into the air and your friend is crouched on the ground with their finger on the shutter button. Leaping into the air with a glorious jump, you pose for a split second. Confident in your ability, you run to your friend only to find that it is, yet again, another perfectly great jump shot ruined by the lag between pressing the shutter button and the photo actually being taken.
Well, no more! Using Processing, OpenCV, and a high quality web camera, you can take a perfect jump shot (nearly*) everytime!
*has some annoying constraints (see the last step!)
Step 1: How It Works

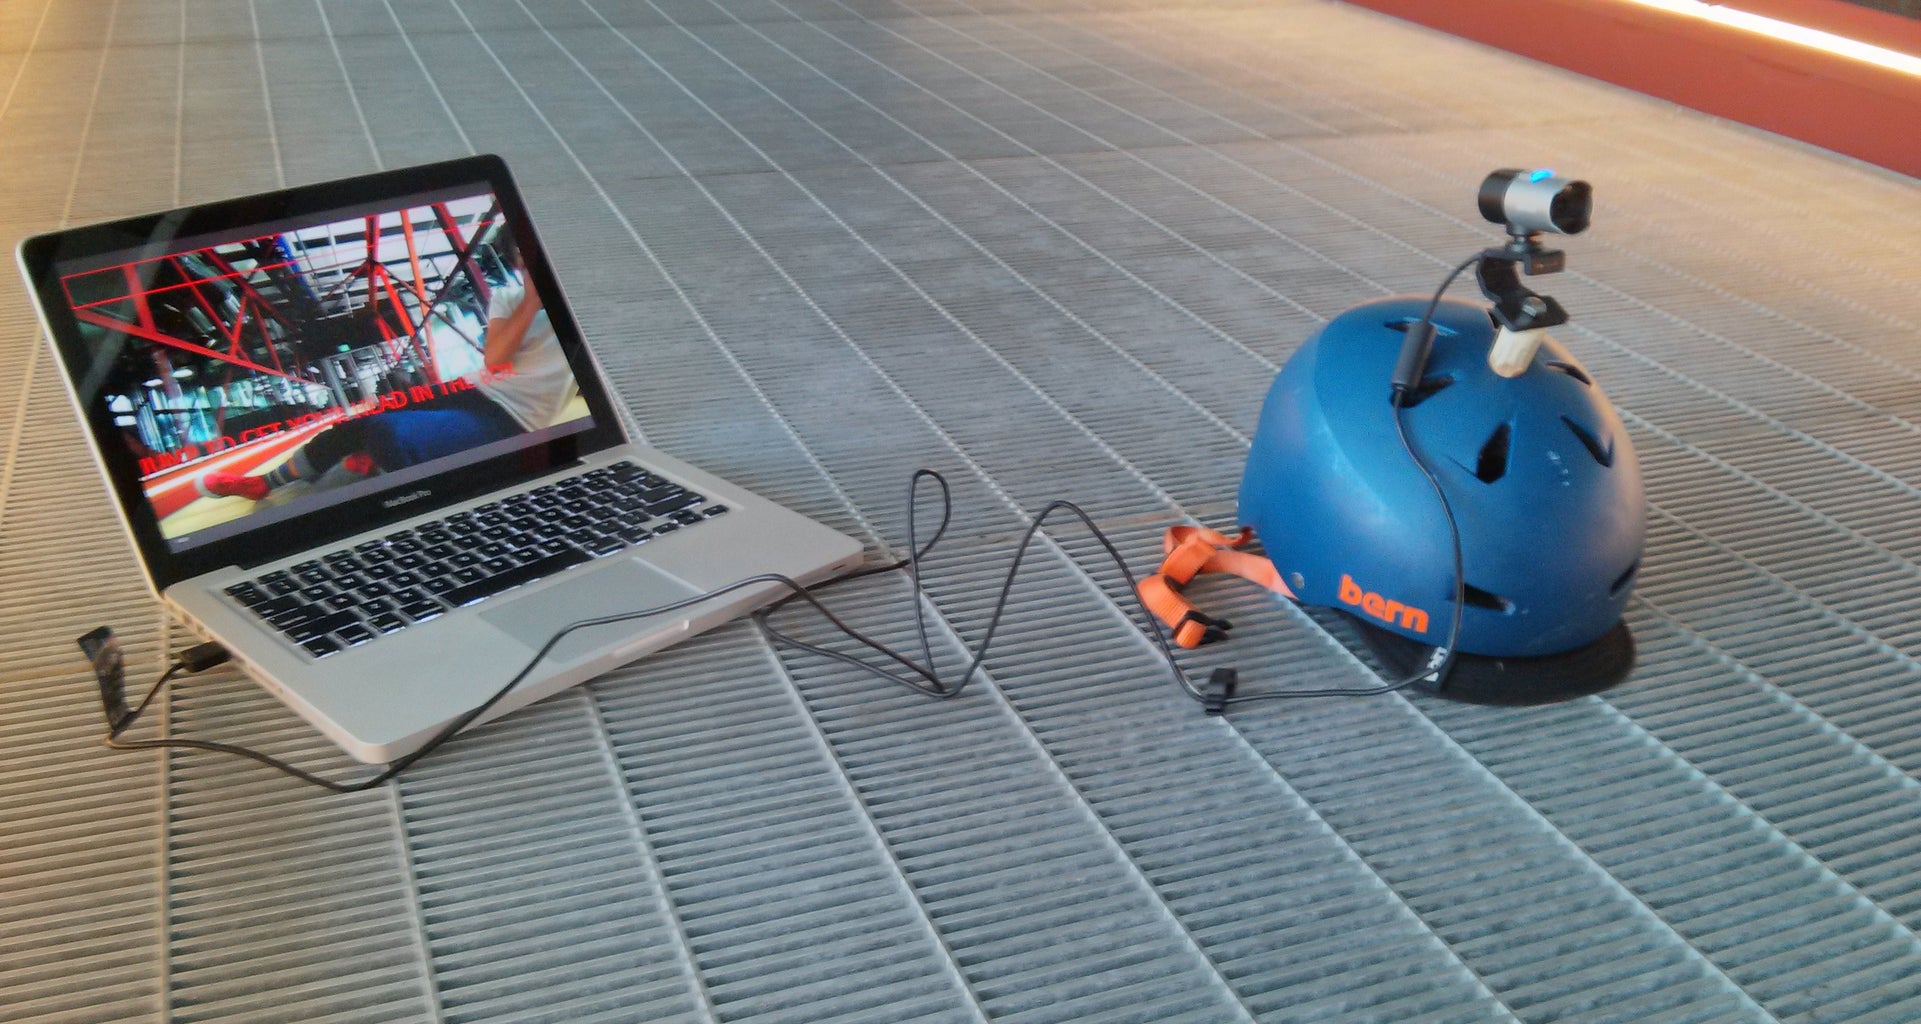
Step 2: Get Processing Set Up

Note: Newer versions of Processing are no longer compatible with this library. This OpenCV library works with the later versions of Processing, however, my code is not compatible with it. I'll try and update this Instructable when I get a chance.
First of all, you will need a computer that has Processing installed. Processing is free and open source, so download it and install it on your computer right now! It is a powerful tool and has a very active community of people working with it.
You will also need to install OpenCV and the Simple-OpenCV library for Processing. If you are using a Mac, you can follow this Instructable otherwise you can always follow the directions on this website.
Step 3: Run Code


After you have set up and tested Processing and OpenCV, all you need to do is run the sketch.
Download and uncompress the sketch.
If you have a USB web camera connected to your computer, the sketch should automatically load that over the onboard web camera. At least that's what happens with me. I hope it does with you.
You will want to check both the wide and high variables in the sketch. This should match the resolution of the web camera that you are using. When you are jumping you'll want to be far enough back that you can get your whole body in the frame. If your face is detected you'll see a red box at the top of the camera feed. Jump up high to get your head in that box. If it flashes white and you hear a shutter sound, then it took an image and saved it in the folder file that contains the Processing sketch.
Step 4: Issues and Critiques


There are limitations to this set up. The main one is that the face detection on OpenCV requires that your face is pointed towards the camera. If your head is tilted away from the camera, it isn't going to work. Lighting is also an issue. I found that working in a room with a reasonable amount of natural sunlight seemed work best. Dimly lit rooms produced lower quality images and had a higher chance of not taking an image. Jumping against a bare background also seems to work better with the face detection. OpenCV will occasionally detect random objects in the background as faces.
The Kinect would probably produce more consistent results and this is how I originally started working on this project. It allows you to have a high amount of control of when it takes an image. For instance, if you wanted to set it up so that it only takes a photo of when you jump into a certain pose, this would be much easier to accomplish with the Kinect's technology and the skeleton feature. However, the resolution of the onboard camera on the Kinect is pretty terrible. So, an additional web camera would probably be required in the setup.


