

Introduction: Beginners Ice Skating Support

When they opened up the public ice rink in my city I decided to get some skates for my 2-year-old daughter to see if she'd like to spend some time sliding around on the metal blades ...
The first time out my back lasted one circuit holding her up and while she wanted to keep going my body wasn't up to the job of staying half bent and steadying her for more without a break. I realized at this point that she needed a skating support frame that would allow her to work at her own pace and gain her own balance. There were some good examples being used by small kids that I paid close attention to and came up with this instructable.
Step 1: Hit the Hardware Store ...

The parts that are needed for this:
6 x 1" PVC 90-degree elbows
4 x 1" PVC tees
2 x 1" 45-degree elbows
15' of 1" PVC pipe
Tools:
Tape measure
Hacksaw
** If you want to make it permanent you can use PVC glue, I found that the joints were tight enough to forgo the glue and just jammed it together. Hoping to make it grow with my daughter as she needs.
Step 2: Fitting the Youngster ...

To figure out how big I needed it all to be I started by measuring my toddler.
Height from the floor to her armpit: 26"
Width at the shoulders: 15"
I used this to make the width of the frame 24" overall, should give her room to move her skates side to side and with the extra height given to her by the skates will have her hands rest comfortably about 6" lower than her shoulders.
Step 3: Cutting Out the Pieces ...

Once I knew what my overall dimensions were going to be then I had the starting point for making the appropriate lengths of pipe for fitting it all together.
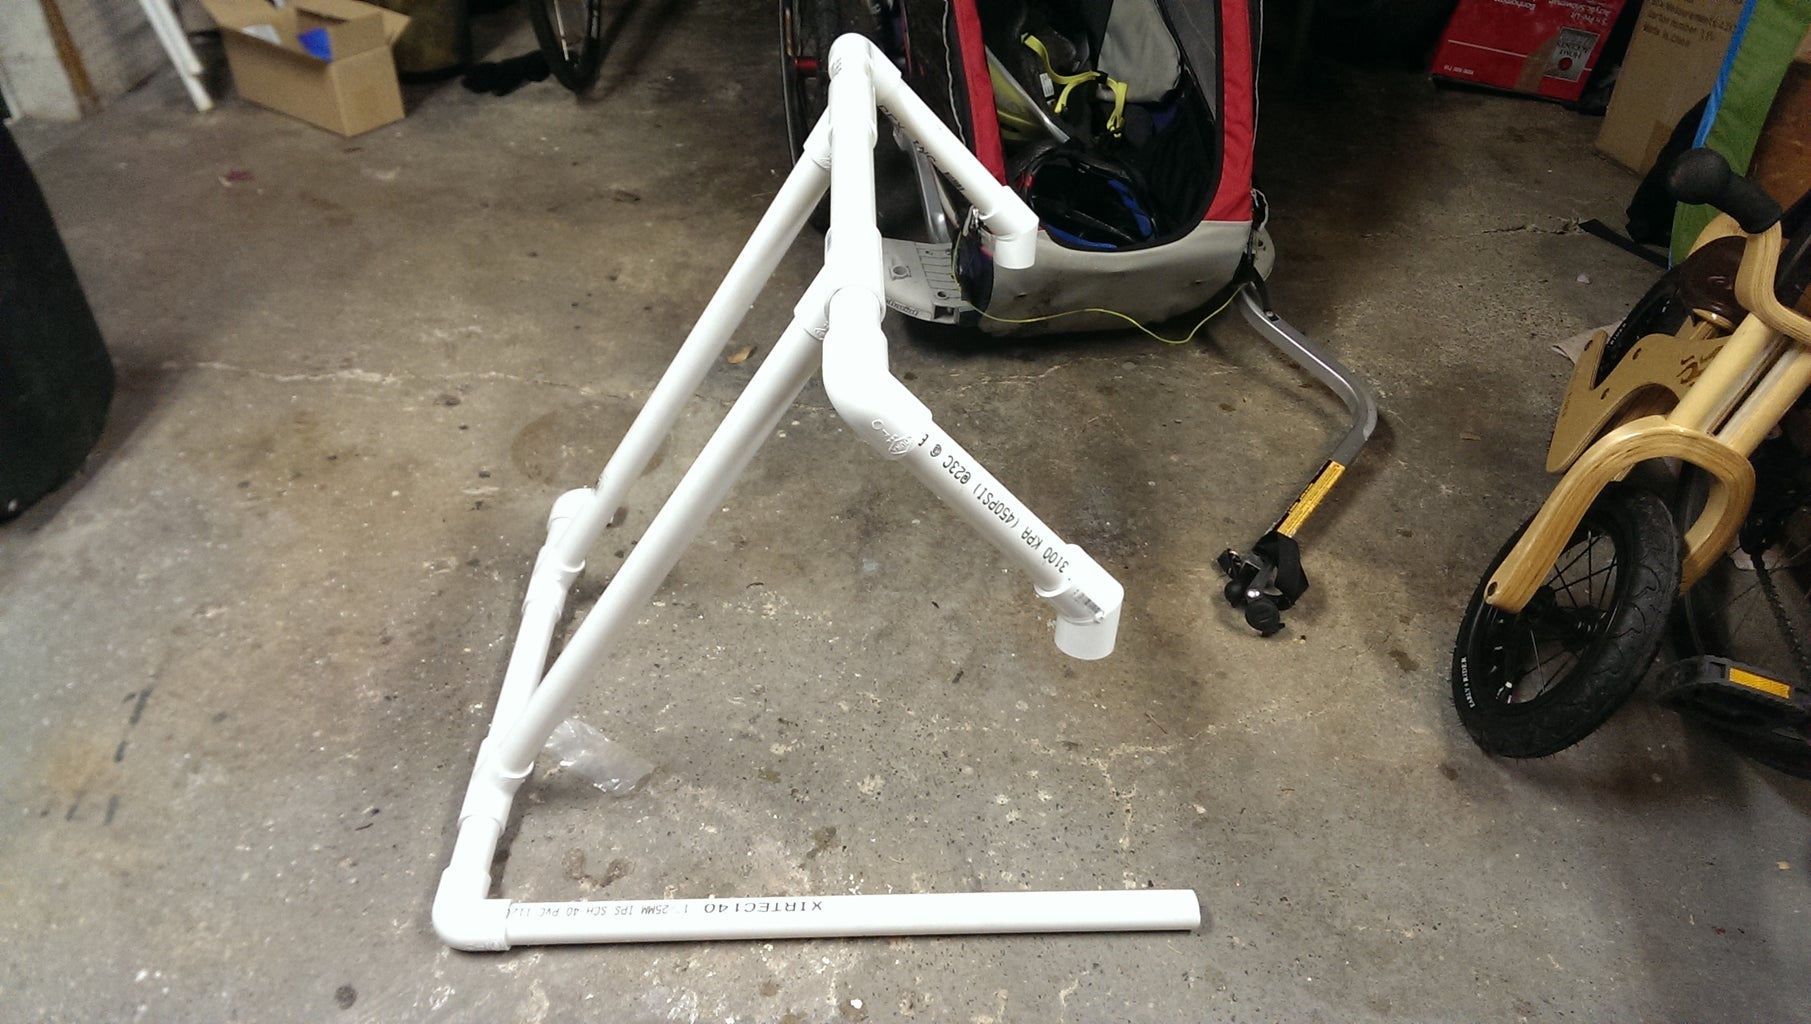
First, make the top bar and the front bar, it required 4 x 2 3/4" side pieces and a centre piece of 7 1/4". With the 1 1/8" insertion length into the fittings that made the overall length 24". Each bar was made with a 90-degree on each end, shorter pipes from the 90-degree pieces to the tees and then the longer piece in the middle.
After pushing it together I cut two lengths of 26" and then connected both the already assembled bars together via the right-angle outlets on the tees. Then I cut the lengths that will form the bottom of the frame to 14 1/4" and then went to see how it fit my daughter.
At this point I knew what my front angle would be so I cut two (2) pieces there were each 8" long that would go from the top bar down to intersect the 45-degree elbow before meeting the bottom joint. The lower piece needed to be 7 1/4" long to push the angle out correctly.
Step 4: Finished Assembly ...


Pressing everything together felt pretty tight. I wouldn't use glue on this and if it does start to unseat any joints I might try drilling a small hole where two pieces fit together and using a small screw to fix it into place.
One nice thing is that when you remove the lower pieces of PVC from the 45-degree joints the frame will fold flat for storage.
Happy skating!
Step 5: Works ...
My daughter had a pretty good time using it on the ice. As you can see she stayed upright and actually lasted longer on the ice than her dear old dad did. Typically her falls were her feet slipping out forward and landing on her butt so she didn't have a chance to knock a tooth out (but yes, I am embarrassed that I forgot her helmet)


