

Introduction: Bookmark From Paint Samples


One thing that bugs me is when people fold down the corners of book pages. So I have a lot of bookmarks in by books so I wanted to create a beautiful, colorful bookmark. I was really happy how awesome this bookmark turned out and it only took a few minutes.
Step 1: Supplies

Here is what you will need to make your bookmark
1 paint chip sample
Exacto knife
Hole punch
String/yarn
You can also use stamps to decorate your bookmark if you don't want to do any cut outs
Step 2: Cut Your Bookmark Shape


I started by cutting the basic shape of the bookmark, making a little thinner than what the original paint sample. I also cut the corners to make a rounded shape.
Step 3: Cut Out Your Design


Now comes the fun part.
Start by drawing out what you want design to look like.
Once you have a design you like its time to cut it out. Be patient as you cut it out, especially if your design has intricate details. The more precise you are the better the final design will turn out.
Step 4: Add the Tassel


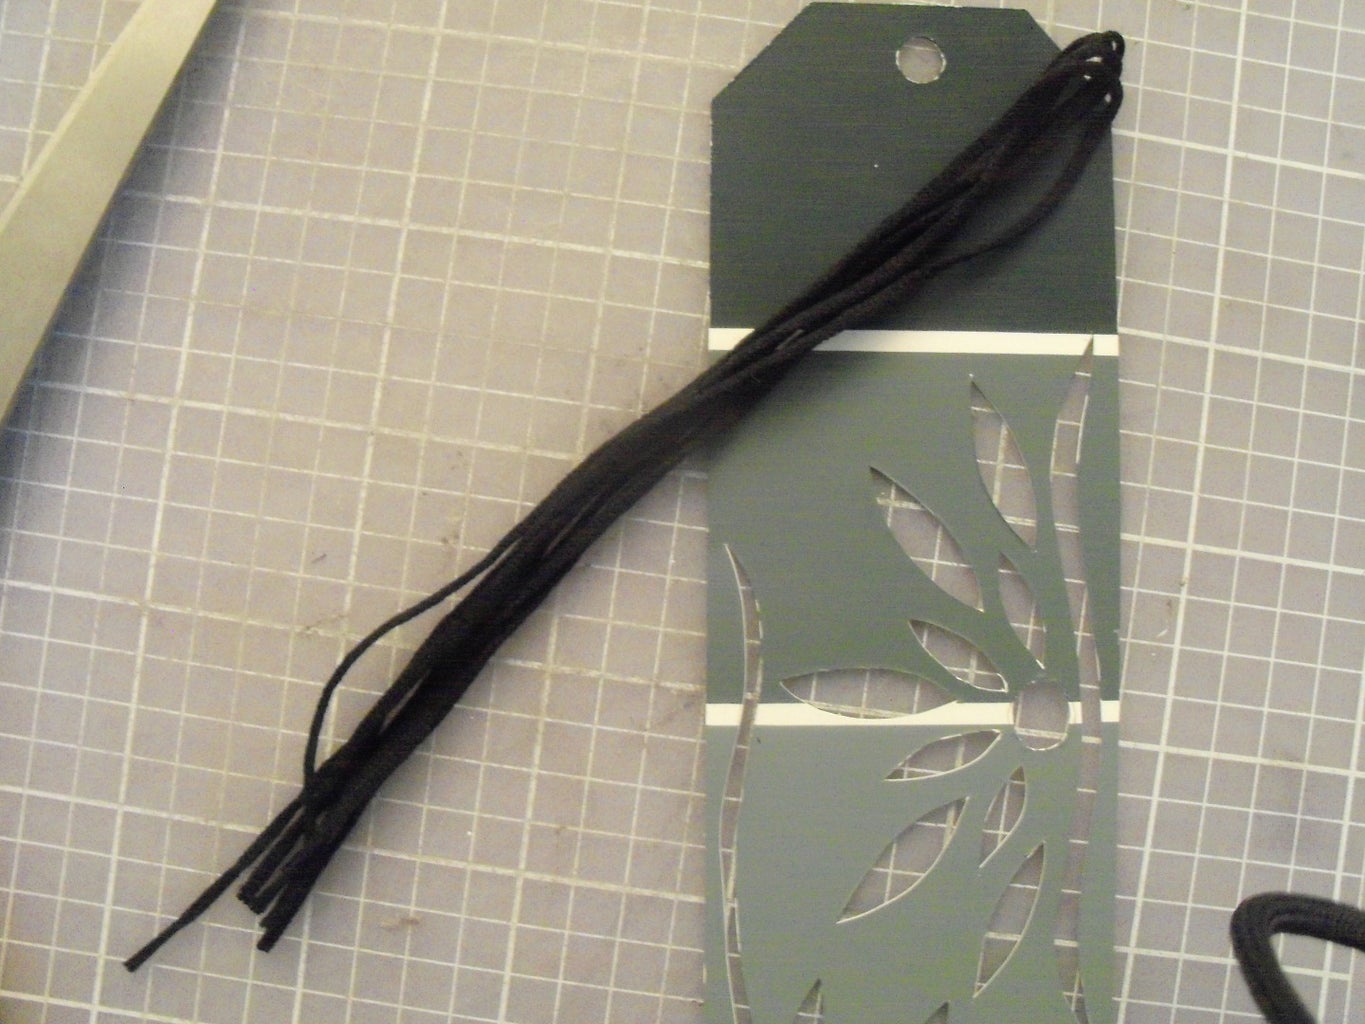


When you are happy with your design its time to add the finishing touches.
I added a tassel to the top of the bookmark. It is super easy to add one.
1. Start by using your hole punch to put a hole in the top of the bookmark.
2. Then cut some yarn. I used about 5 strands of some thin cotton yarn I had.
3. Wrap the yarn around the hole. - fold the yarn in half, put the looped half through the hole then once through string the yarn ends through the loop.
Now you have an awesome bookmark to show off.


